12 Innovative Halloween Decor DIY Ideas Worth the Weekend
Making Halloween decor DIY Ideas instead of buying it usually comes down to a handful of reliable techniques painting, aging, drying, and basic assembly rather than specialized craft skills. These Halloween decor DIY ideas use accessible materials and simple tools, so a single weekend can produce enough pieces to style an entryway, a mantel, and a table. Twelve specific projects follow, ranging from a ten-minute paint job to a slightly more involved candelabra build, each suited to a beginner comfort level.
Trend & Background
DIY Halloween decor has grown alongside broader interest in reusable, elevated seasonal styling, as more people move away from single-use plastic props toward pieces that can be aged, painted, or assembled at home for a fraction of retail cost. Techniques like distressing metal finishes and painting faux pumpkins in matte black have become common DIY starting points, since they require only basic supplies and produce a result that reads more sophisticated than mass-produced Halloween decor. That shift has pushed DIY projects toward gothic and vintage-inspired techniques rather than the brighter, more costume-like decor associated with the holiday in past years.
Key Takeaways
- Halloween decor DIY projects rely on painting, drying, and simple assembly rather than advanced tools or skills.
- Natural and reused materials keep most projects nearly cost-free if supplies are already on hand.
- Aging and distressing techniques turn plain objects into gothic-style decor without buying pre-made pieces.
- A shared black-and-natural material palette across projects keeps a home’s DIY decor looking cohesive.
1. Blackened Faux Pumpkin Paint Job
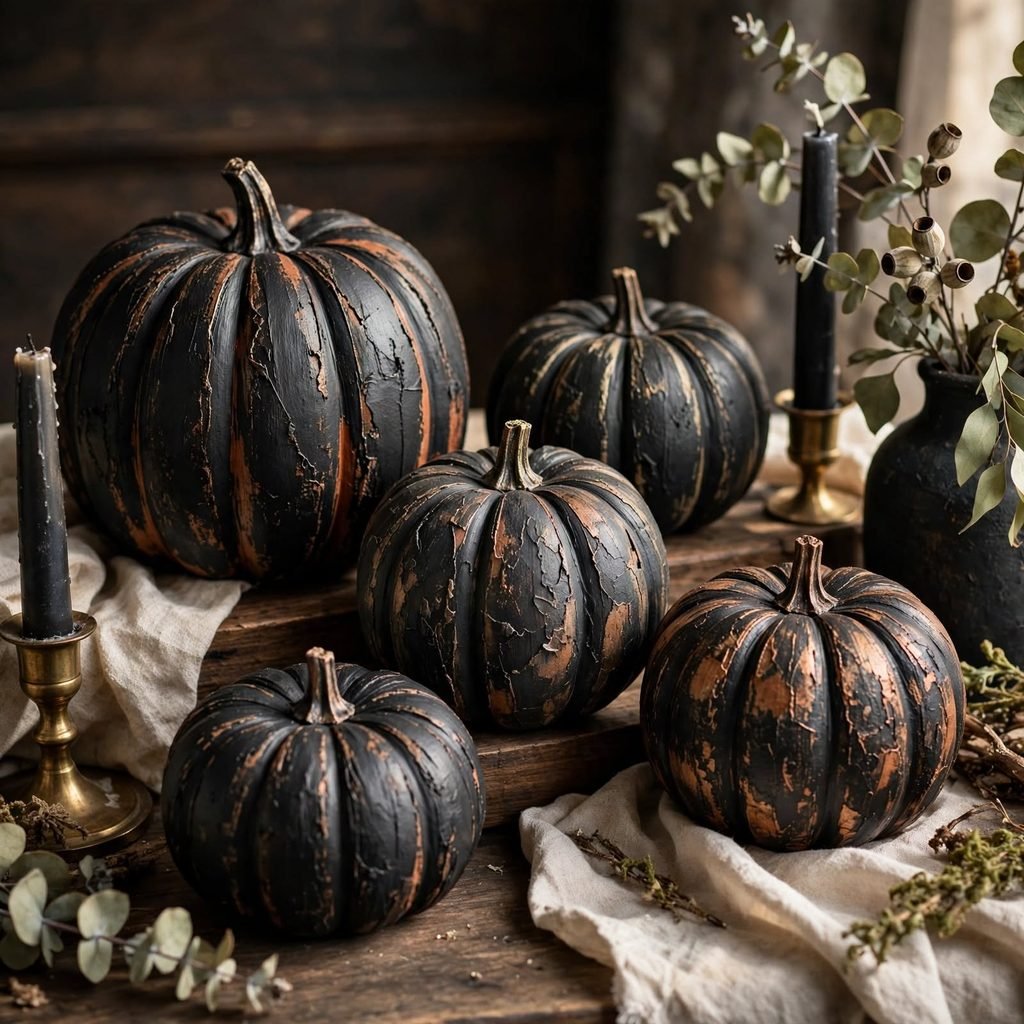
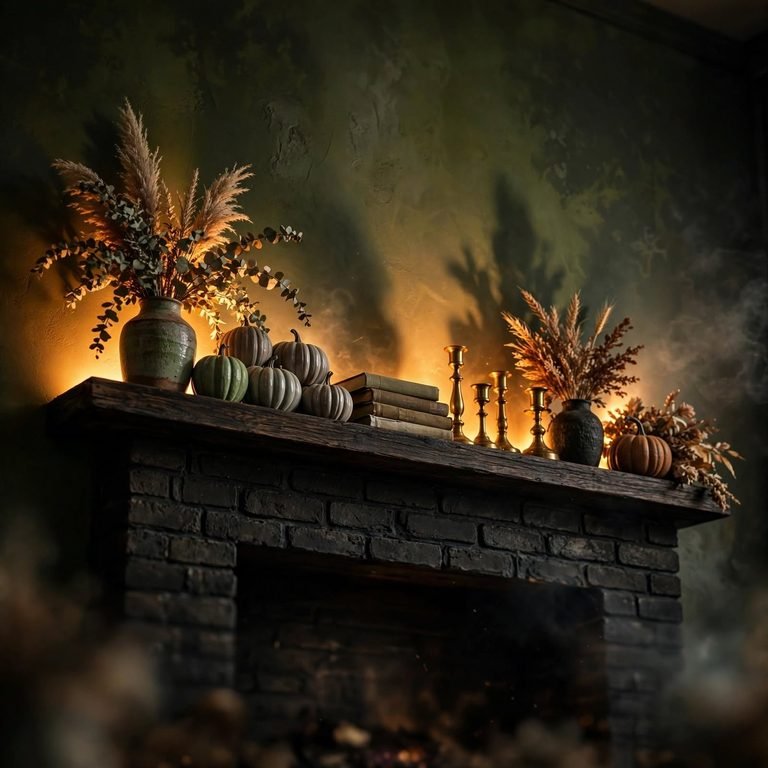
Painting plain white or orange faux pumpkins in matte black spray paint gives a uniform, gothic display without paying a markup for pre-colored versions at retail. Two light coats, rather than one heavy coat, prevent drips and give a more even matte finish. Sealing with a matte spray sealant afterward protects the paint job for reuse across multiple Halloween seasons.
2. Aged Brass Candelabra Finish
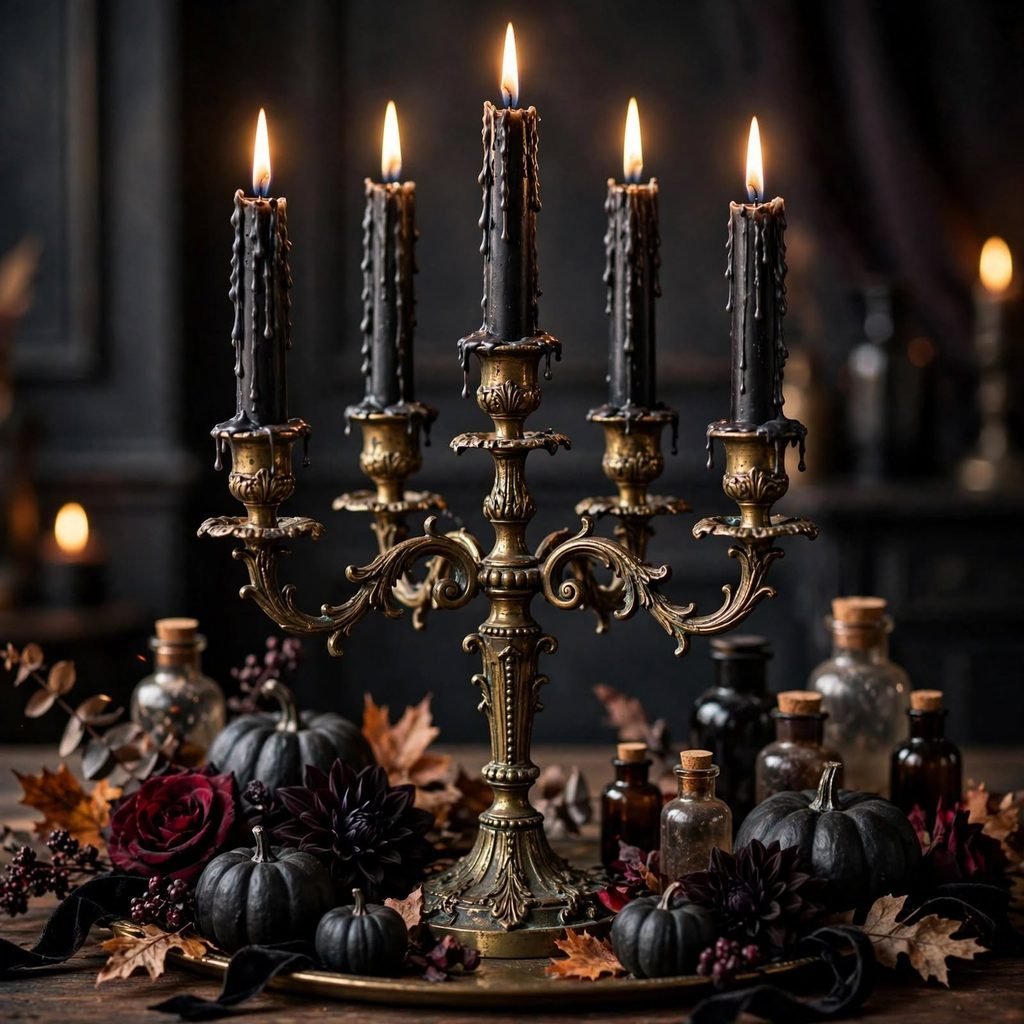
Applying a patina solution or a simple mix of vinegar and salt to a plain brass or gold candelabra creates an aged, tarnished look that suits a gothic Halloween aesthetic better than a bright polished finish. Testing the solution on a small hidden area first helps gauge how quickly the aging effect develops before applying it more broadly. This technique also works on candlesticks, picture frames, or any small brass object already in the home.
Looking for spooky inspiration? Explore these Halloween home decor ideas for a memorable seasonal look.
3. DIY Spiderweb from Cotton Batting
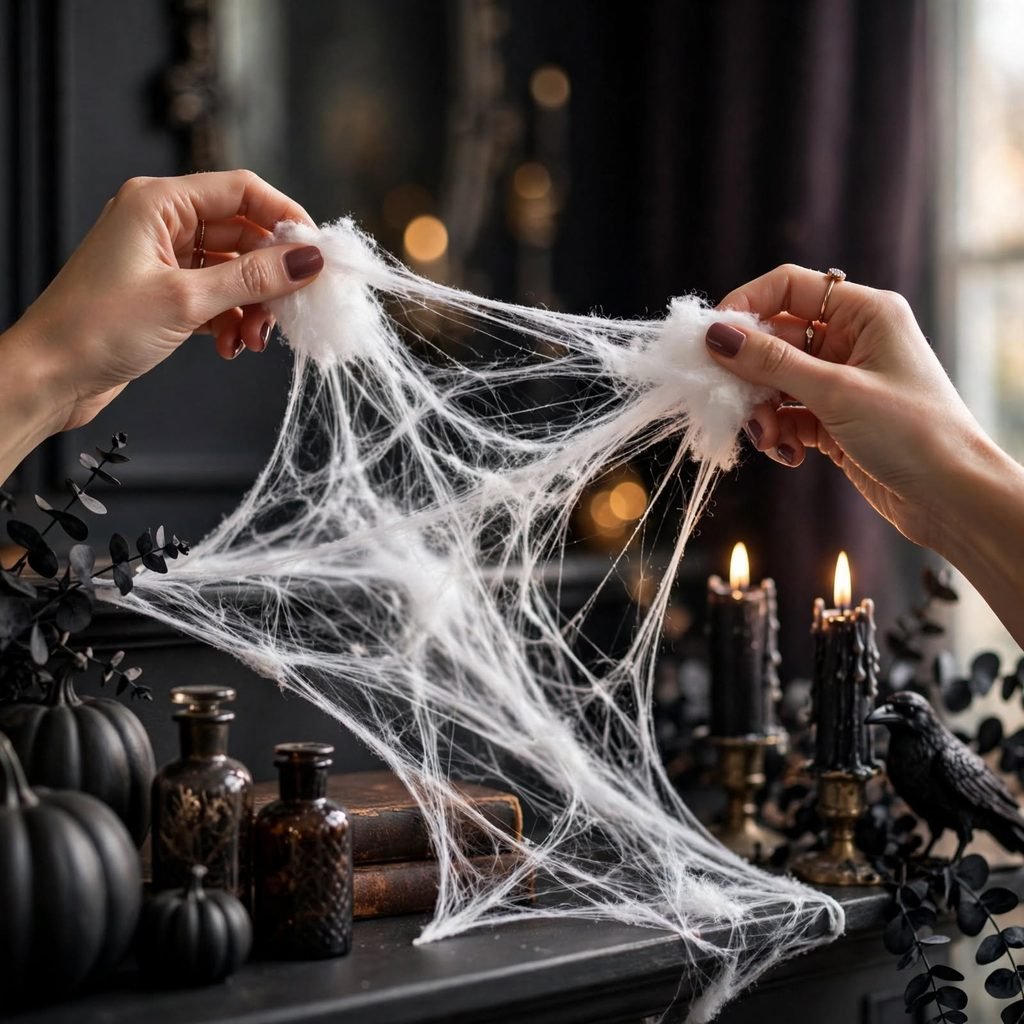
Pulling apart cotton batting or polyester stuffing into thin, wispy strands and draping it across a mantel or bookshelf creates a more delicate, realistic web effect than thick stretchy webbing sold in bulk packs. Tucking a few small plastic or rubber spiders into the strands, sparingly, adds detail without overwhelming the effect. This project costs very little, since a single bag of batting covers several rooms’ worth of webbing.
| Material | Web Texture | Best Use |
| Cotton batting | Fine, wispy | Mantel, bookshelf |
| Polyester stuffing | Slightly denser | Corner drapes |
| Cheesecloth | Structured, layered | Chandelier, window |
4. Painted Silhouette Window Clings
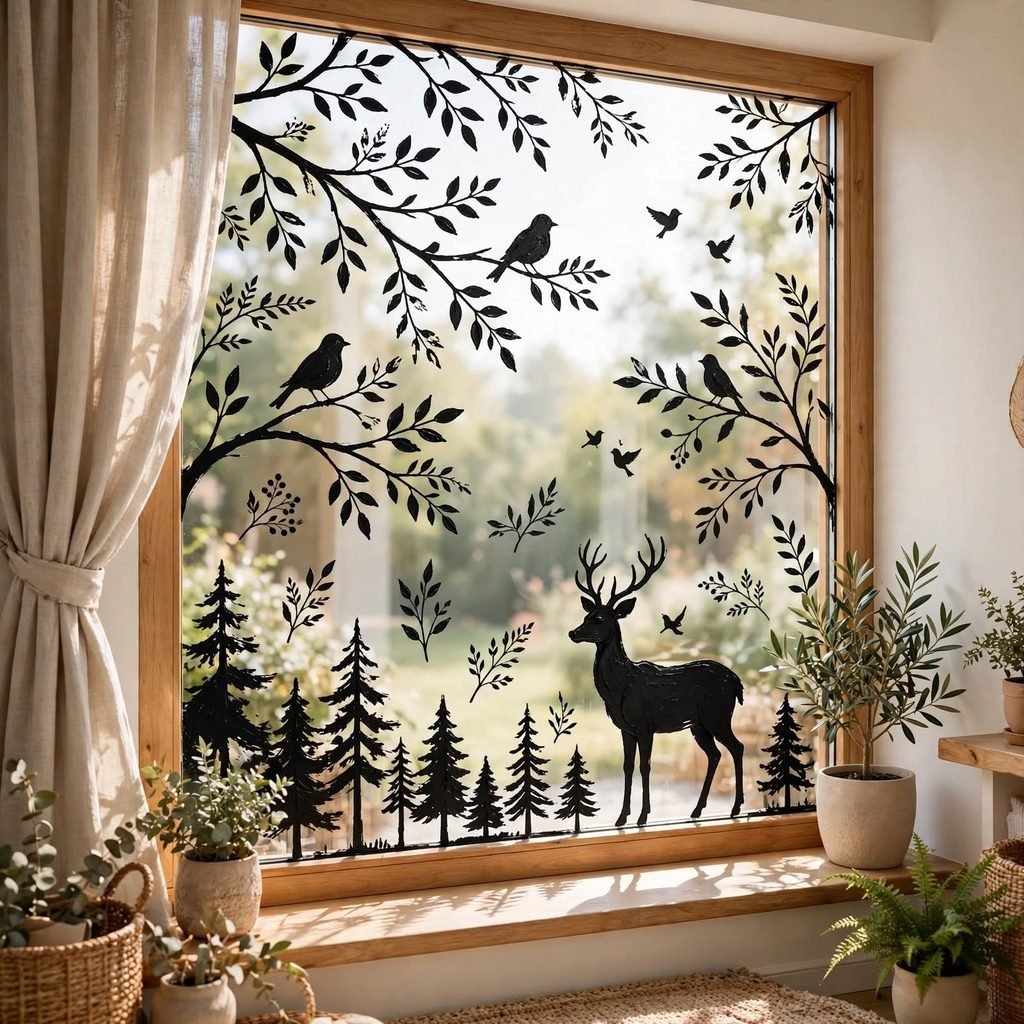
Cutting simple black silhouette shapes from cardstock or contact paper a raven, a bare branch, a cat and adhering them to a window creates a graphic effect visible from both inside and outside once interior lights are on. Printing a template first, rather than cutting freehand, gives cleaner lines for a more polished final look. This is one of the lowest-cost projects on this list, using materials most households already have.
5. Vintage Book Stack with Aged Spine Wrap

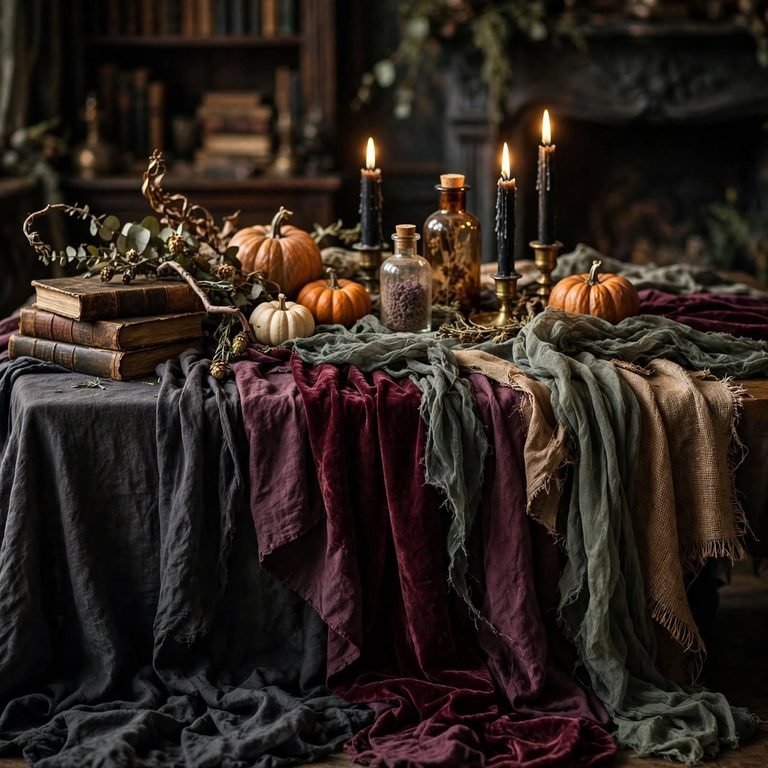
Wrapping plain hardcover books in brown kraft paper, then aging the paper with tea staining or light sanding at the edges, creates a vintage, apothecary-style look for a shelf display without needing to source actual antique books. Adding a hand-lettered title in black marker on the spine finishes the effect for each wrapped book. Stacking three or four together with a small decorative object on top completes the vignette.
6. DIY Apothecary Bottle Labels

Printing or hand-writing old-fashioned labels on kraft paper or aged-look cardstock, then adhering them to plain glass bottles filled with colored water or dried botanicals, creates a gothic apothecary display for a shelf or bar cart. Tea-staining the paper labels before applying them adds an aged, worn appearance that a crisp white label wouldn’t achieve. This project works well using bottles already saved from other household products rather than buying new glassware.
7. Dried Black Floral Dye Project
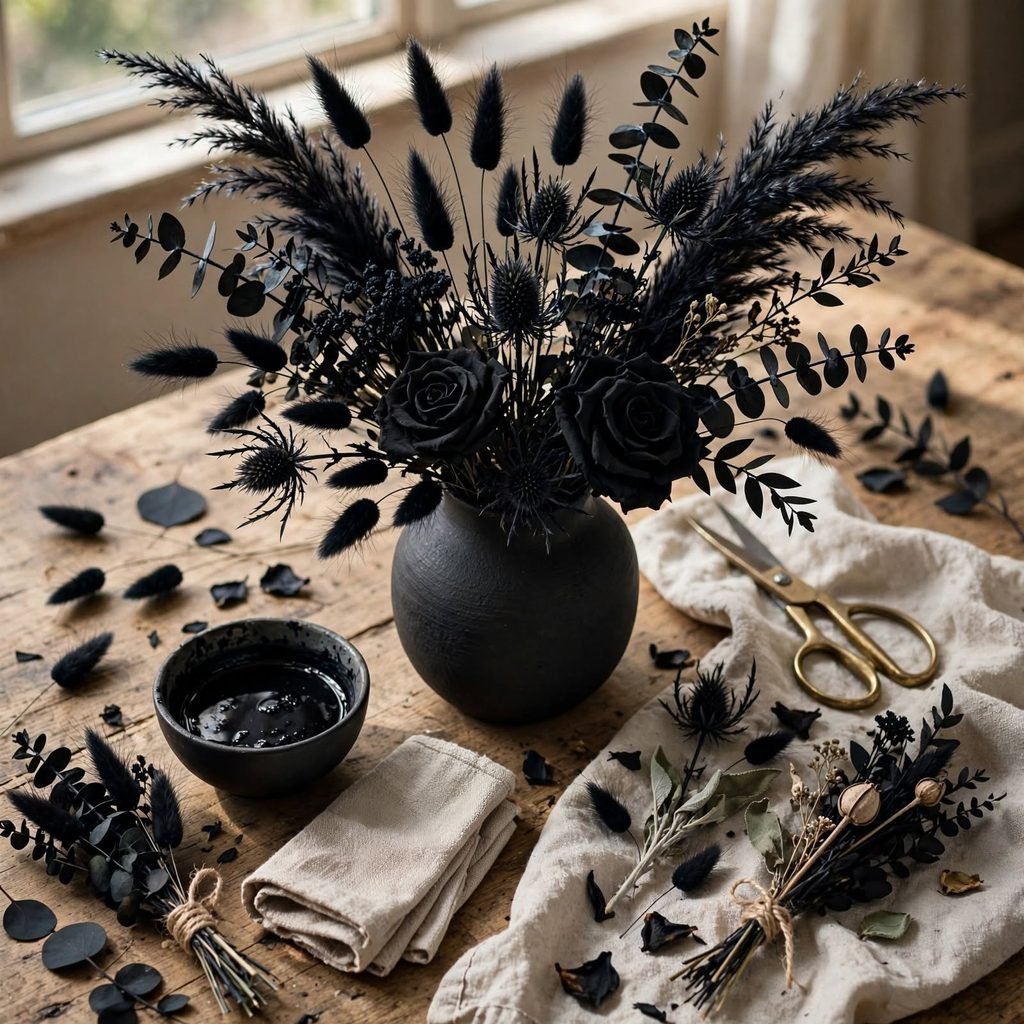
Dip-dyeing dried white or cream flowers, like baby’s breath or dried roses, in black fabric dye creates a striking dark floral element for a vase or wreath without needing to source pre-dyed black flowers. Allowing the dried stems to sit in the dye bath briefly, rather than a full soak, keeps the color from becoming too solid or opaque. This project can be done in a single afternoon and produces enough material for multiple small arrangements.
8. Painted Wood Slice Coasters with Bat Motif
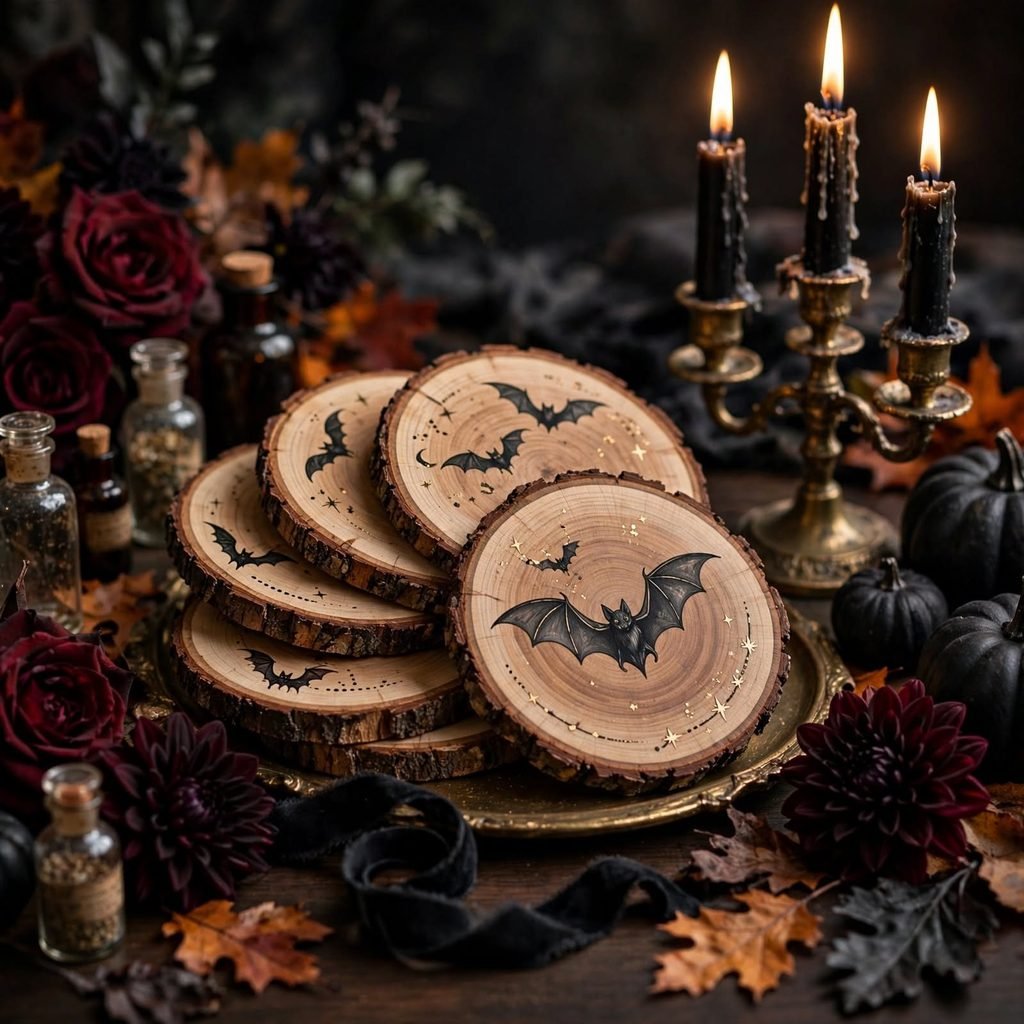
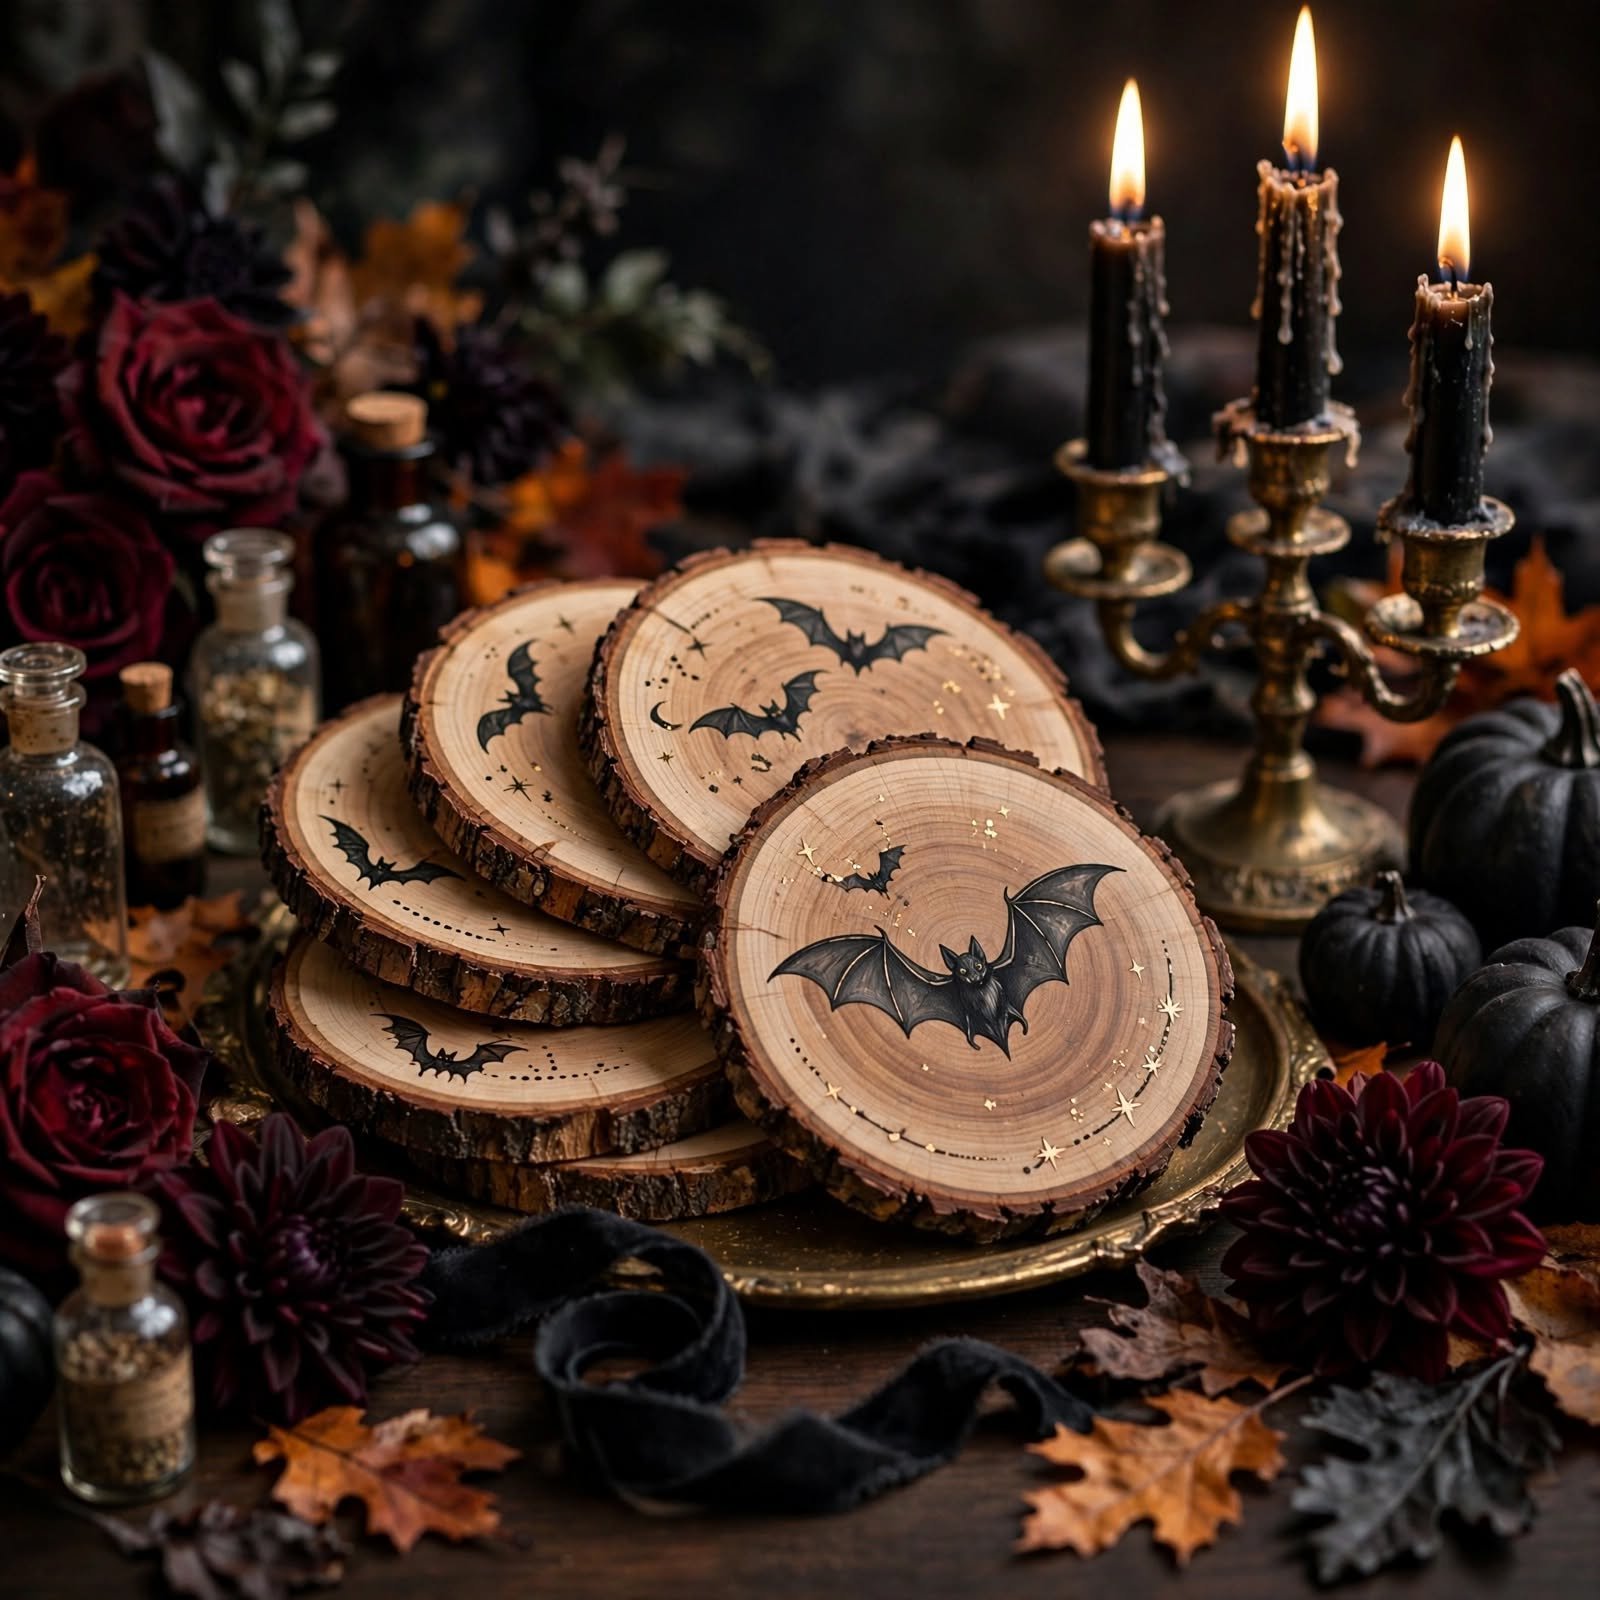
Sanding and sealing wood slices, then adding a simple painted bat or moon silhouette using a stencil, turns basic wood slices into functional Halloween-themed coasters. A clear polyurethane sealant applied after painting protects the design from water rings during regular use. This project produces a functional item that gets year-round use rather than decor that only comes out for a single month.
9. Twine-Wrapped Mason Jar Lanterns
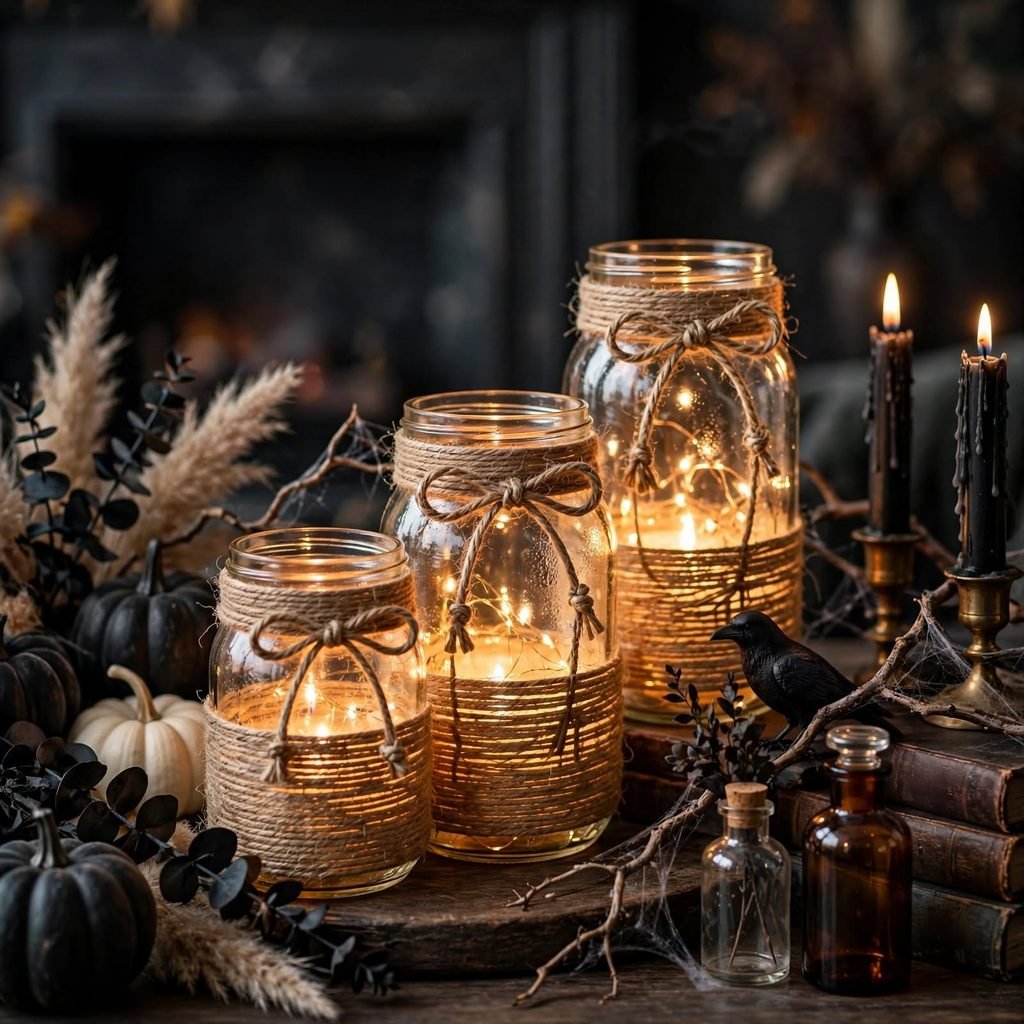
Wrapping a mason jar in twine from base to rim, securing with small dabs of hot glue every few rotations, then adding a flameless candle inside creates a rustic, gothic-adjacent lantern for a porch step or mantel. Tucking a few dried leaves or a small black ribbon bow into the twine near the top finishes the look. This project scales easily to produce several matching lanterns in one sitting.
10. DIY Raven Silhouette Prop
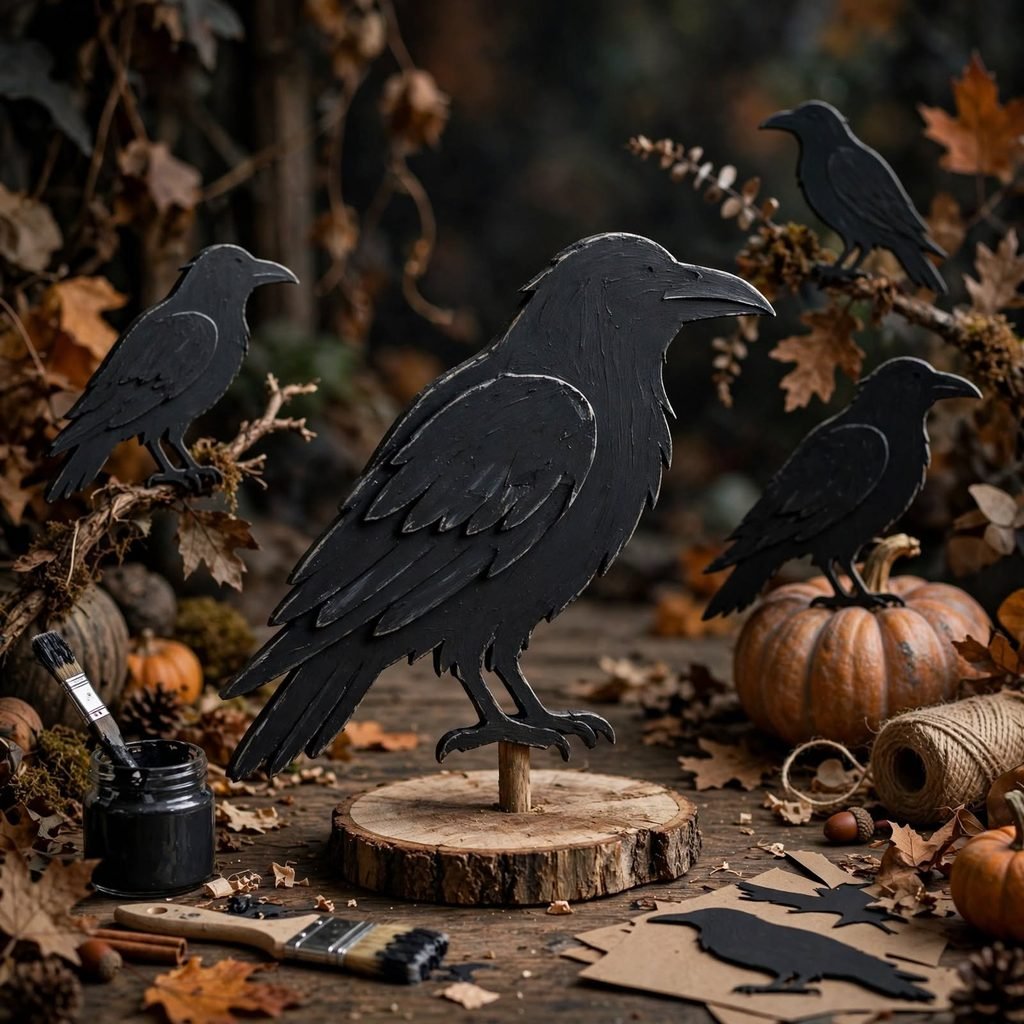
Cutting a raven silhouette from foam board or thick cardstock, then painting it matte black and adding a small wire to prop it on a shelf or wrap around a branch, creates a reusable gothic accent without the cost of a store-bought realistic figure. Using a template traced from a printed image gives a more accurate, recognizable shape than a freehand cut. This project takes under an hour and produces a piece durable enough to store and reuse each year.
11. Aged Mirror Frame Distressing
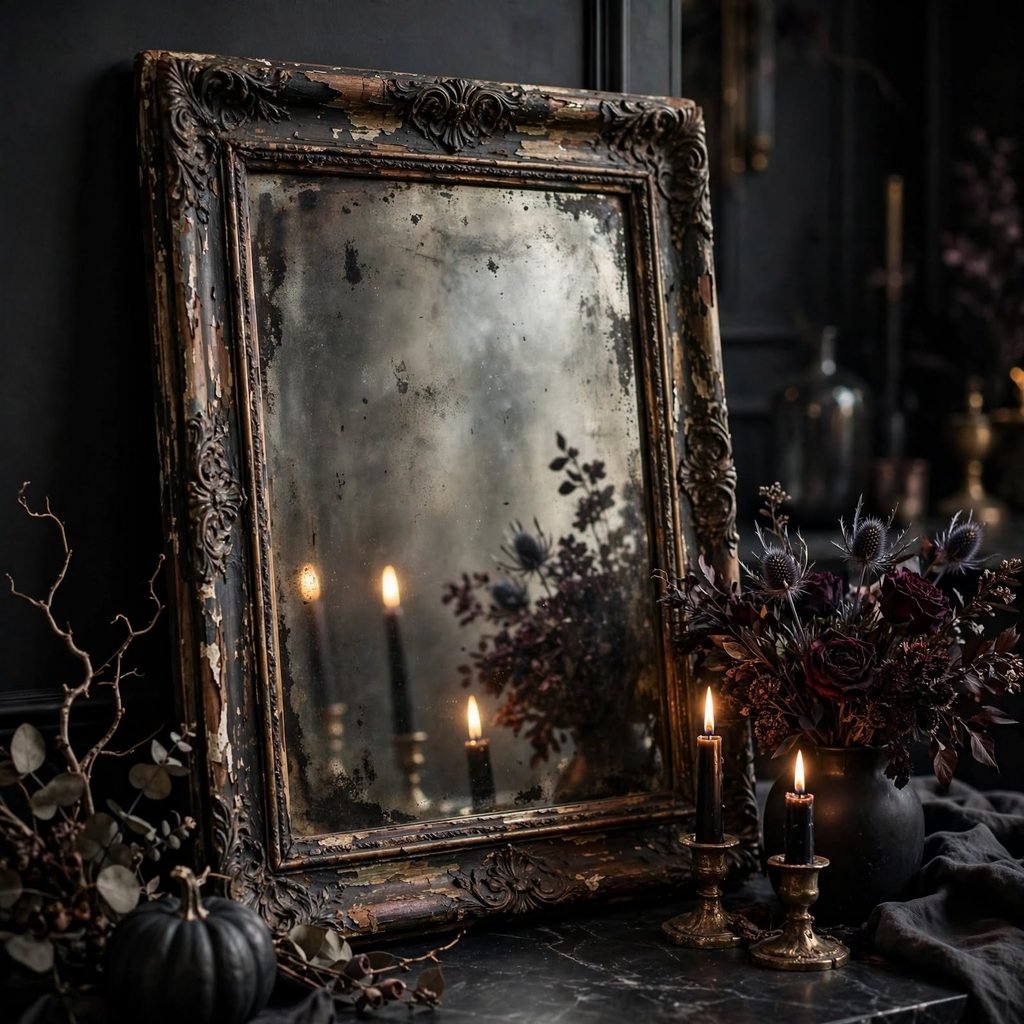
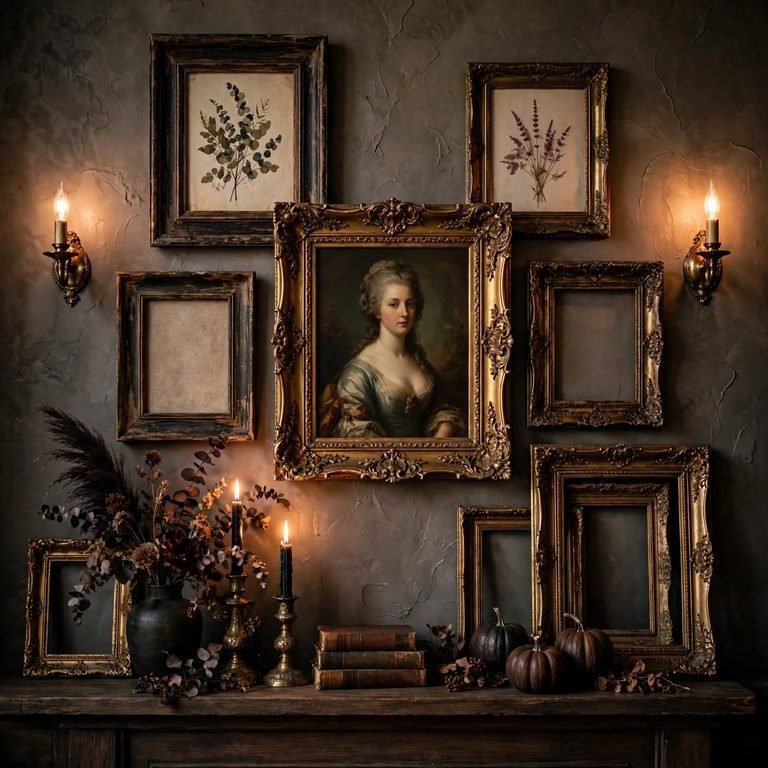
Applying a dry-brush technique with black and dark gray paint over an existing gold or plain wood mirror frame creates an aged, antique look suited to a gothic Halloween display without buying a new mirror. Wiping away excess paint immediately after applying keeps the distressed effect looking intentional rather than heavy-handed. This technique also works on picture frames or small furniture pieces already in the home.
12. Dried Orange and Clove Pomander Cluster
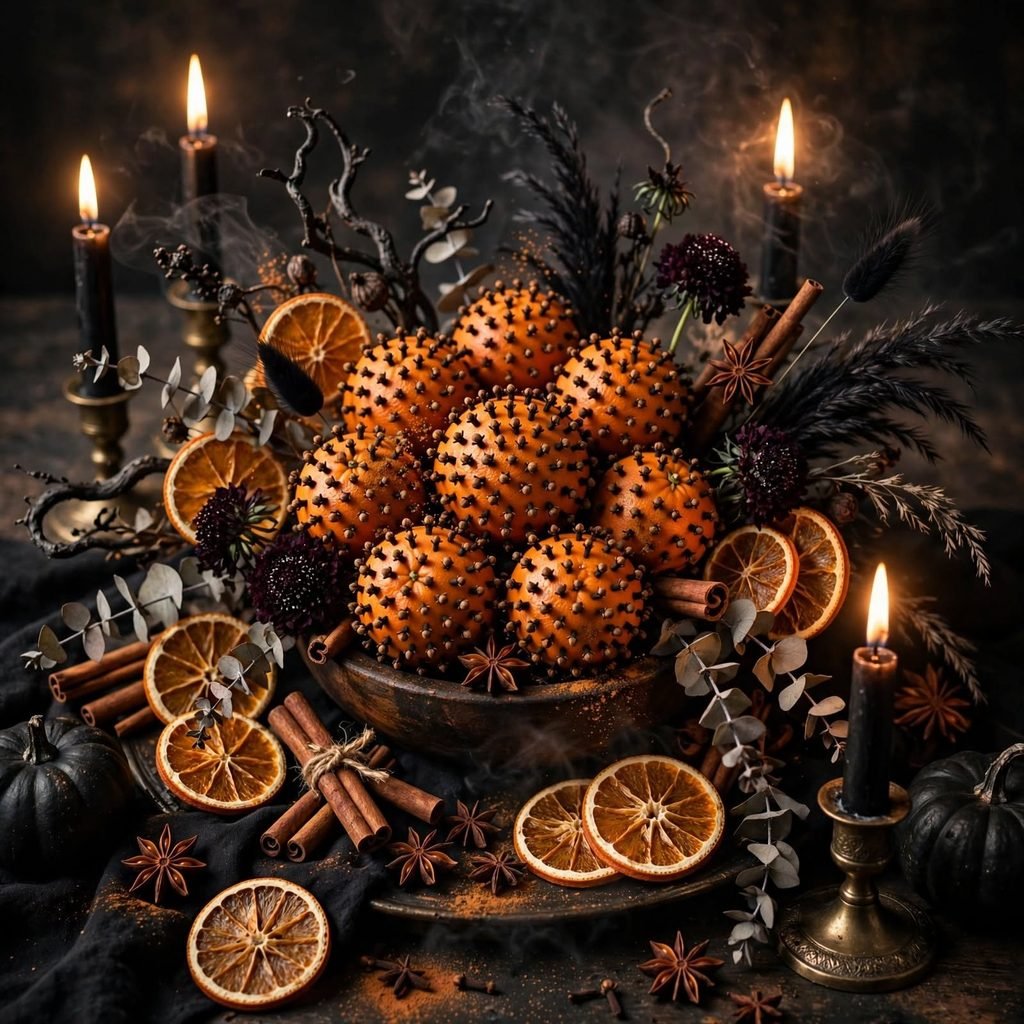
Studding small dried oranges with whole cloves in a simple pattern, then tying several together with black ribbon, creates a fragrant, natural accent that reads as more sophisticated than a plastic seasonal ornament. This project takes about fifteen minutes per pomander once the oranges have fully dried, which can take one to two weeks depending on size. Clustering several together in a bowl or hanging them from a mantel adds both scent and texture to a Halloween display.
Shop the Look
A set of unfinished faux pumpkins works well as a base for the blackened paint project, paired with matte black spray paint and a can of matte sealant. Add a roll of cotton batting for DIY spiderwebbing, a plain brass candelabra for the aging technique, and a bundle of plain glass bottles for the apothecary label project.
Common Mistake to Avoid
The most common mistake with Halloween decor DIY projects is skipping the sealing or protective step, which leaves painted pumpkins chipping within days or aged metal finishes rubbing off onto hands and surfaces. Apply a matte sealant to any painted piece and a light protective coat to distressed metal finishes, since this step is what determines whether a DIY project holds up for one season or several years of reuse.
FAQs
What Halloween decor DIY projects work for beginners?
Blackened faux pumpkins, silhouette window clings, and twine-wrapped mason jar lanterns require no specialized skills or tools beyond basic painting and cutting, making them accessible starting points. All three can typically be completed in under an hour per piece, allowing for several finished items in a single afternoon.
How do I age or distress metal for a gothic Halloween look?
A simple vinegar-and-salt solution applied to brass or gold objects creates a tarnished, aged patina within a few hours to a day, depending on how strong the effect needs to be. Testing on a small hidden area first helps control how far the aging process goes before it affects the entire piece.
What supplies do I need for basic Halloween decor DIY projects?
Matte black spray paint, a sealant, cotton batting or polyester stuffing, and a few unfinished faux pumpkins or plain glass bottles cover most of the projects on this list without requiring specialty tools. Adding cardstock and a craft knife expands into the silhouette and label-based projects without much additional cost.
How long does homemade Halloween decor last?
Properly sealed painted pieces and aged metal finishes can last multiple Halloween seasons with appropriate storage, while unsealed paint or unprotected distressed finishes may only hold up for a single season before chipping or rubbing off. Storing finished pieces in a cool, dry place between seasons extends their usable life significantly.
Can I make elevated Halloween decor without buying new supplies?
Many of these projects, including the vintage book stack, aged mirror frame, and apothecary bottle labels, can be made largely from items already on hand, like books, mirrors, and saved glass bottles. This makes DIY Halloween decor one of the more budget-friendly ways to achieve a gothic, elevated look compared to purchasing pre-made pieces.
Conclusion
Halloween decor DIY projects work best when a few reliable techniques painting, aging, and drying get applied across several pieces in one sitting, producing a cohesive, elevated look for a fraction of retail cost. Save this list to Pinterest for your next crafting weekend, and check out our related guide on small bedroom storage solutions for more budget-friendly seasonal project inspiration.