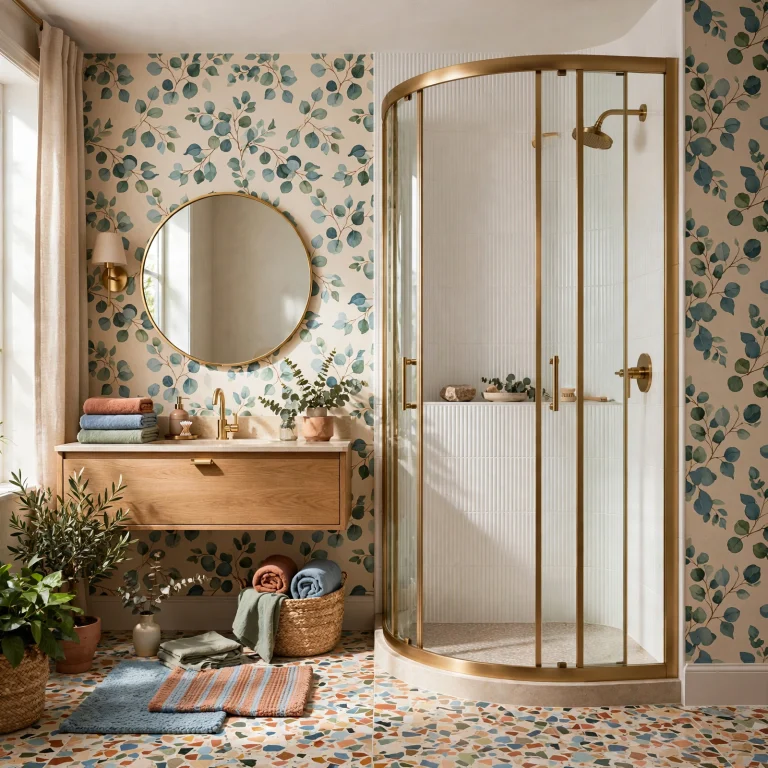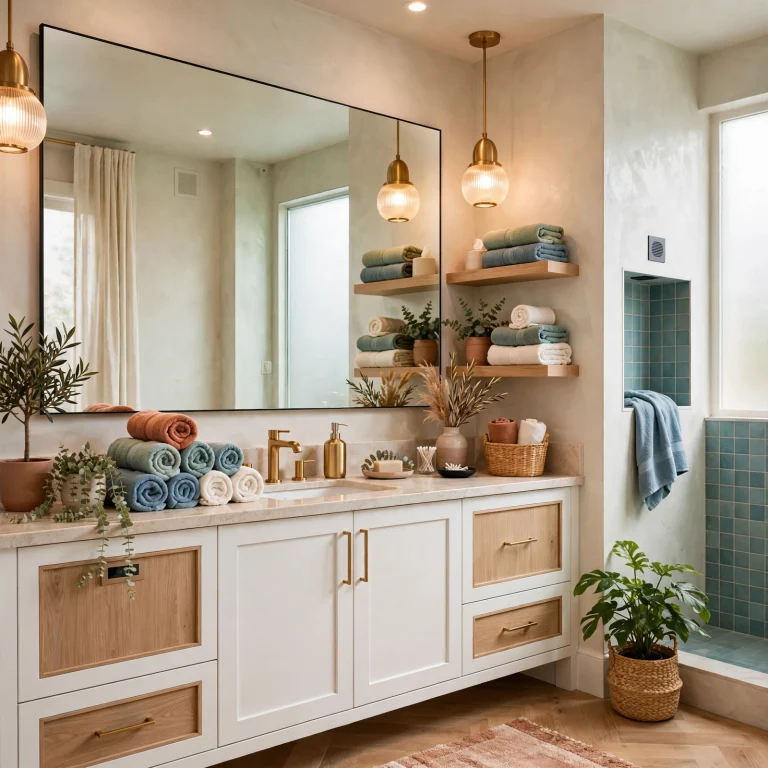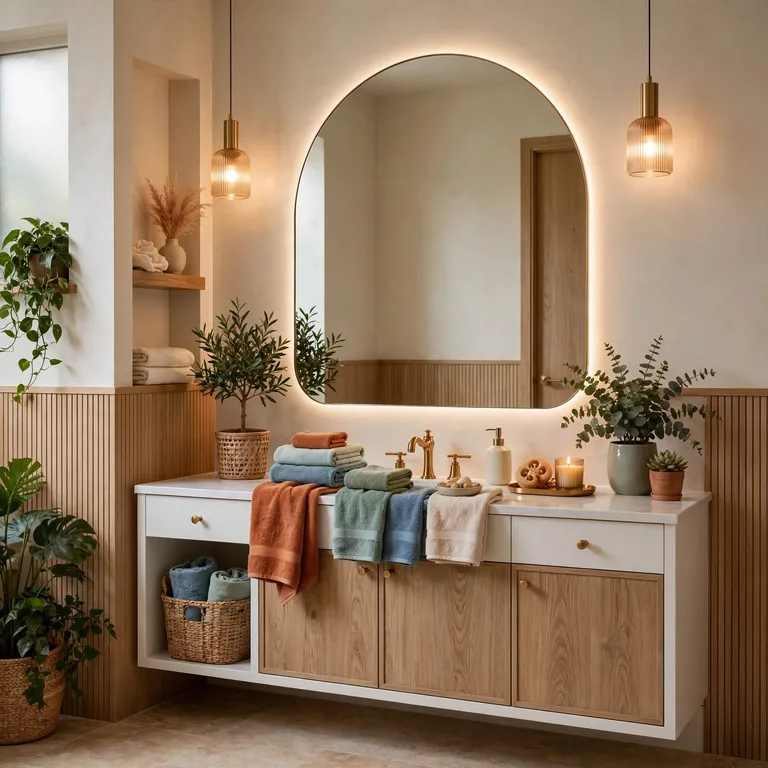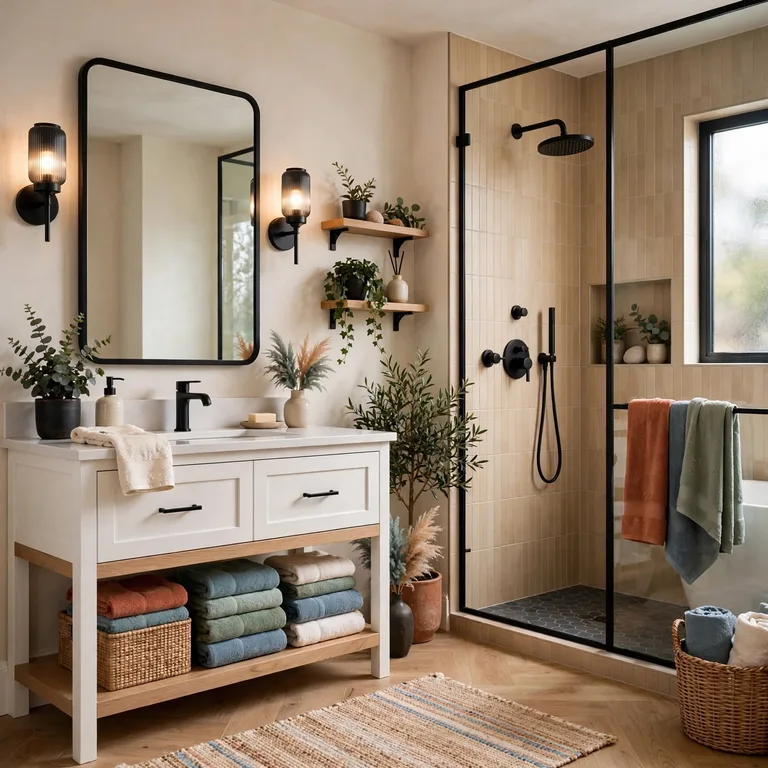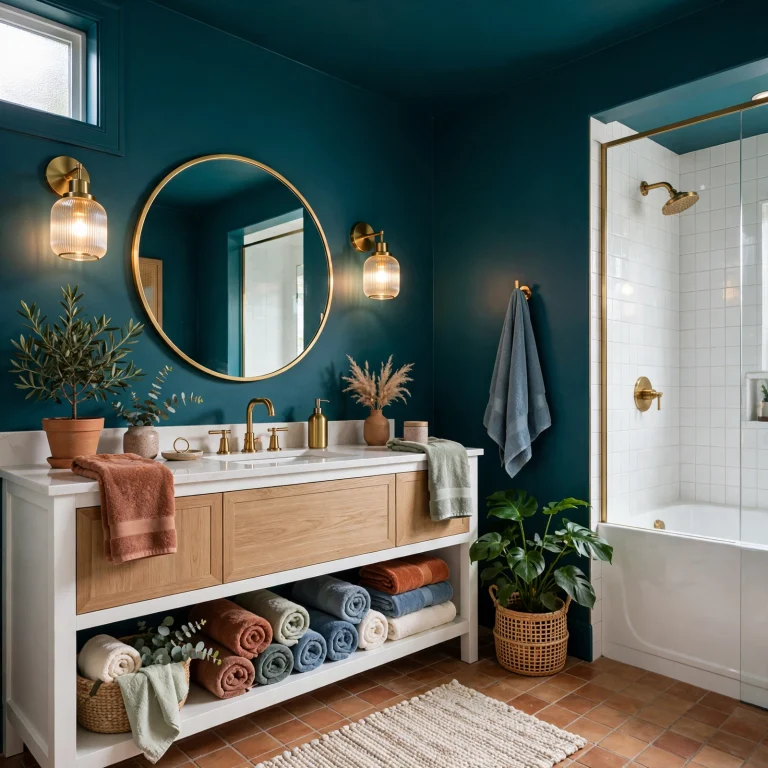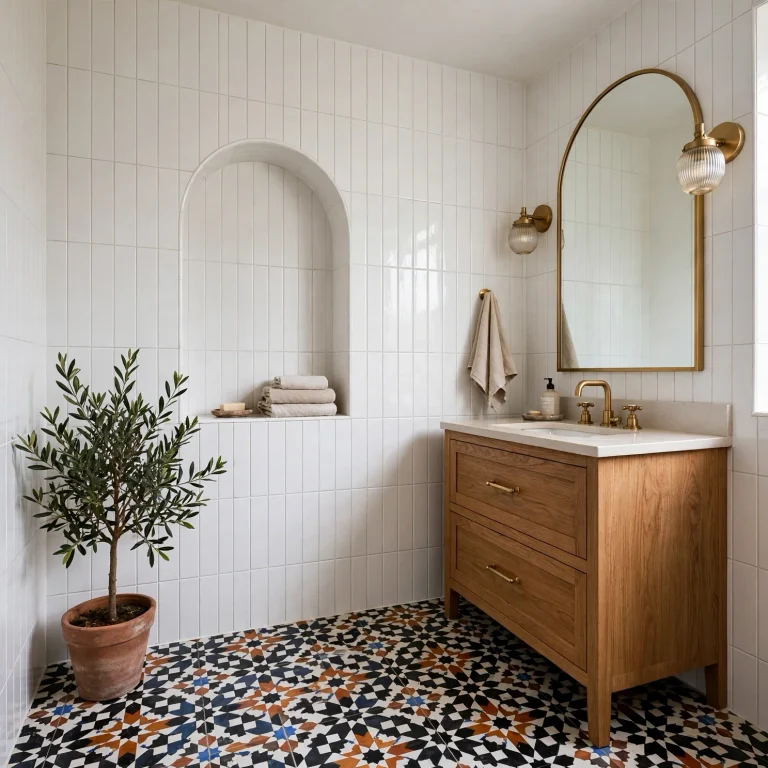
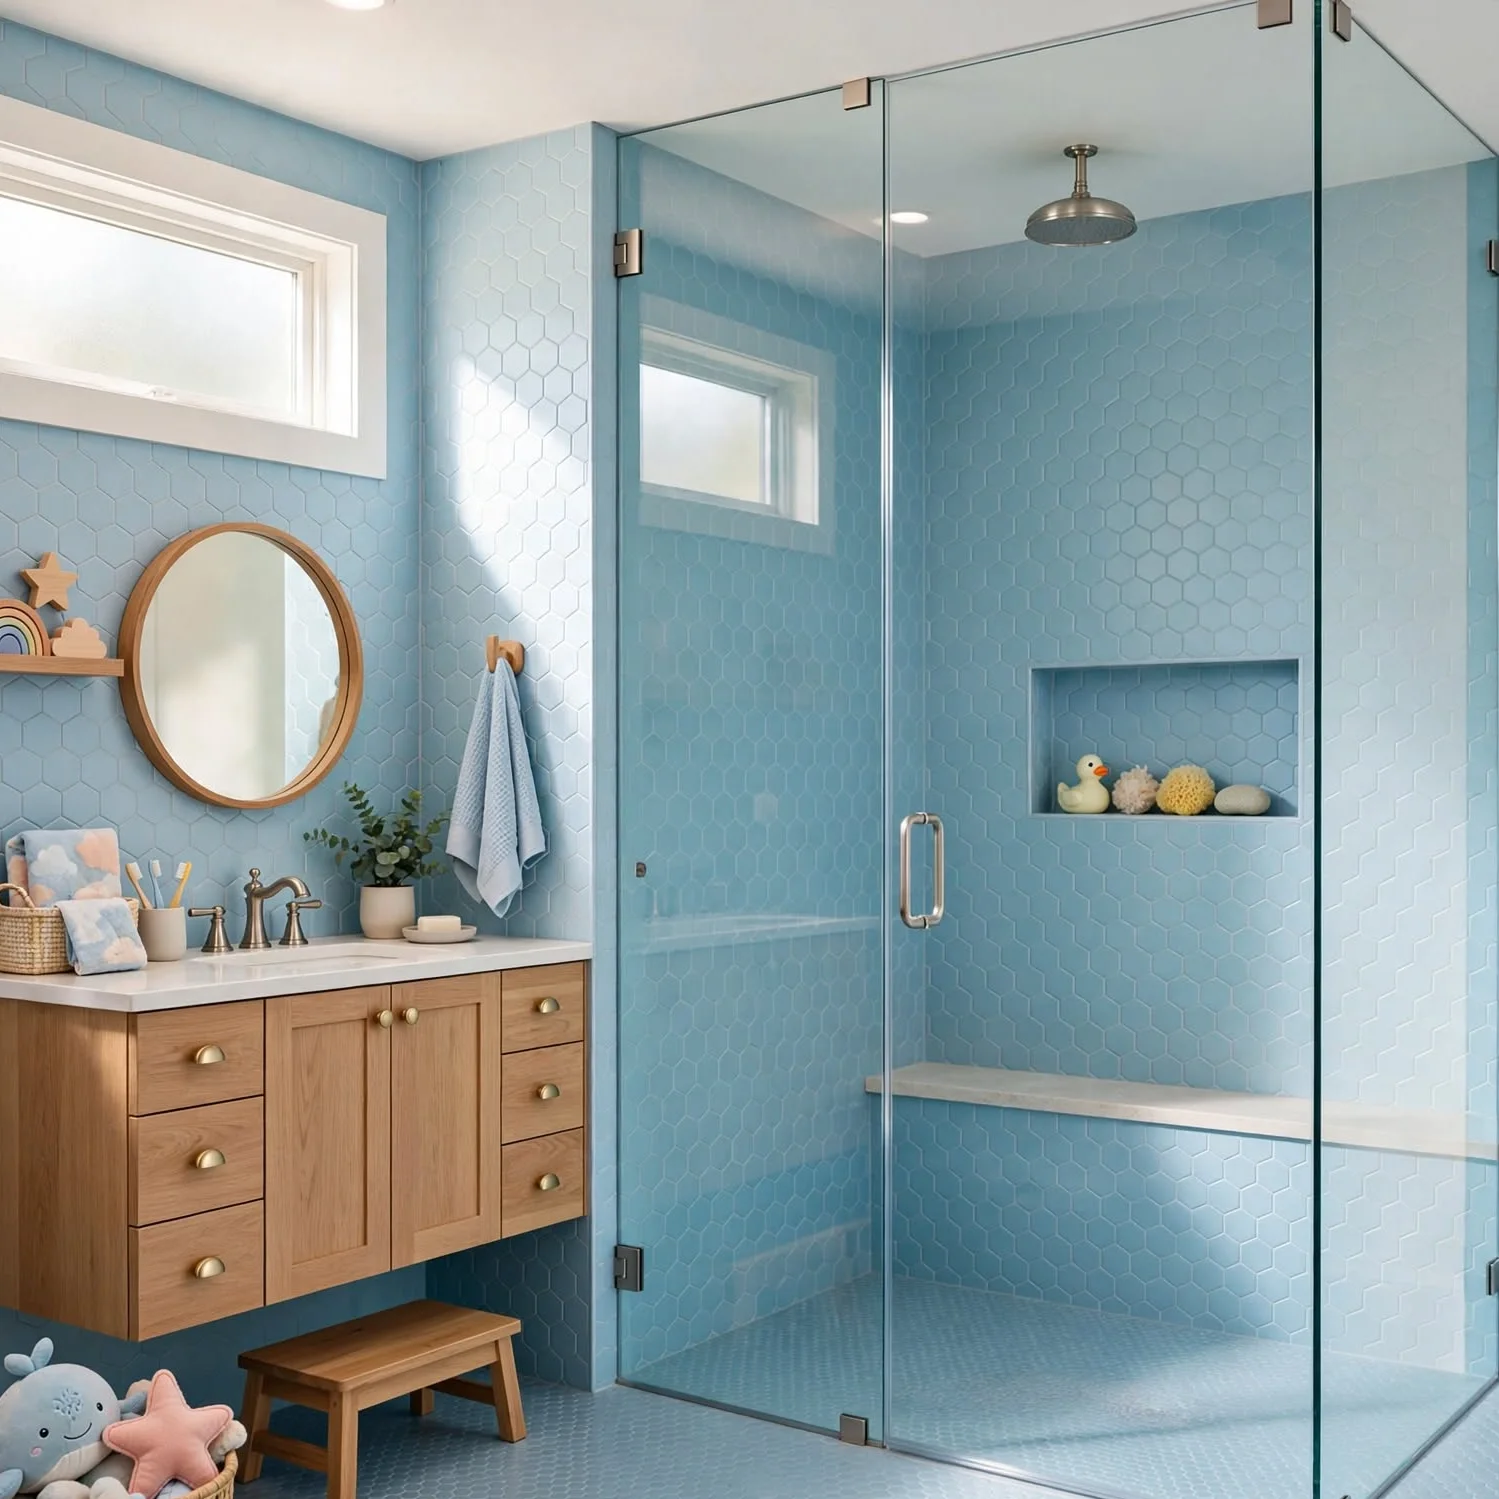
15 Creative Bathroom Design Ideas Designers Use to Elevate a Room
Certain bathroom design ideas consistently distinguish a professionally designed room from one assembled purely from a fixture and tile shopping list, and most of them come down to a handful of specific techniques rather than any single expensive purchase. This guide covers fifteen of those techniques, from waterfall tile edges to concealed hardware, each explaining not just what the detail is but why it produces a more polished, intentional result. Every idea here can be applied within nearly any style direction, from minimalist to traditional.
Trend & Background
Bathroom design has increasingly incorporated the kind of small, considered architectural and material details once reserved primarily for high-end custom projects, as these techniques have become better understood and more broadly accessible even within moderate renovation budgets. This reflects a shift in how homeowners approach bathroom planning generally, moving from a purely fixture-and-tile shopping mentality toward genuine attention to transitions, concealment, and material continuity that professional designers have long relied on to elevate a space. Many of these techniques cost relatively little to implement when planned early in a renovation, but become considerably more expensive or impossible to add once a project is already underway.
Key Takeaways
- Small architectural details, a recessed niche, a stepped ceiling, often distinguish a genuinely well-designed bathroom more than any single fixture.
- Repeating a material or color across at least three surfaces creates the cohesion that separates intentional design from assembled parts.
- Concealment, of cords, hardware, and transitions, is one of the most consistent techniques professional designers rely on.
- A single unexpected detail, a ceiling treatment or a sculptural faucet, often does more for a room’s character than several smaller additions.
1. Waterfall Tile Edge on a Vanity or Tub Surround
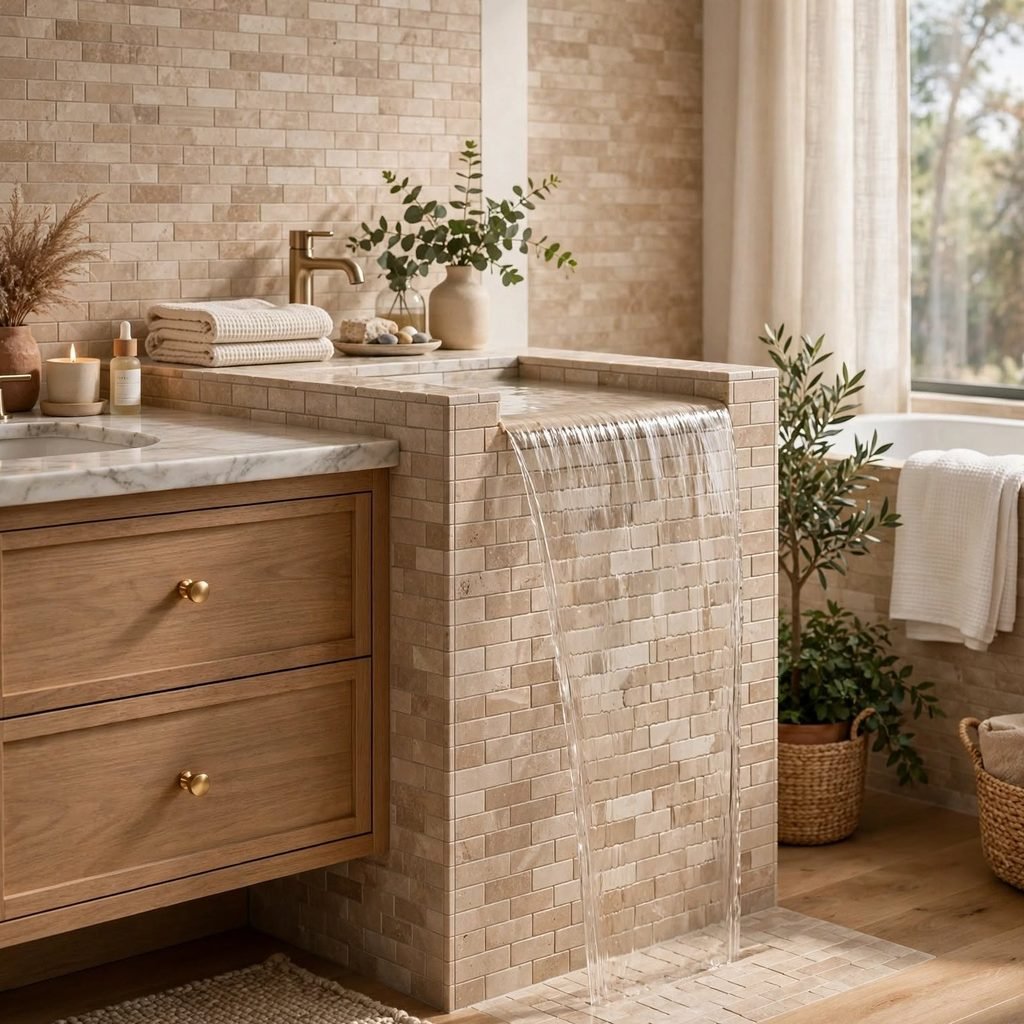
A waterfall tile edge, where the same tile or stone material wraps continuously from a horizontal surface down a vertical side without any visible seam or trim piece, creates a seamless, sculptural quality that a standard mitered or trimmed edge doesn’t achieve. This technique works particularly well on a vanity countertop or a tub surround, treating the material as a continuous form rather than a flat surface with separate edges. This detail requires more precise fabrication and installation than a standard edge treatment, generally increasing both material waste and labor cost.
2. Recessed Toe-Kick Lighting
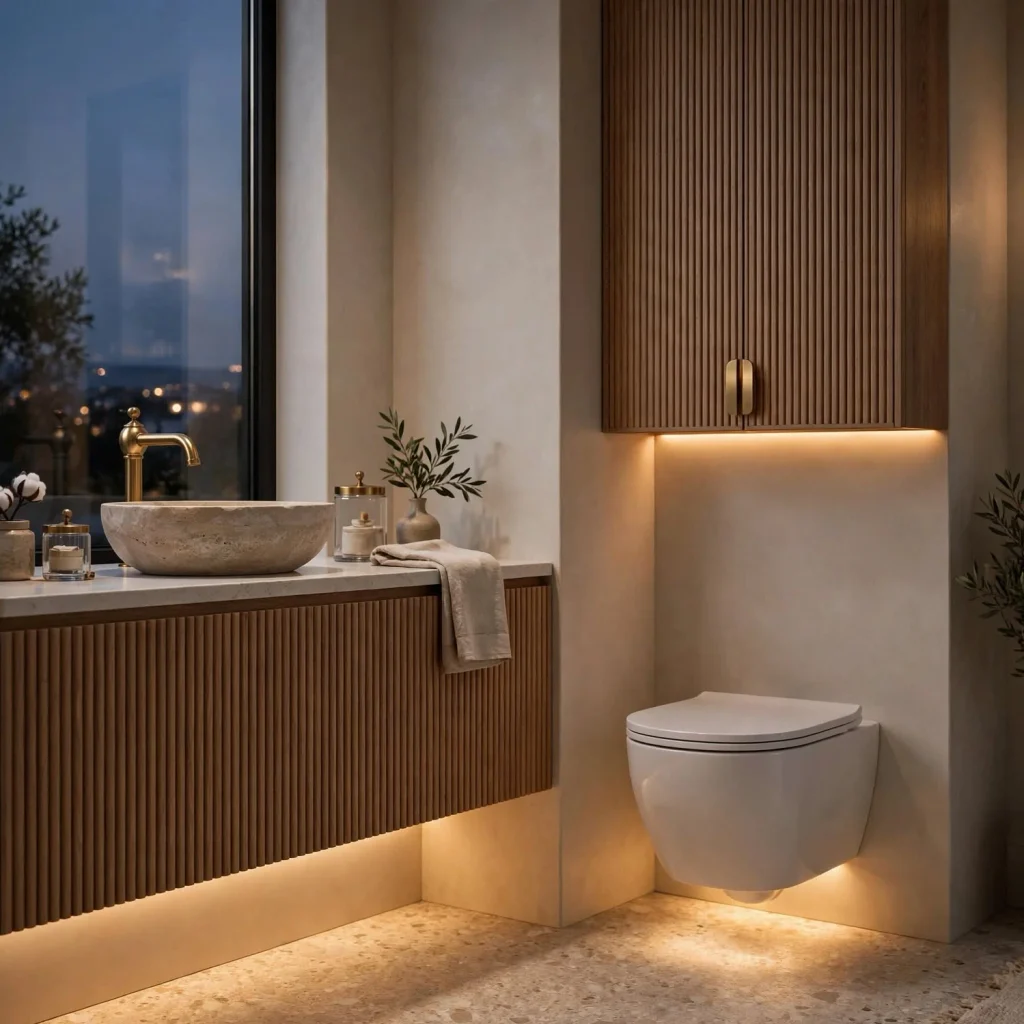
Recessed lighting installed within a vanity’s toe-kick, the small recessed space at the cabinet’s base, provides a subtle, functional glow useful for nighttime bathroom visits without requiring a bright overhead light. This detail also adds a quiet, sophisticated visual touch, making the vanity appear to float slightly above the floor when the light is illuminated. This installation requires electrical planning during the renovation’s early stages, since retrofitting this detail into an existing vanity after installation is considerably more difficult.
3. Continuous Material From Wall to Ceiling
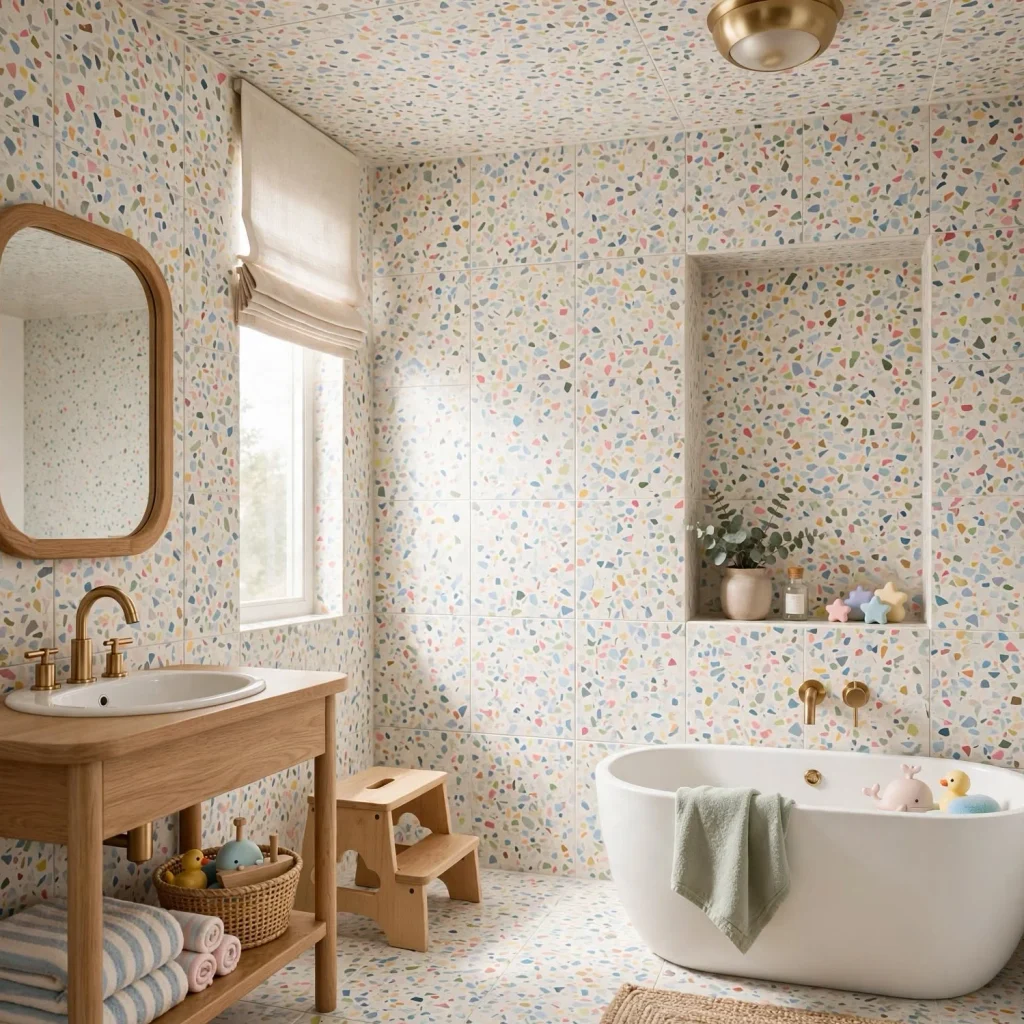
Extending the same tile or material continuously from a bathroom’s walls onto the ceiling, rather than stopping at a standard ceiling line and switching to paint, creates an immersive, cocooning effect that reads as considerably more intentional and high-end than a conventional stopping point. This technique works particularly well in a smaller bathroom or a shower area specifically, where the continuous material eliminates a visual break that can make a compact space feel more chopped up. This approach does increase material cost given the additional ceiling coverage required.
| Technique | What It Does | Best Applied To |
| Waterfall edge | Removes visible seams | Vanity, tub surround |
| Toe-kick lighting | Subtle function, floating effect | Floating or standard vanity |
| Continuous ceiling material | Eliminates visual break | Shower, small bathroom |
| Concealed hardware | Uninterrupted surfaces | Cabinetry, storage |
4. Concealed Cabinet Hardware
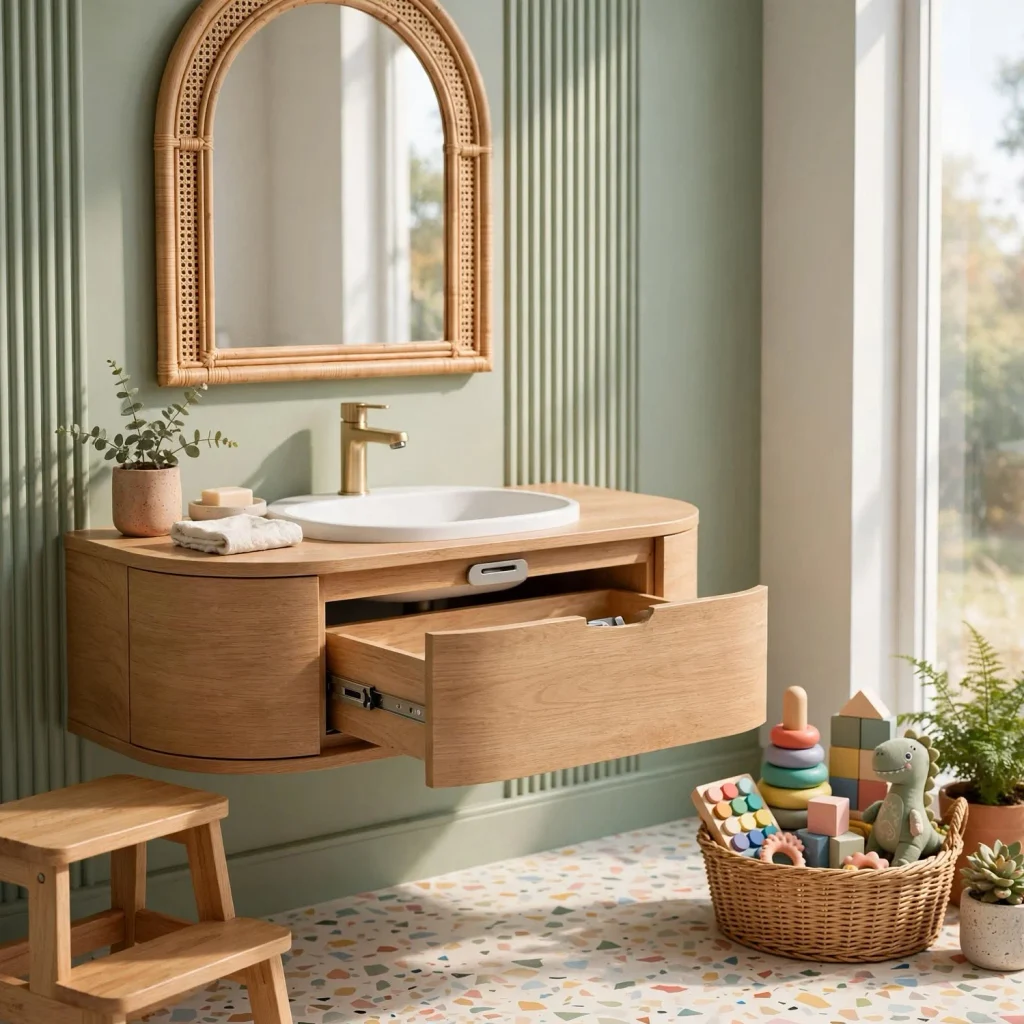
Choosing push-to-open cabinet mechanisms or fully integrated finger-pull channels, rather than visible knobs or pulls, keeps a bathroom’s cabinetry surfaces uninterrupted and clean, a detail that consistently distinguishes a considered, high-end design from a more standard installation. This approach requires more precise manufacturing than standard visible hardware, but produces a noticeably sleeker overall result once installed. This detail applies particularly well to vanity cabinetry and any built-in storage, where visible pulls can otherwise disrupt an intentionally minimal composition.
5. Stepped or Coffered Ceiling Detail
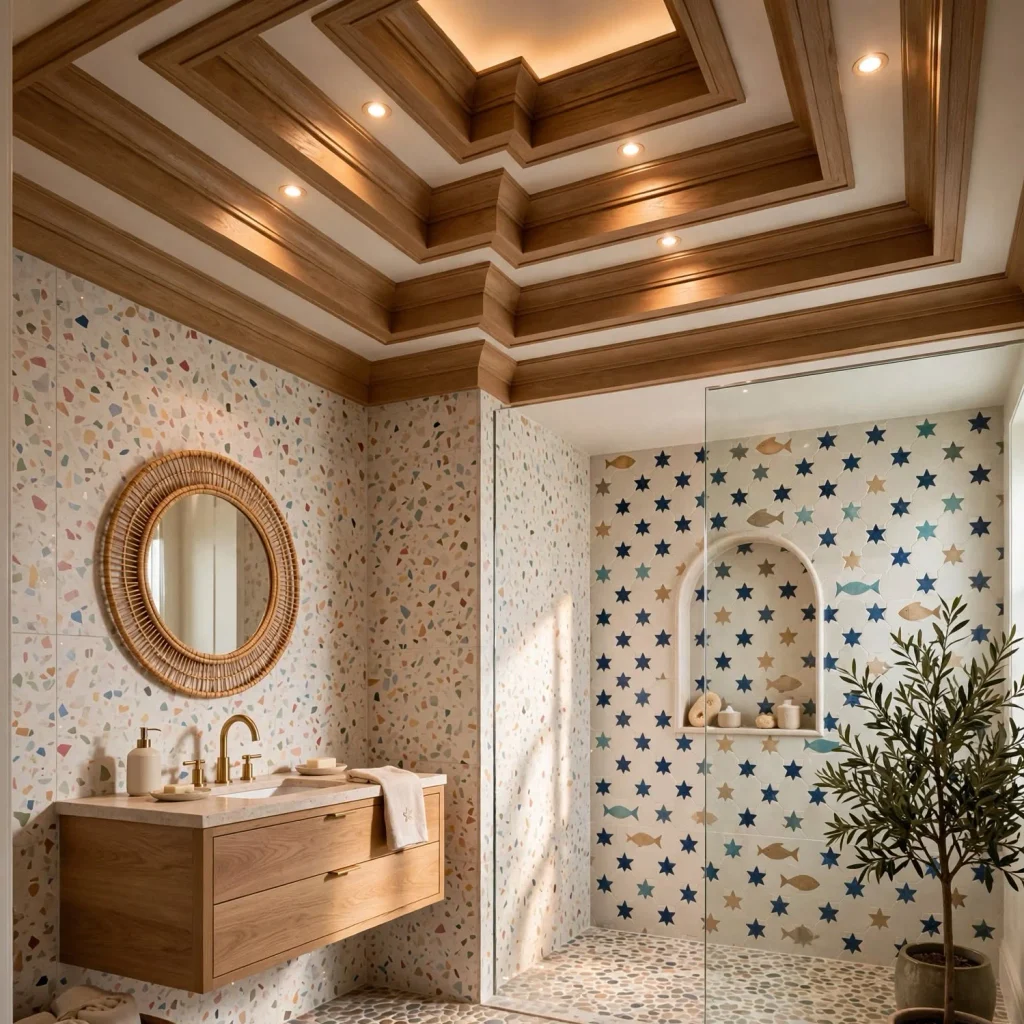
A stepped or coffered ceiling treatment, using a simple recessed panel or a change in ceiling height, adds architectural interest to a bathroom’s often entirely overlooked fifth surface. This detail works particularly well in a primary bathroom with adequate ceiling height, where the added dimension gives the room genuine architectural presence beyond its wall and floor treatments. Positioning a light fixture within this stepped detail, rather than treating the ceiling change and lighting as separate decisions, further integrates this architectural feature into the room’s overall function.
Make your bathroom more practical with these bathroom storage ideas for organizing everyday essentials while maintaining a clean look.
6. Repeating a Material Across at Least Three Surfaces
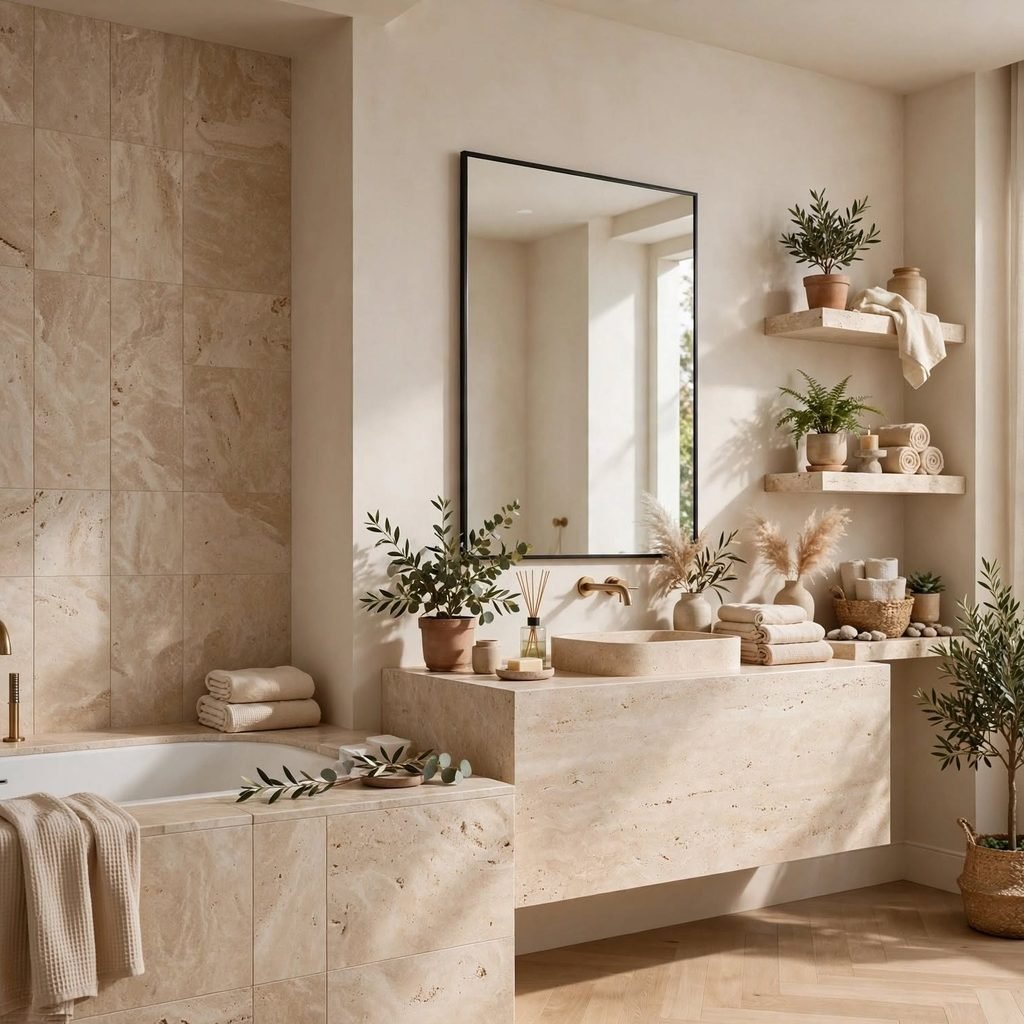
Repeating a specific material, a particular stone, a wood tone, or a metal finish, across at least three distinct surfaces or fixtures throughout a bathroom creates the sense of cohesion that separates a genuinely designed room from one assembled from individually attractive but unrelated pieces. This might mean the same marble appearing in the vanity top, a shower niche, and a small shelf detail, tying these otherwise separate elements together visually. This principle applies regardless of the specific materials or style chosen, functioning as one of the most reliable techniques for achieving a cohesive result.
7. Custom Vanity Sizing to the Exact Wall Dimension
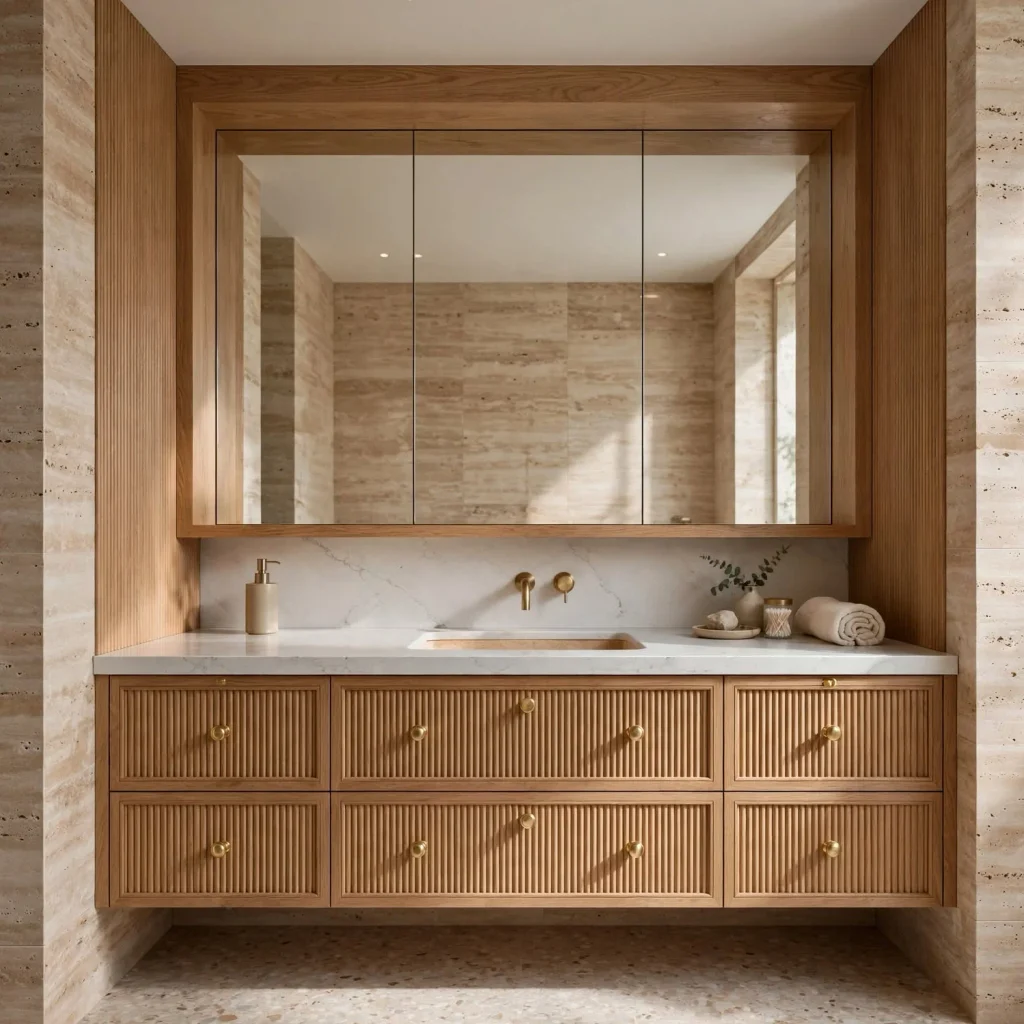
Building or ordering a vanity custom-sized to a bathroom’s exact wall dimension, rather than selecting the closest available standard size and accepting a gap on either side, produces a noticeably more finished, built-in appearance. This approach costs more than a standard off-the-shelf vanity but eliminates the visual awkwardness of mismatched proportions between the vanity and the wall it occupies. This detail matters particularly in a smaller or irregularly shaped bathroom, where a standard vanity size is less likely to fit the space precisely.
8. Floor-to-Ceiling Frameless Shower Glass
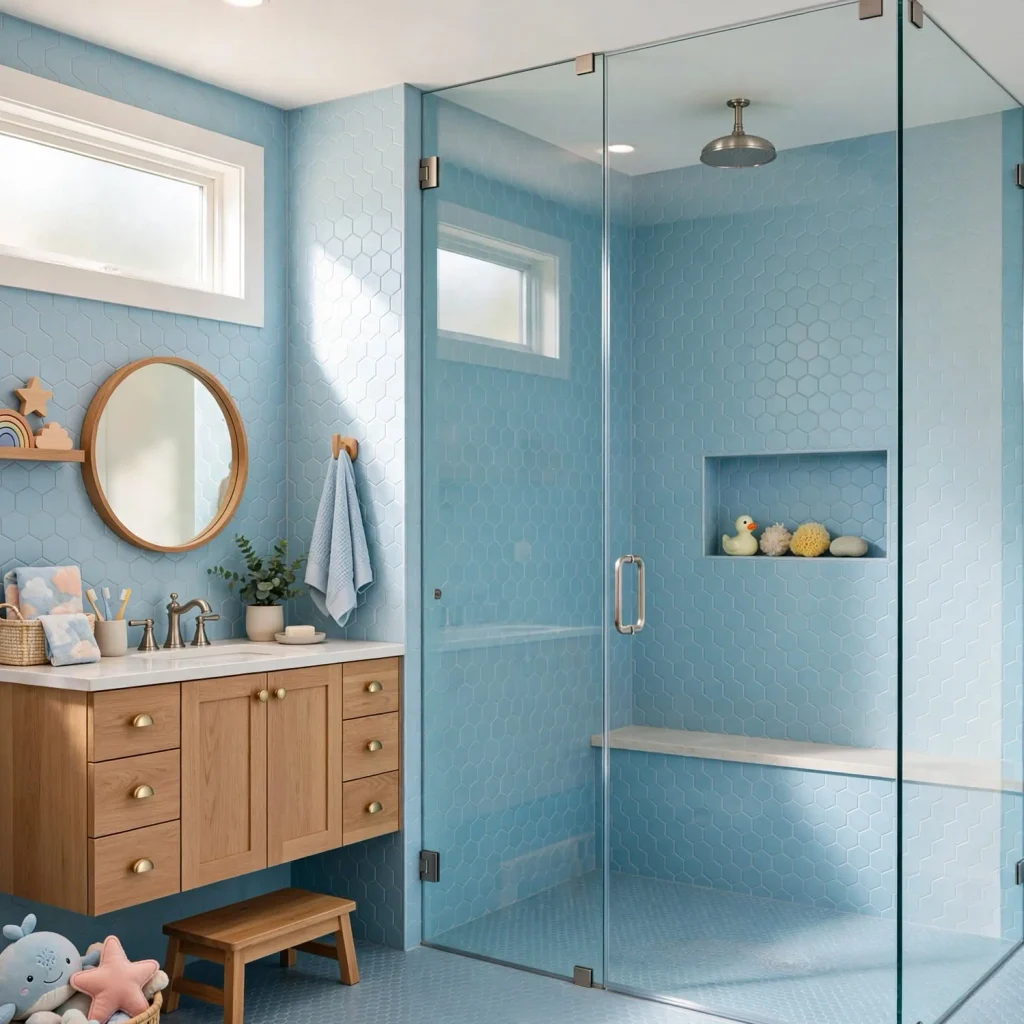
Extending frameless glass shower panels genuinely from floor to ceiling, rather than stopping at a standard 6 to 7 foot height with an open or framed section above, creates an uninterrupted sightline throughout the room that a partial-height enclosure doesn’t achieve. This detail requires taller glass panels, which increase both material cost and the structural support needed for safe installation. This technique works particularly well in a bathroom with genuinely tall ceilings, where the full-height glass emphasizes the room’s vertical proportions.
9. Integrated Niche Lighting
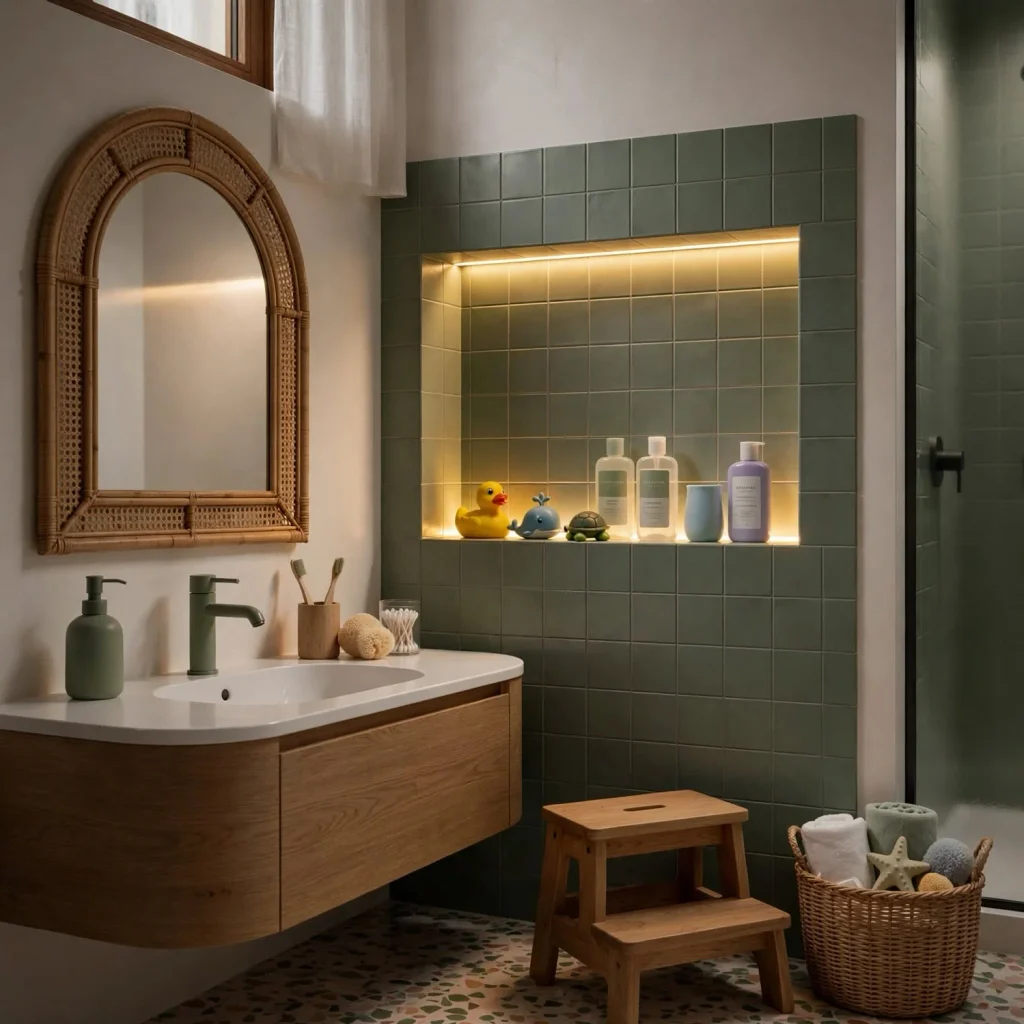
Adding a small light fixture directly within a recessed shower niche, rather than relying solely on the room’s general overhead lighting to illuminate this recessed storage area, creates a subtle but genuinely elevated detail that most bathrooms skip entirely. This lighting also serves a practical function, making it easier to identify products within the niche without relying on indirect light from elsewhere in the shower. This detail requires electrical planning during the niche’s initial construction, making it far easier to include from the outset than to retrofit later.
10. Matching Grout to Tile for a Monolithic Surface
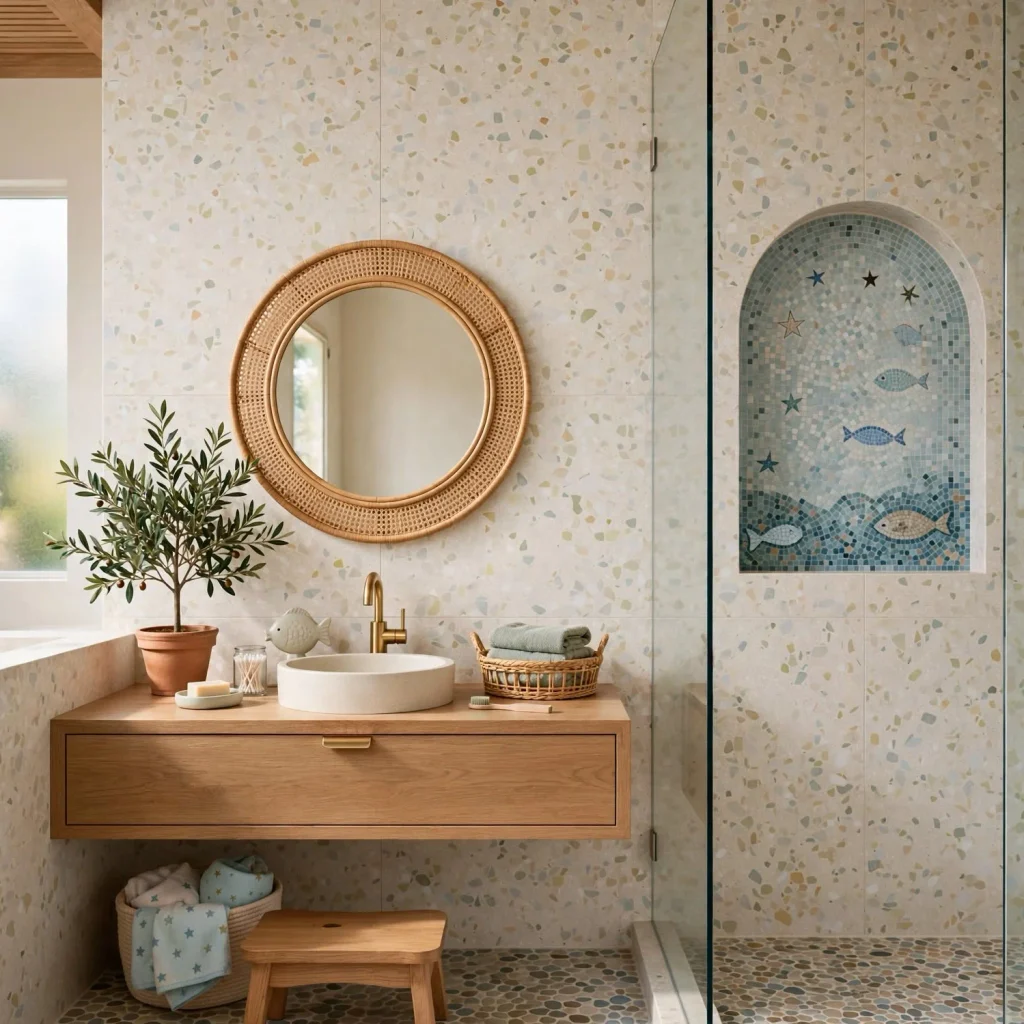
Choosing grout in a color closely matching the tile itself, rather than a contrasting grout that emphasizes each individual tile’s edges, produces a more monolithic, seamless surface appearance that reads as more considered and expensive regardless of the tile’s actual cost. This technique works particularly well with large-format tile or natural stone, where the goal is typically to showcase the material’s continuous visual quality rather than emphasize a grid pattern. This detail costs no more than a standard contrasting grout choice, making it one of the more accessible techniques on this list.
11. A Single Sculptural Faucet as the Room’s Anchor
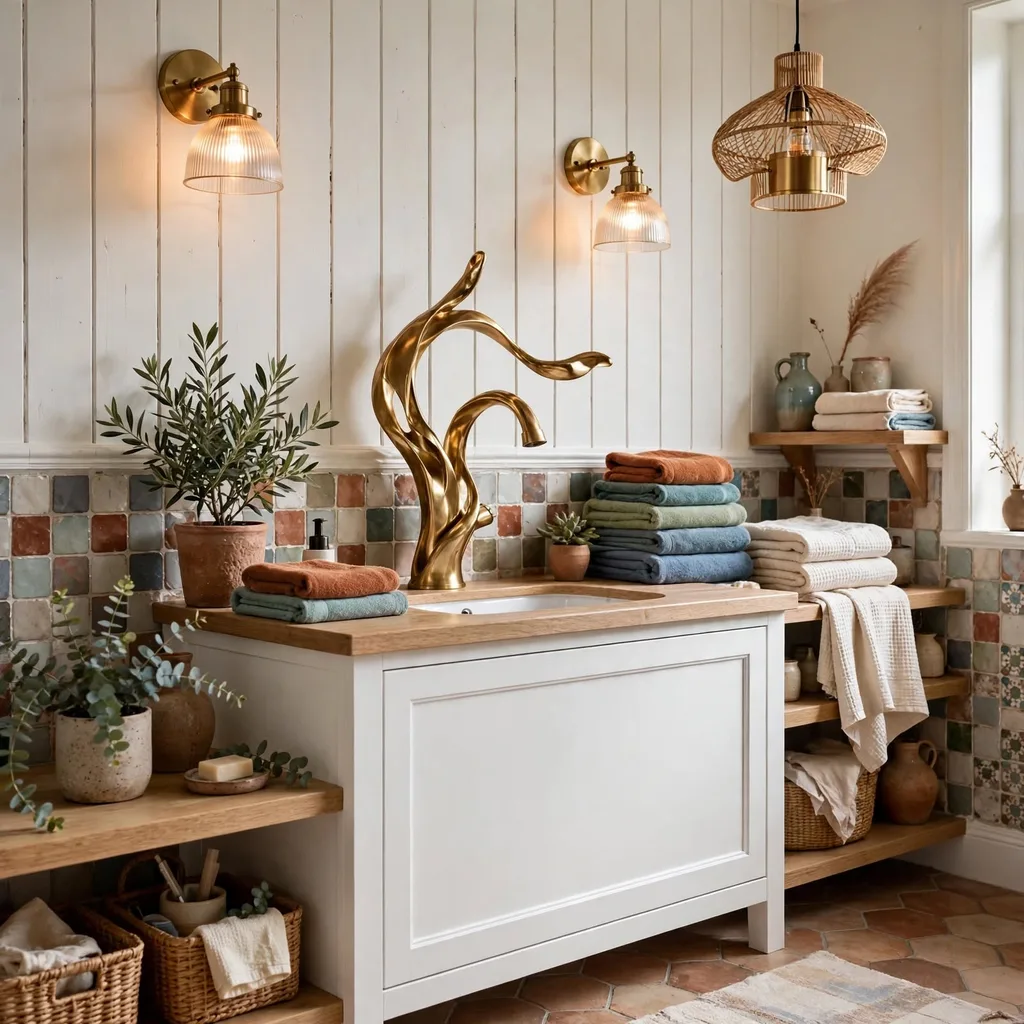
Selecting one genuinely sculptural, distinctive faucet, whether an unusual silhouette or a striking material choice, and allowing it to serve as a bathroom’s primary design statement, rather than spreading a design budget thinly across many smaller decorative choices, produces a more memorable and intentional-feeling result. This approach requires keeping the surrounding fixtures and materials comparatively simple, letting the statement faucet stand out clearly rather than competing with other bold choices. This technique reflects a broader design principle where one confident choice generally outperforms several smaller, competing ones.
12. Curved or Radiused Wall Detail
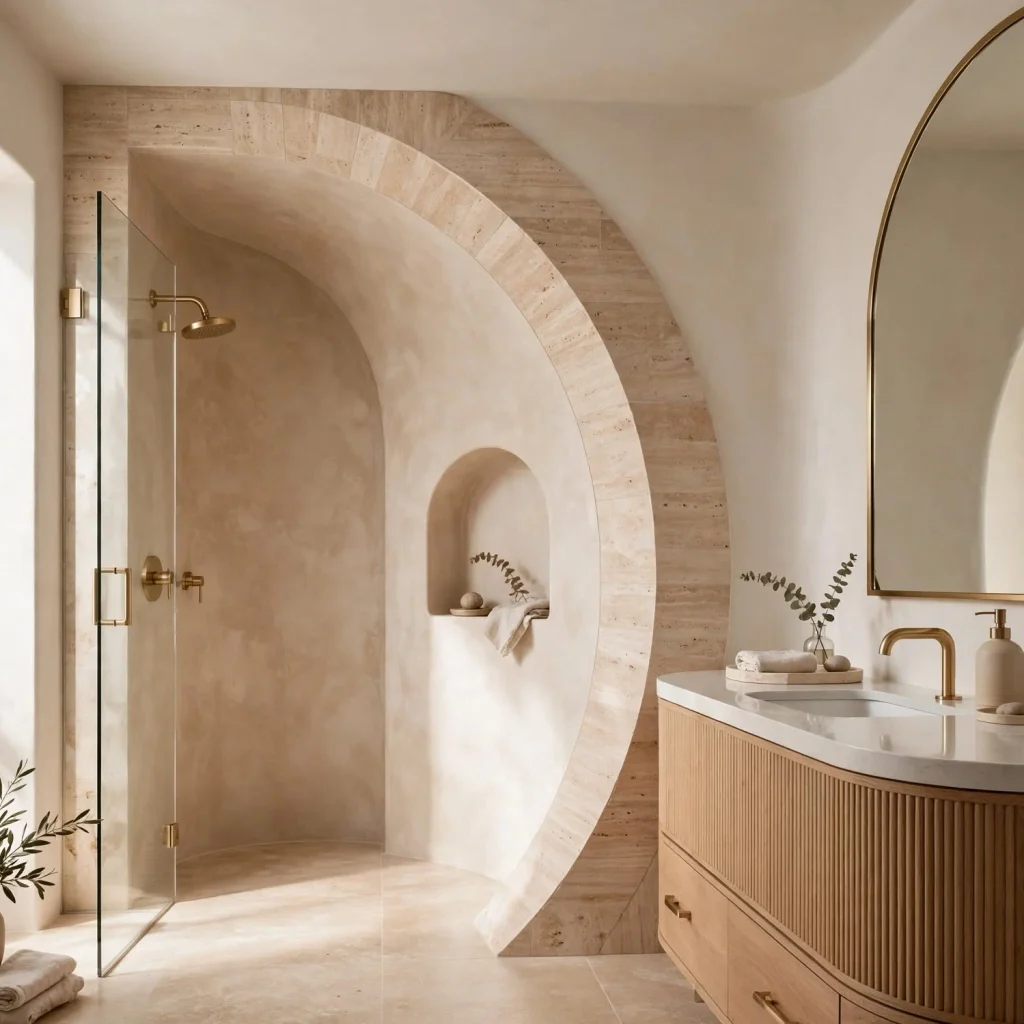
Introducing a curved or radiused wall detail, whether a rounded corner where a shower meets an adjacent wall or a fully curved partition, softens a bathroom’s typically boxy, rectangular geometry in a way that few standard renovations attempt. This detail requires more specialized construction than a standard straight wall, generally increasing both material and labor costs. This technique has grown in popularity alongside broader design trends toward curved, organic silhouettes throughout residential interiors.
13. Hidden or Minimized Transition Strips
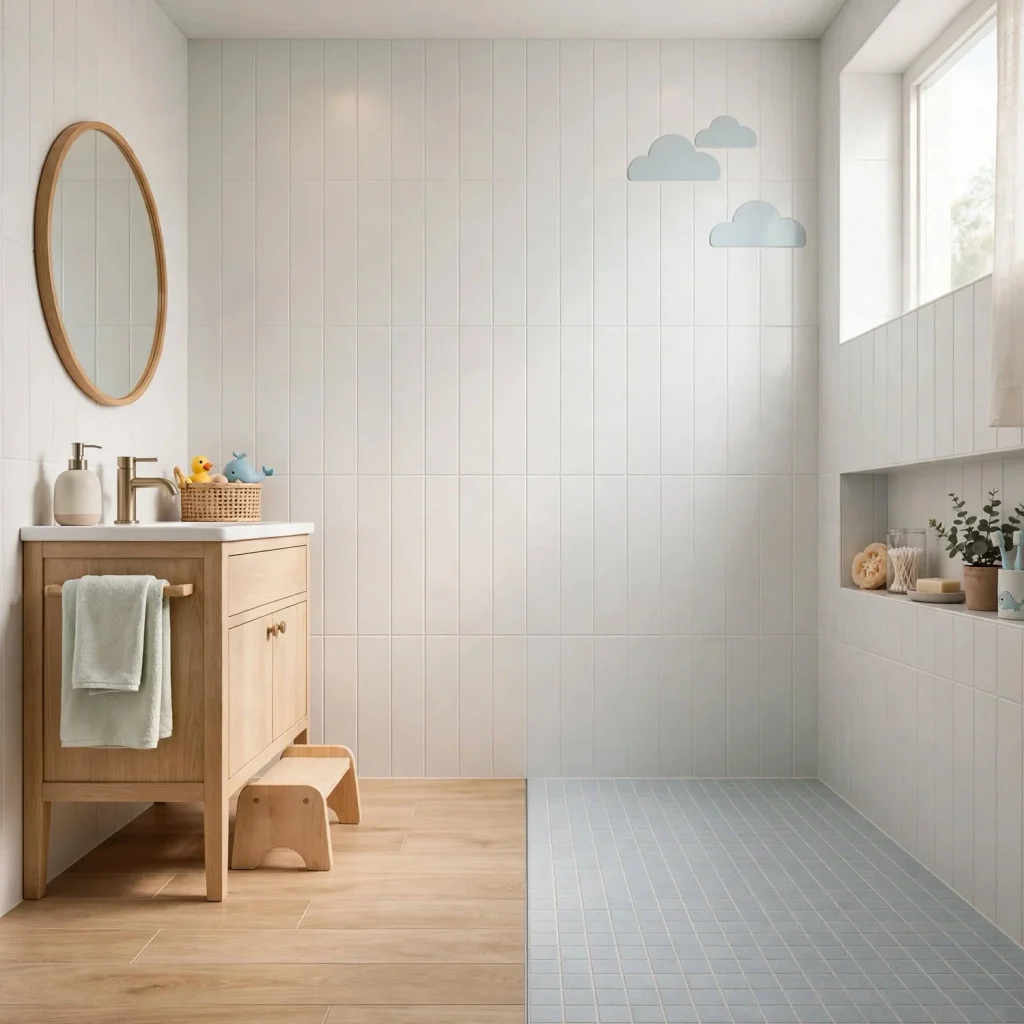
Specifying a flush or minimally visible transition between a bathroom’s flooring and an adjacent room’s different flooring material, rather than a standard raised metal transition strip, produces a noticeably cleaner, more considered result at the doorway threshold. This detail requires more precise floor leveling and installation planning than accepting a standard transition strip, but the resulting seamless appearance is one that many visitors notice, even if only subconsciously. This technique matters particularly when a bathroom’s tile meets a different flooring material, like hardwood, in an adjacent hallway or bedroom.
14. Layered, Zone-Specific Lighting Controls
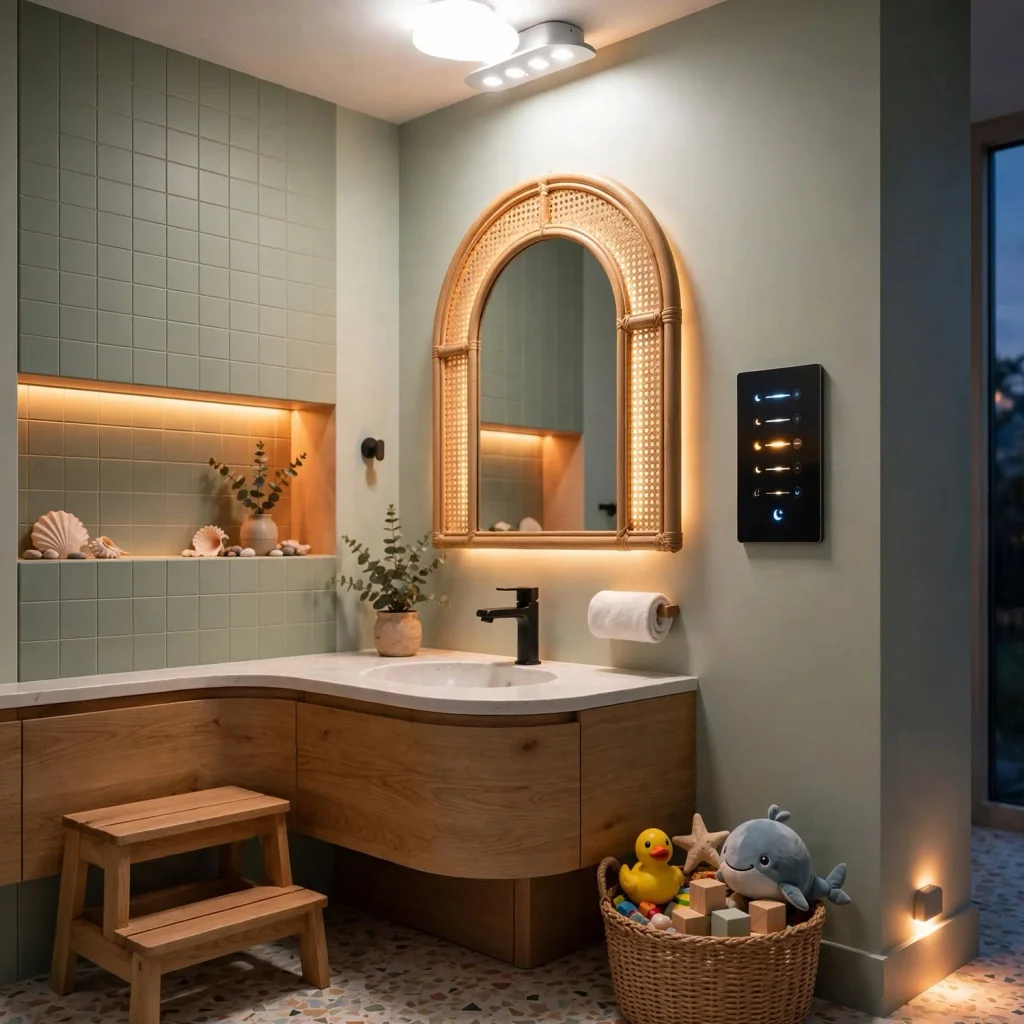
Wiring a bathroom’s different lighting zones, vanity task lighting, general ambient lighting, and any accent lighting like a niche or toe-kick detail, to independent switches or a smart control system allows each layer to be adjusted separately for different times of day and activities. This technique requires more electrical planning during the renovation’s rough-in stage than a single combined switch, but provides considerably more day-to-day functional flexibility. This detail also allows a bathroom’s more subtle accent lighting to remain on independently in the evening without requiring the room’s brighter task lighting to also be illuminated.
15. A Considered Transition Between Wet and Dry Zones
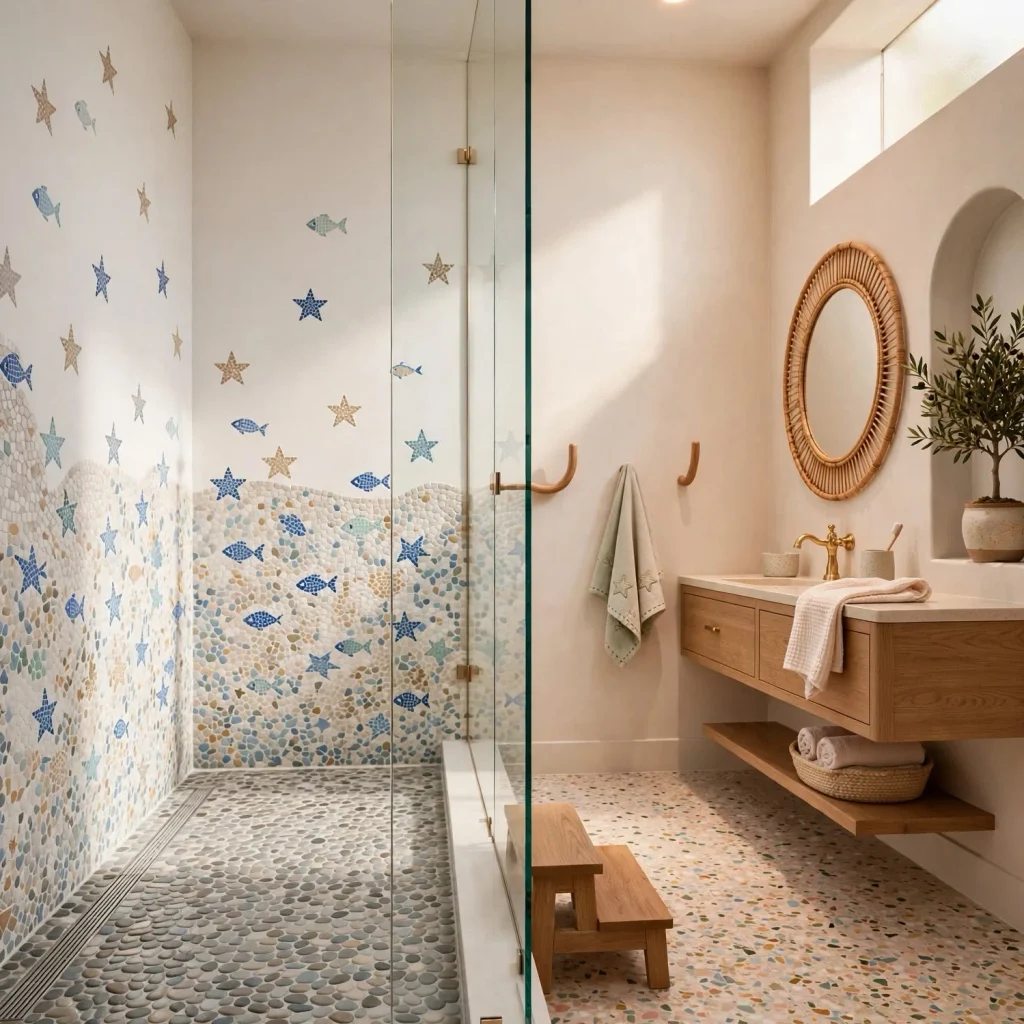
Designing a deliberate, considered transition between a bathroom’s wet zone, the shower or tub area, and its dry zone, the vanity and remaining floor space, using a material change, a slight level change, or a glass partition, rather than leaving this boundary undefined, gives the room a genuine sense of spatial planning beyond simply fitting fixtures into the available footprint. This technique might involve continuing one tile through the wet zone and transitioning to a different material, like wood-look tile, in the dry zone, or using a curbless shower’s floor slope itself as the defining transition. This consideration, while subtle, significantly affects how intentional and well-planned the finished room feels to move through daily.
Shop the Look
Prioritizing techniques over purchases matters most here: request a custom-sized vanity rather than the nearest standard option, specify matching grout rather than a default contrasting choice, and ask your contractor about toe-kick and niche lighting during the electrical rough-in stage. If budget allows for one splurge, choose a genuinely sculptural faucet and keep the surrounding fixtures simple to let it serve as the room’s clear anchor. For tile work, request a waterfall edge on the vanity or tub surround where the material and budget allow.
Common Mistake to Avoid
A common mistake in bathroom design is assuming that elevated, designer-quality results require significantly higher fixture and material budgets, when many of the techniques that most distinguish a well-designed bathroom, matching grout, concealed hardware, custom vanity sizing, cost relatively little beyond the decision to specify them clearly during planning. These details are easy to overlook not because they’re expensive, but because they require being requested explicitly rather than defaulting to whatever a contractor or installer assumes is standard. Discussing these specific techniques directly with a contractor or designer before work begins, rather than assuming they’ll be included automatically, ensures they actually make it into the finished room.
FAQs
Do these bathroom design techniques require a large renovation budget?
Many of these techniques, matching grout to tile, concealed cabinet hardware, custom vanity sizing, add relatively little additional cost compared to their more standard alternatives, meaning the primary barrier to including them is awareness and explicit planning rather than budget alone. Other techniques, like a waterfall tile edge or floor-to-ceiling frameless glass, do carry meaningfully higher material and labor costs, making them worth prioritizing selectively based on the specific renovation’s budget. Discussing which techniques matter most to the household’s priorities with a contractor early helps allocate a limited budget toward the details that will have the most noticeable impact.
Which of these details are easiest to add to an existing bathroom without a full renovation?
Choosing a single sculptural statement faucet, in the process of a standard fixture replacement, and specifying concealed hardware when replacing vanity cabinetry are both achievable without a full renovation, since they can be addressed as standalone fixture swaps. Most of the other techniques, toe-kick lighting, niche lighting, custom vanity sizing, waterfall edges, require access to walls, electrical, or plumbing that a full or partial renovation provides, making them considerably more difficult to retrofit into an already finished bathroom. Planning for these more involved details during any future renovation, even if not immediately, helps prioritize them appropriately when the opportunity does arise.
How do I communicate these design preferences to my contractor or designer?
Bringing specific reference photos or a written list of the techniques that matter most, rather than assuming a general style direction alone will communicate these detailed preferences, helps ensure a contractor or designer understands exactly what’s being requested. Asking directly whether a specific detail, like matching grout or toe-kick lighting, is included in a quote, rather than assuming it’s standard, prevents a common miscommunication where a contractor defaults to their usual approach unless told otherwise. Discussing these details during the initial planning and quoting stage, rather than after work has begun, avoids costly change orders later in the project.
Is it worth prioritizing architectural details like a coffered ceiling over more fixtures?
Prioritizing one or two genuinely impactful architectural details, a coffered ceiling, a curved wall, over spreading a budget across many individually less impactful fixture upgrades often produces a more memorable and cohesive final result. This approach requires some discipline, since it’s often tempting to upgrade every visible fixture rather than concentrating investment into fewer, more architecturally significant choices. Considering which single detail would most distinguish the finished room, then prioritizing that choice within the available budget, tends to produce better overall design outcomes than spreading resources evenly across every possible upgrade.
Can these design techniques work in a small bathroom, or do they require more space?
Most of these techniques work well in a small bathroom, and several, continuous material from wall to ceiling, matching grout, concealed hardware, are particularly effective in a compact space, since they reduce visual breaks and clutter that can make a small room feel even more constrained. A few techniques, like a coffered ceiling or a fully curved wall, benefit from more generous proportions to read clearly, making them better suited to a larger primary bathroom. Selecting the techniques genuinely suited to a specific room’s actual size, rather than attempting every detail regardless of scale, produces the best results in any size bathroom.
Conclusion
The details that most distinguish a well-designed bathroom, matching grout, concealed hardware, custom vanity sizing, seamless material transitions, often cost relatively little beyond the decision to explicitly request them during planning, rather than requiring an unlimited renovation budget. Save this guide to Pinterest for reference while planning your next renovation, and check out our related post on bathroom design for specific style directions to apply these techniques within.