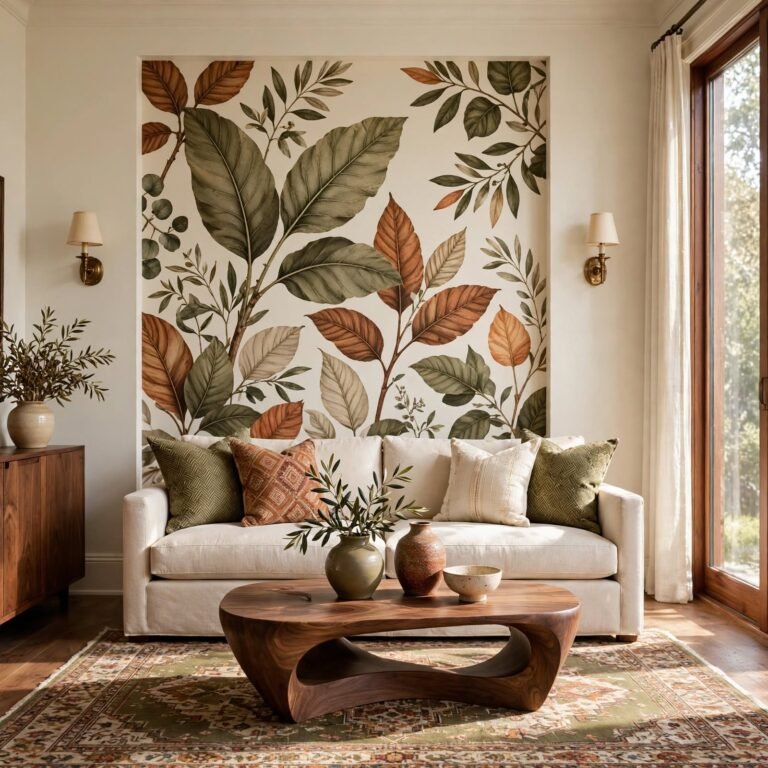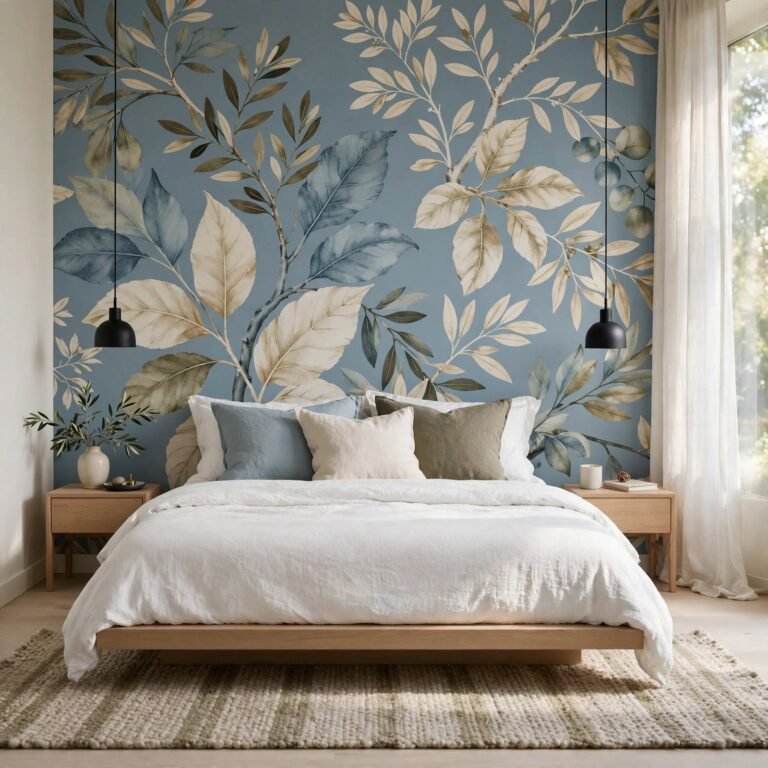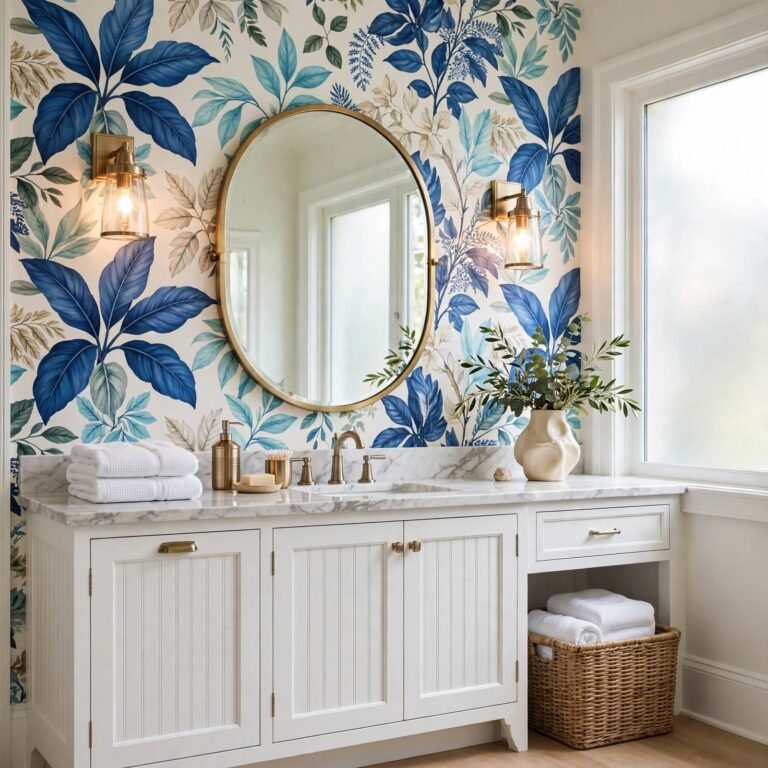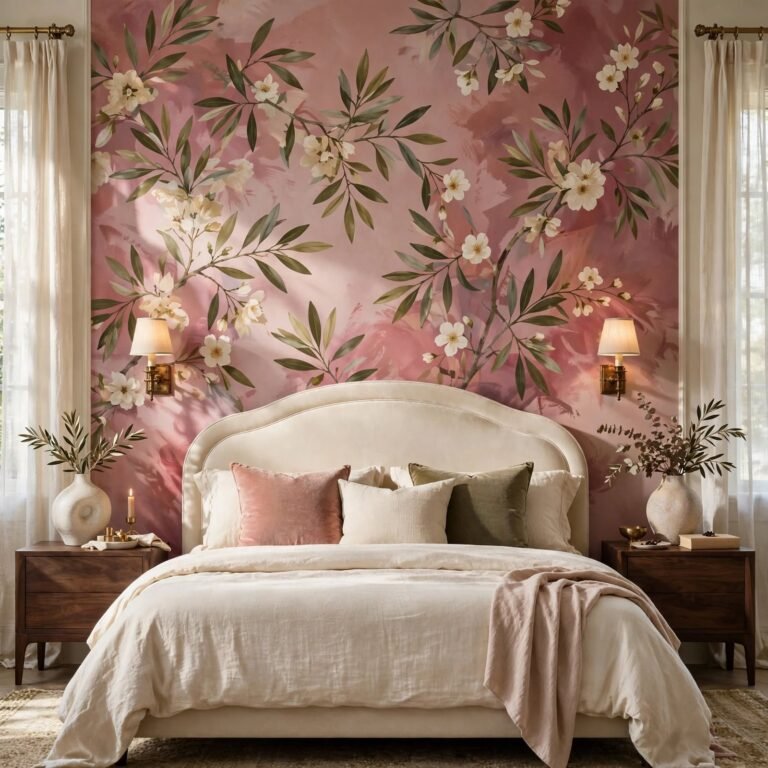
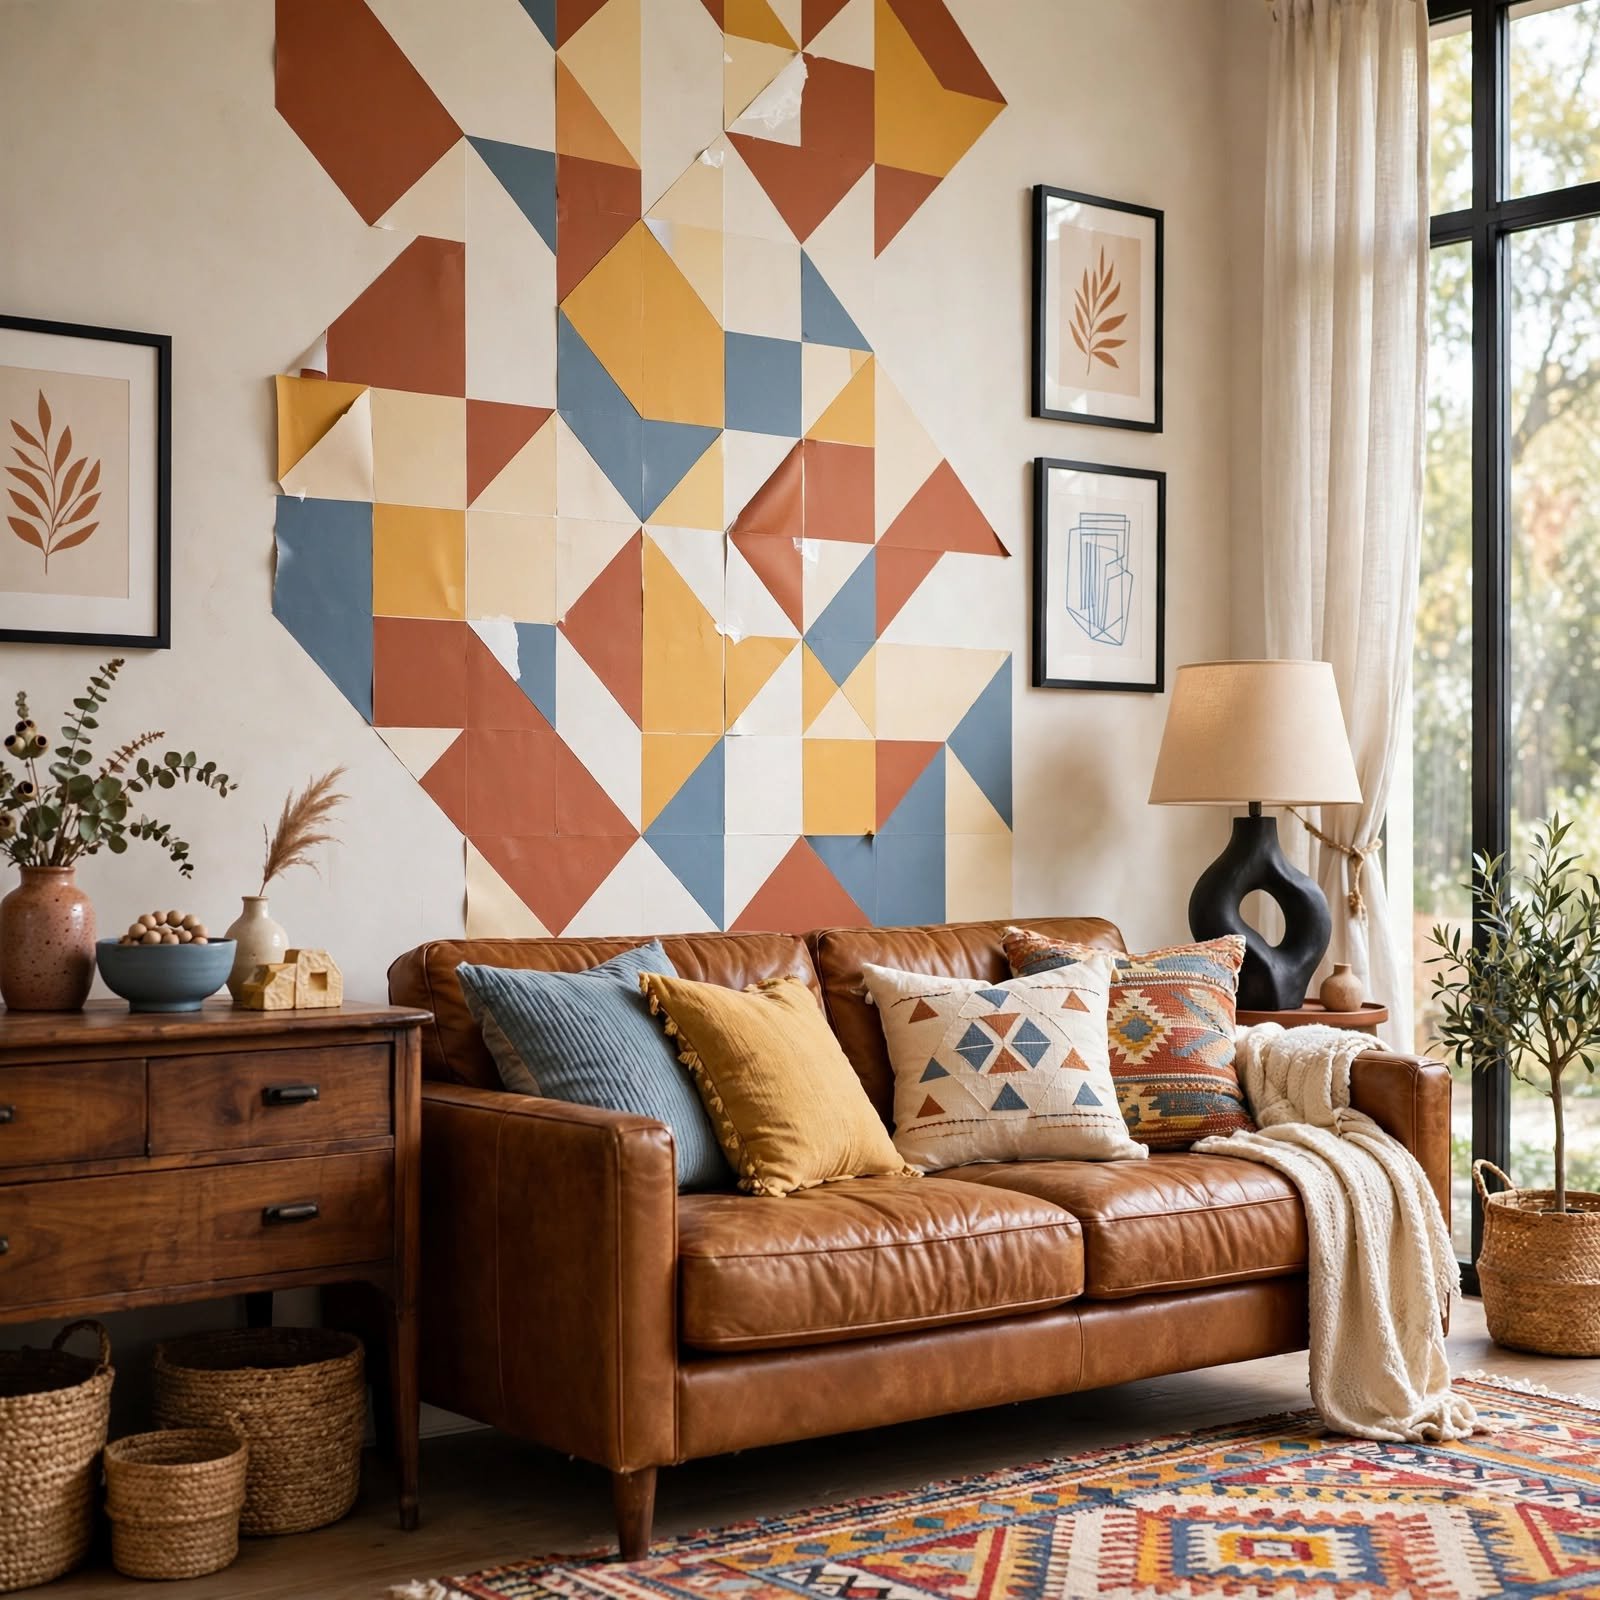
DIY Wallpaper Ideas: 17 Amazing Techniques
Want the wallpaper look without buying an actual roll? This guide covers 17 amazing diy wallpaper techniques, from a freezer paper stencil method to a rag-rolled faux texture wall, all achievable with paint, basic tools, and a bit of patience rather than a professional wallpaper purchase. Diy wallpaper techniques recreate the visual impact of real wallpaper using paint, stamps, and simple household materials, often at a fraction of the cost. This guide walks through seventeen specific techniques covering stenciling, stamping, and texture methods, each with notes on difficulty and materials needed. Readers will come away with genuinely achievable options regardless of prior painting or craft experience.
Trend & Background
Diy wallpaper techniques have grown in popularity as more people look for budget-friendly ways to achieve a patterned wall without the cost of purchased wallpaper, particularly for larger rooms where material costs add up quickly. This reflects broader interest in hand-applied, personalized finishes that can’t be replicated by simply ordering a roll from a catalog. This matters now because more accessible tools, like pre-cut stencils and freezer paper stencil kits, have made these techniques far more approachable for beginners than they were in past years, when most required significant freehand painting skill. Interest in specific techniques like sponge stamping and comb texturing has grown as more tutorials and starter kits have made these methods accessible without professional training.
Key Takeaways
- These 17 diy wallpaper techniques recreate patterned wall effects using paint, stamps, and basic household materials rather than purchased wallpaper.
- A technique comparison table breaks down typical time and cost across several featured methods.
- Several techniques suit complete beginners, while others benefit from practicing on a test board first.
- Every technique here can be modified or repainted over if the result doesn’t turn out as expected.
1. DIY Roller Print Pattern Wall for DIY Wallpaper
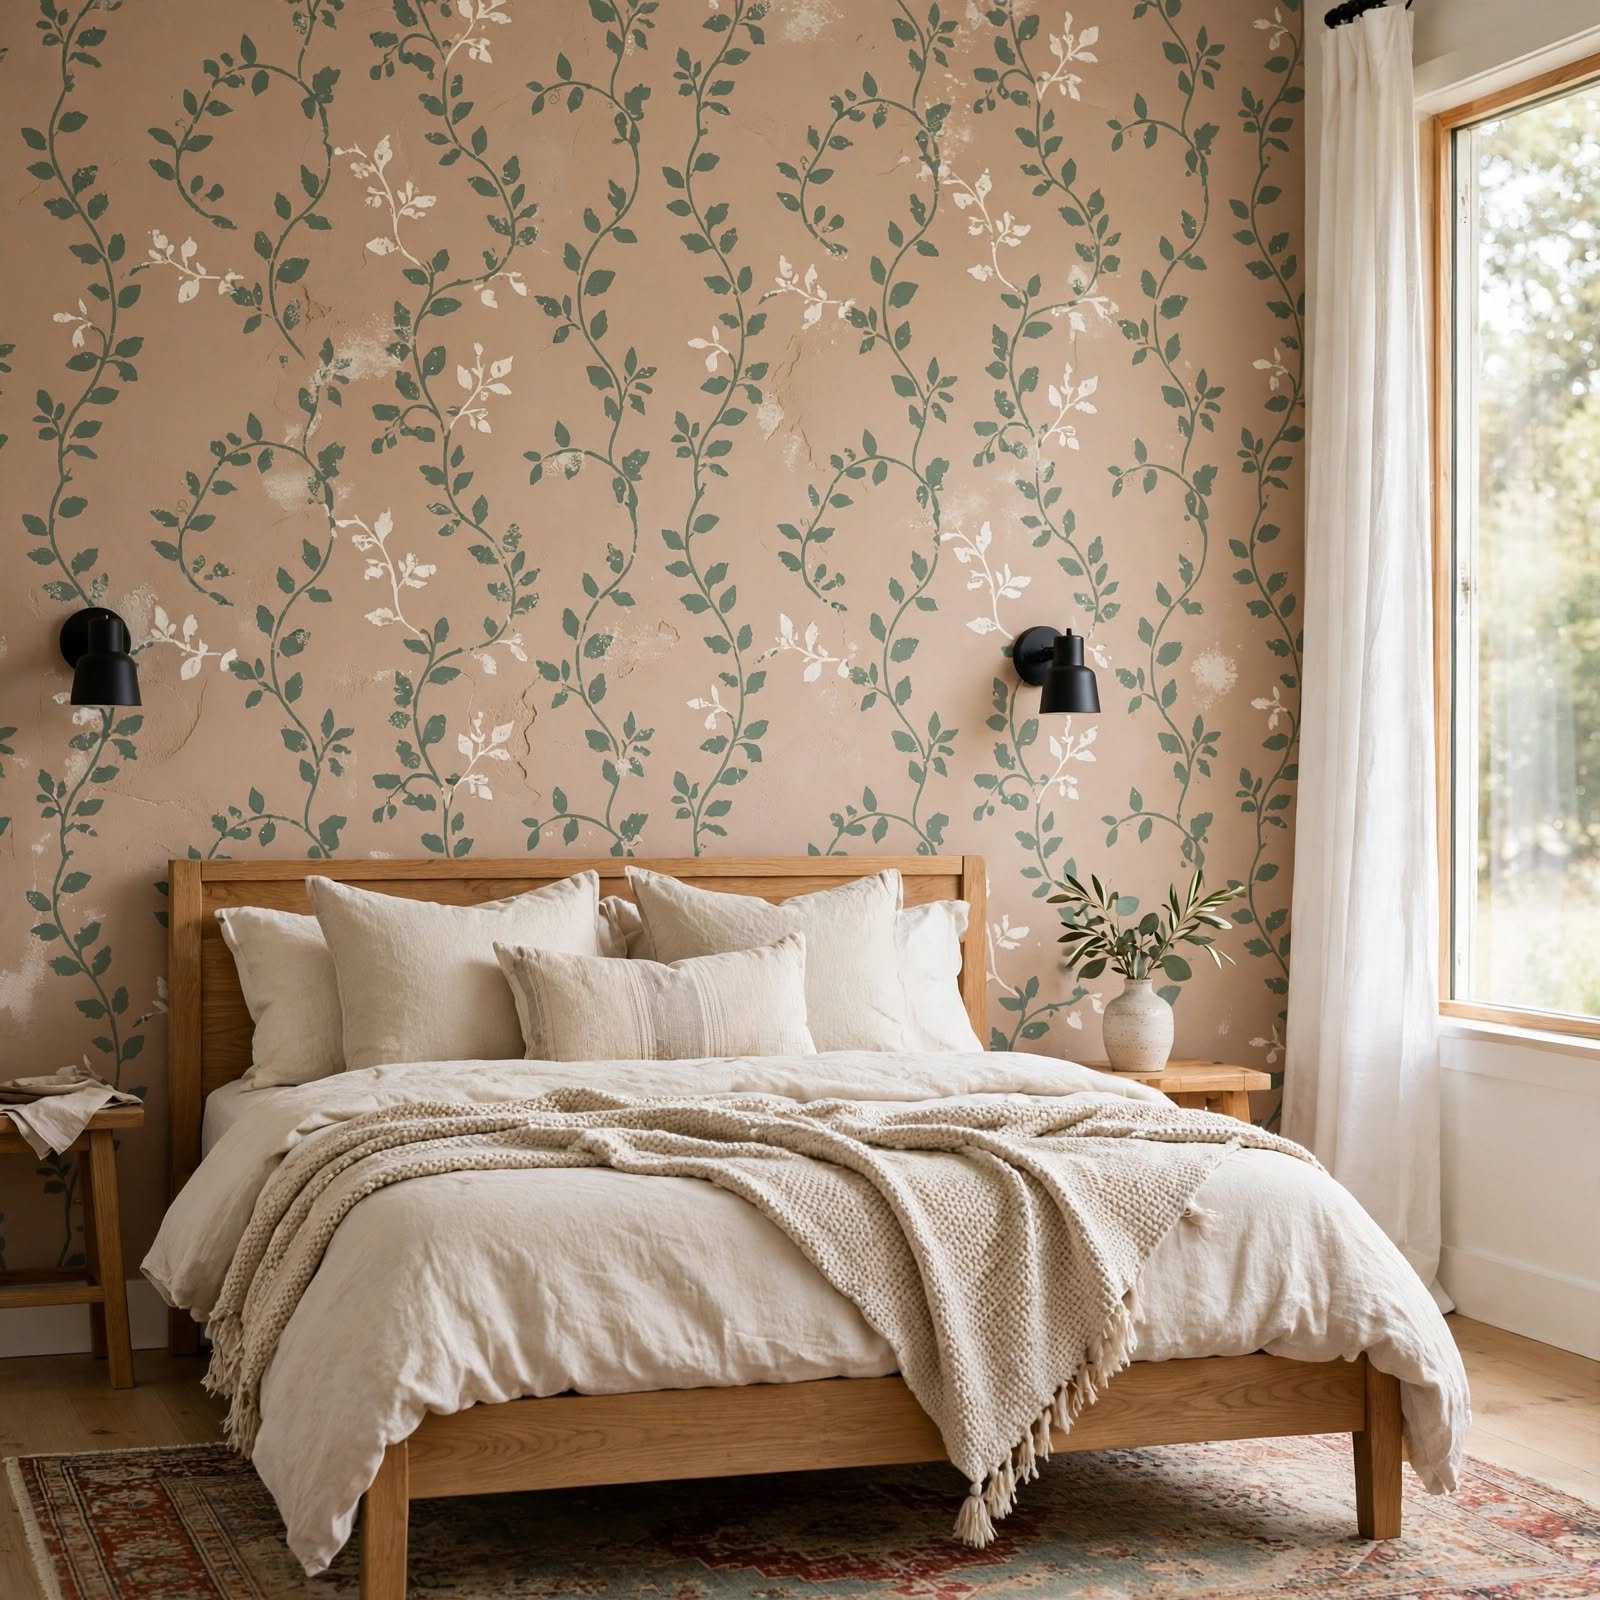
A patterned paint roller, featuring a raised design that transfers a repeating motif with each pass, offers one of the most straightforward diy wallpaper techniques for covering a full wall relatively quickly. Practicing the roller’s pressure and speed on a large cardboard sheet first helps achieve consistent results before starting on the actual wall. Choosing a roller pattern in a tone-on-tone color combination, close to the base wall color, produces a subtle, sophisticated texture rather than a bold, obvious pattern.
2. Fabric Starch Removable Wallpaper for DIY Wallpaper
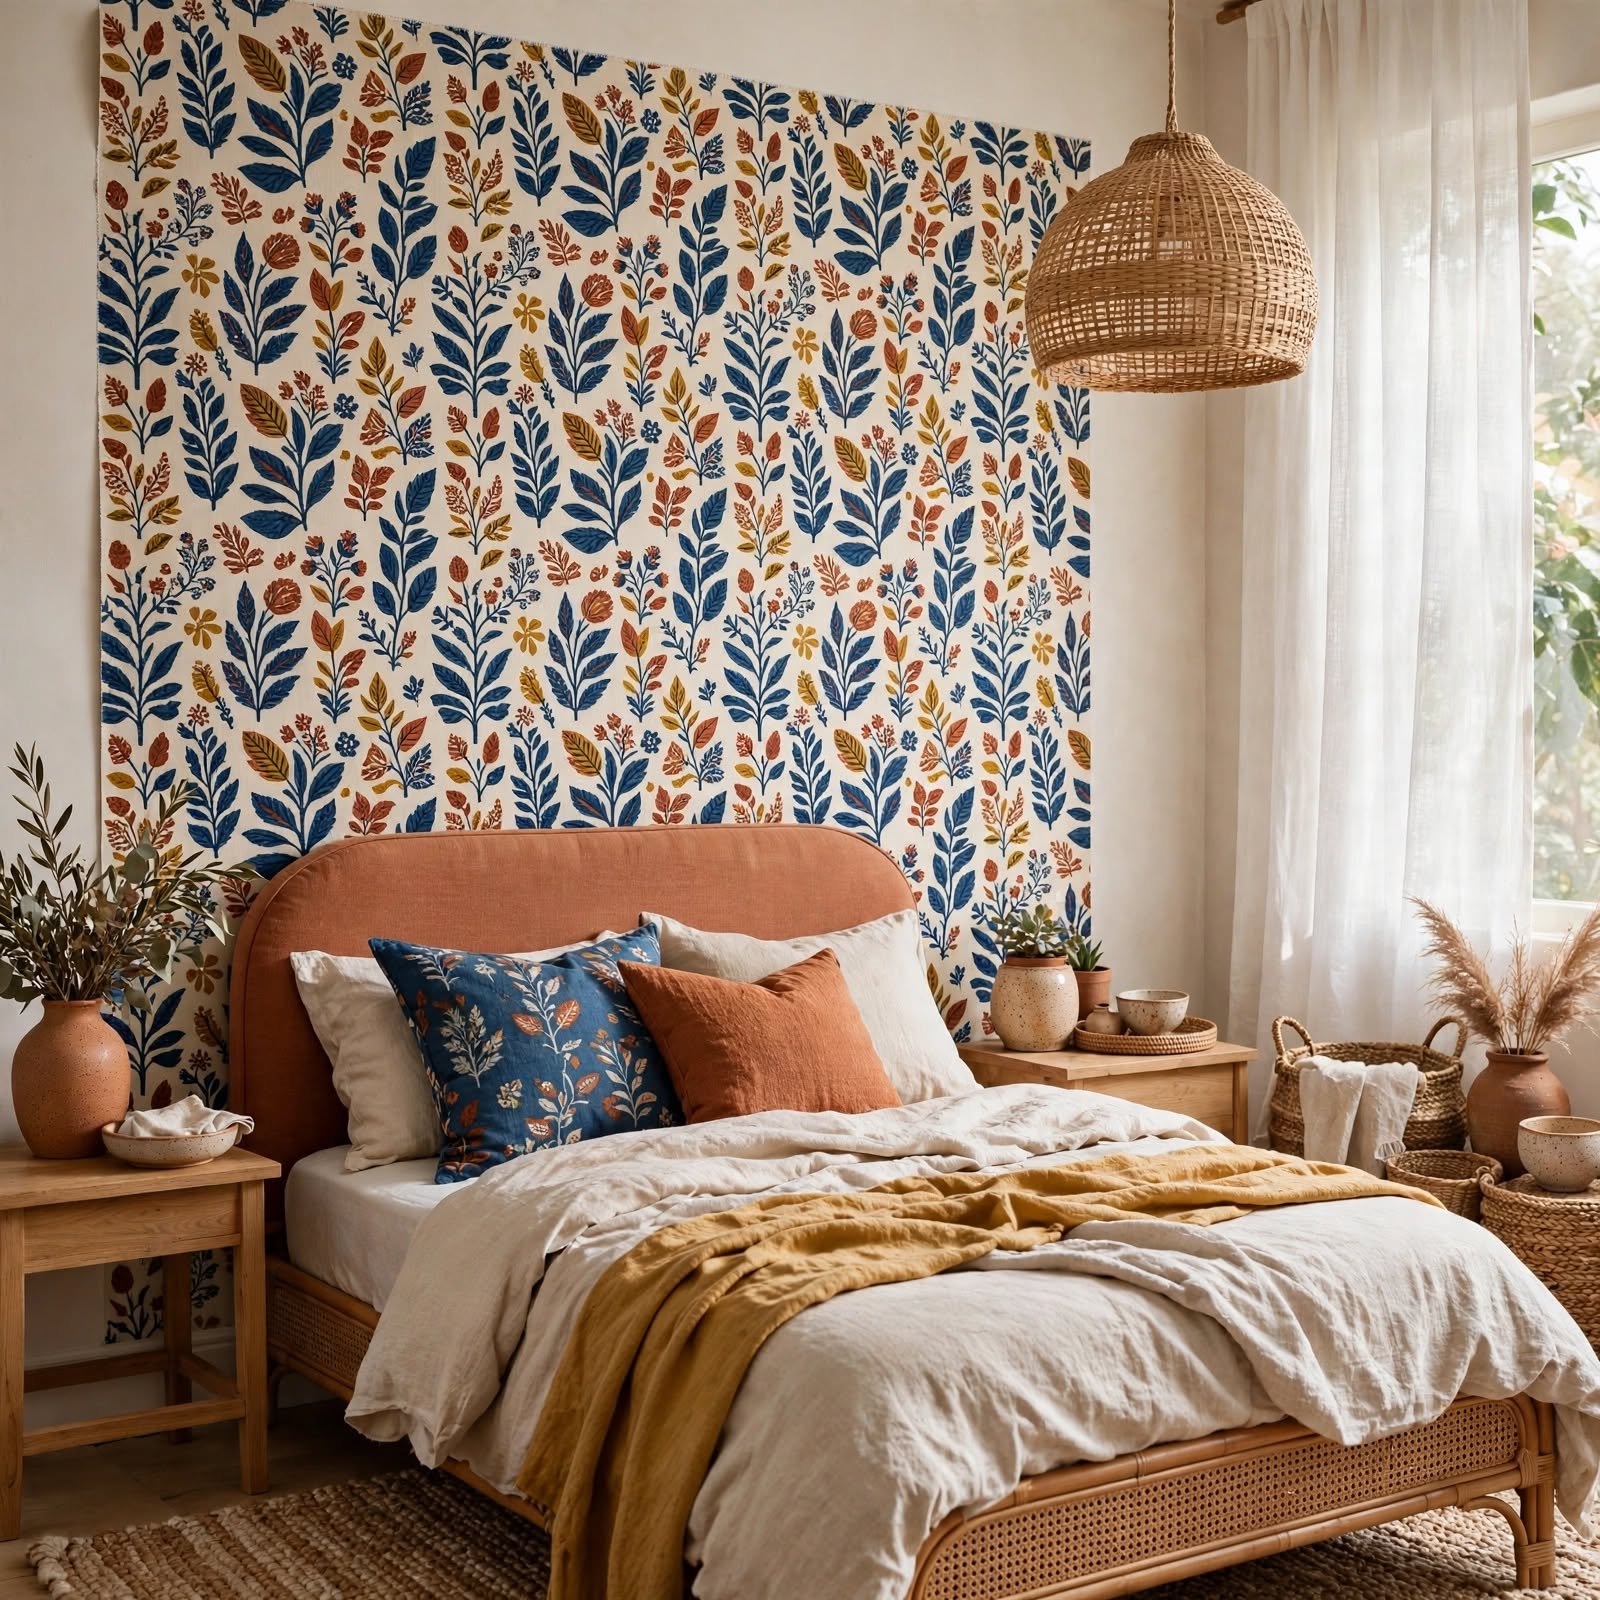
Adhering fabric to the wall using liquid starch instead of glue creates a genuinely removable, wallpaper-like treatment that can be peeled off cleanly by simply wetting the fabric later. Applying the starch to the wall first, then smoothing the fabric on top and brushing more starch over the surface, produces a bubble-free result with some practice. This technique works particularly well for renters wanting a bold pattern without any risk of permanent wall damage.
3. Stamped Block Print Wall Pattern for DIY Wallpaper
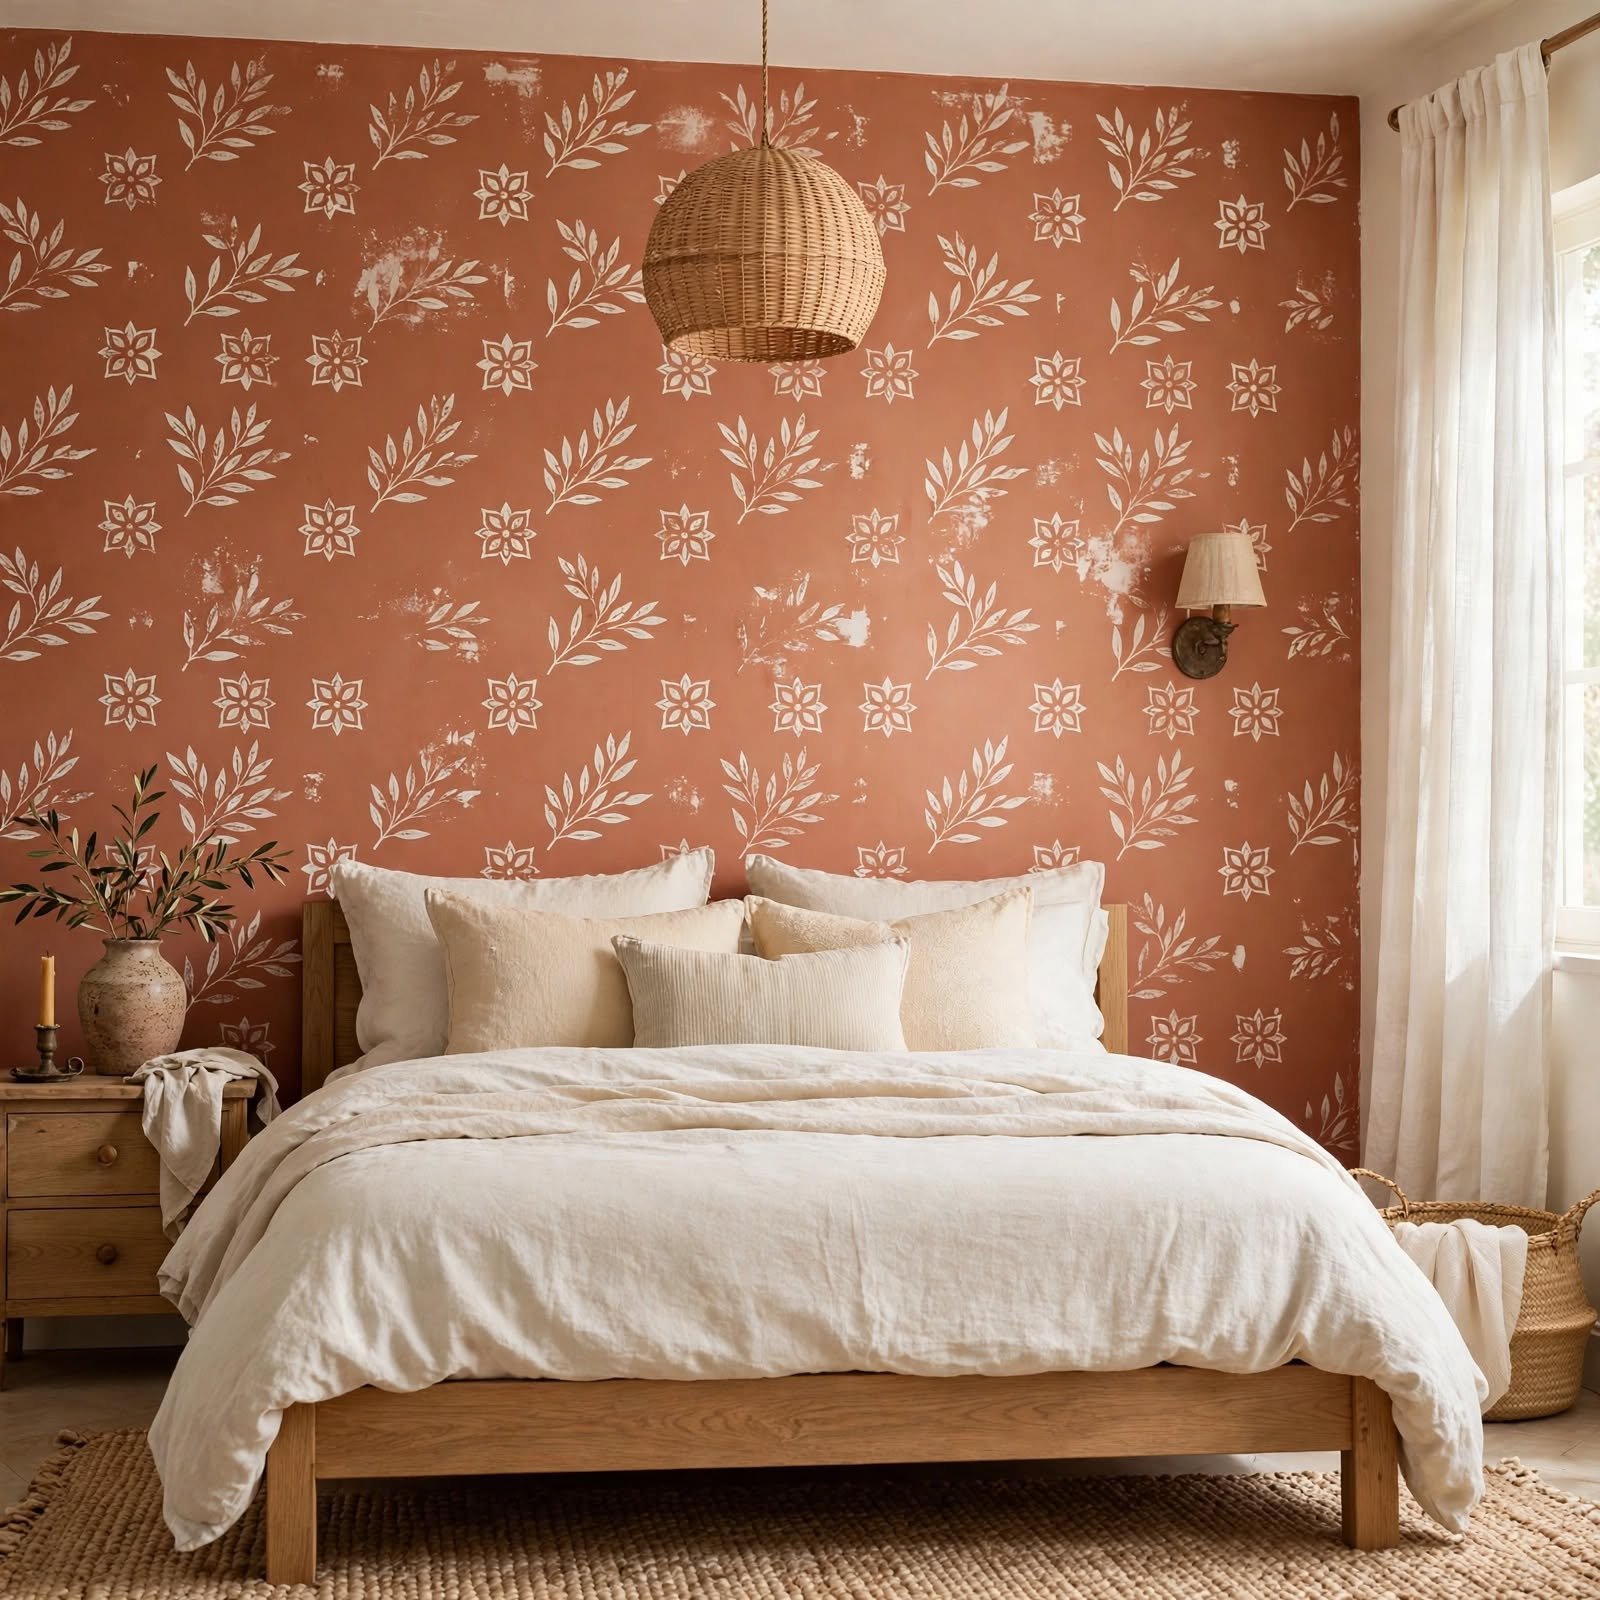
Hand-carved or purchased rubber stamp blocks, pressed repeatedly across the wall in a grid, create a genuine block-print pattern reminiscent of traditional textile printing techniques. The table below compares this method against a couple of other featured techniques by typical time and cost.
| Technique | Typical Time | Typical Cost |
| Stamped block print | 4 to 6 hours | $20 to $40 |
| DIY roller print pattern | 2 to 4 hours | $25 to $45 |
| Freezer paper stencil | 5 to 8 hours | $15 to $30 |
4. Hand-Painted Trellis Pattern for DIY Wallpaper
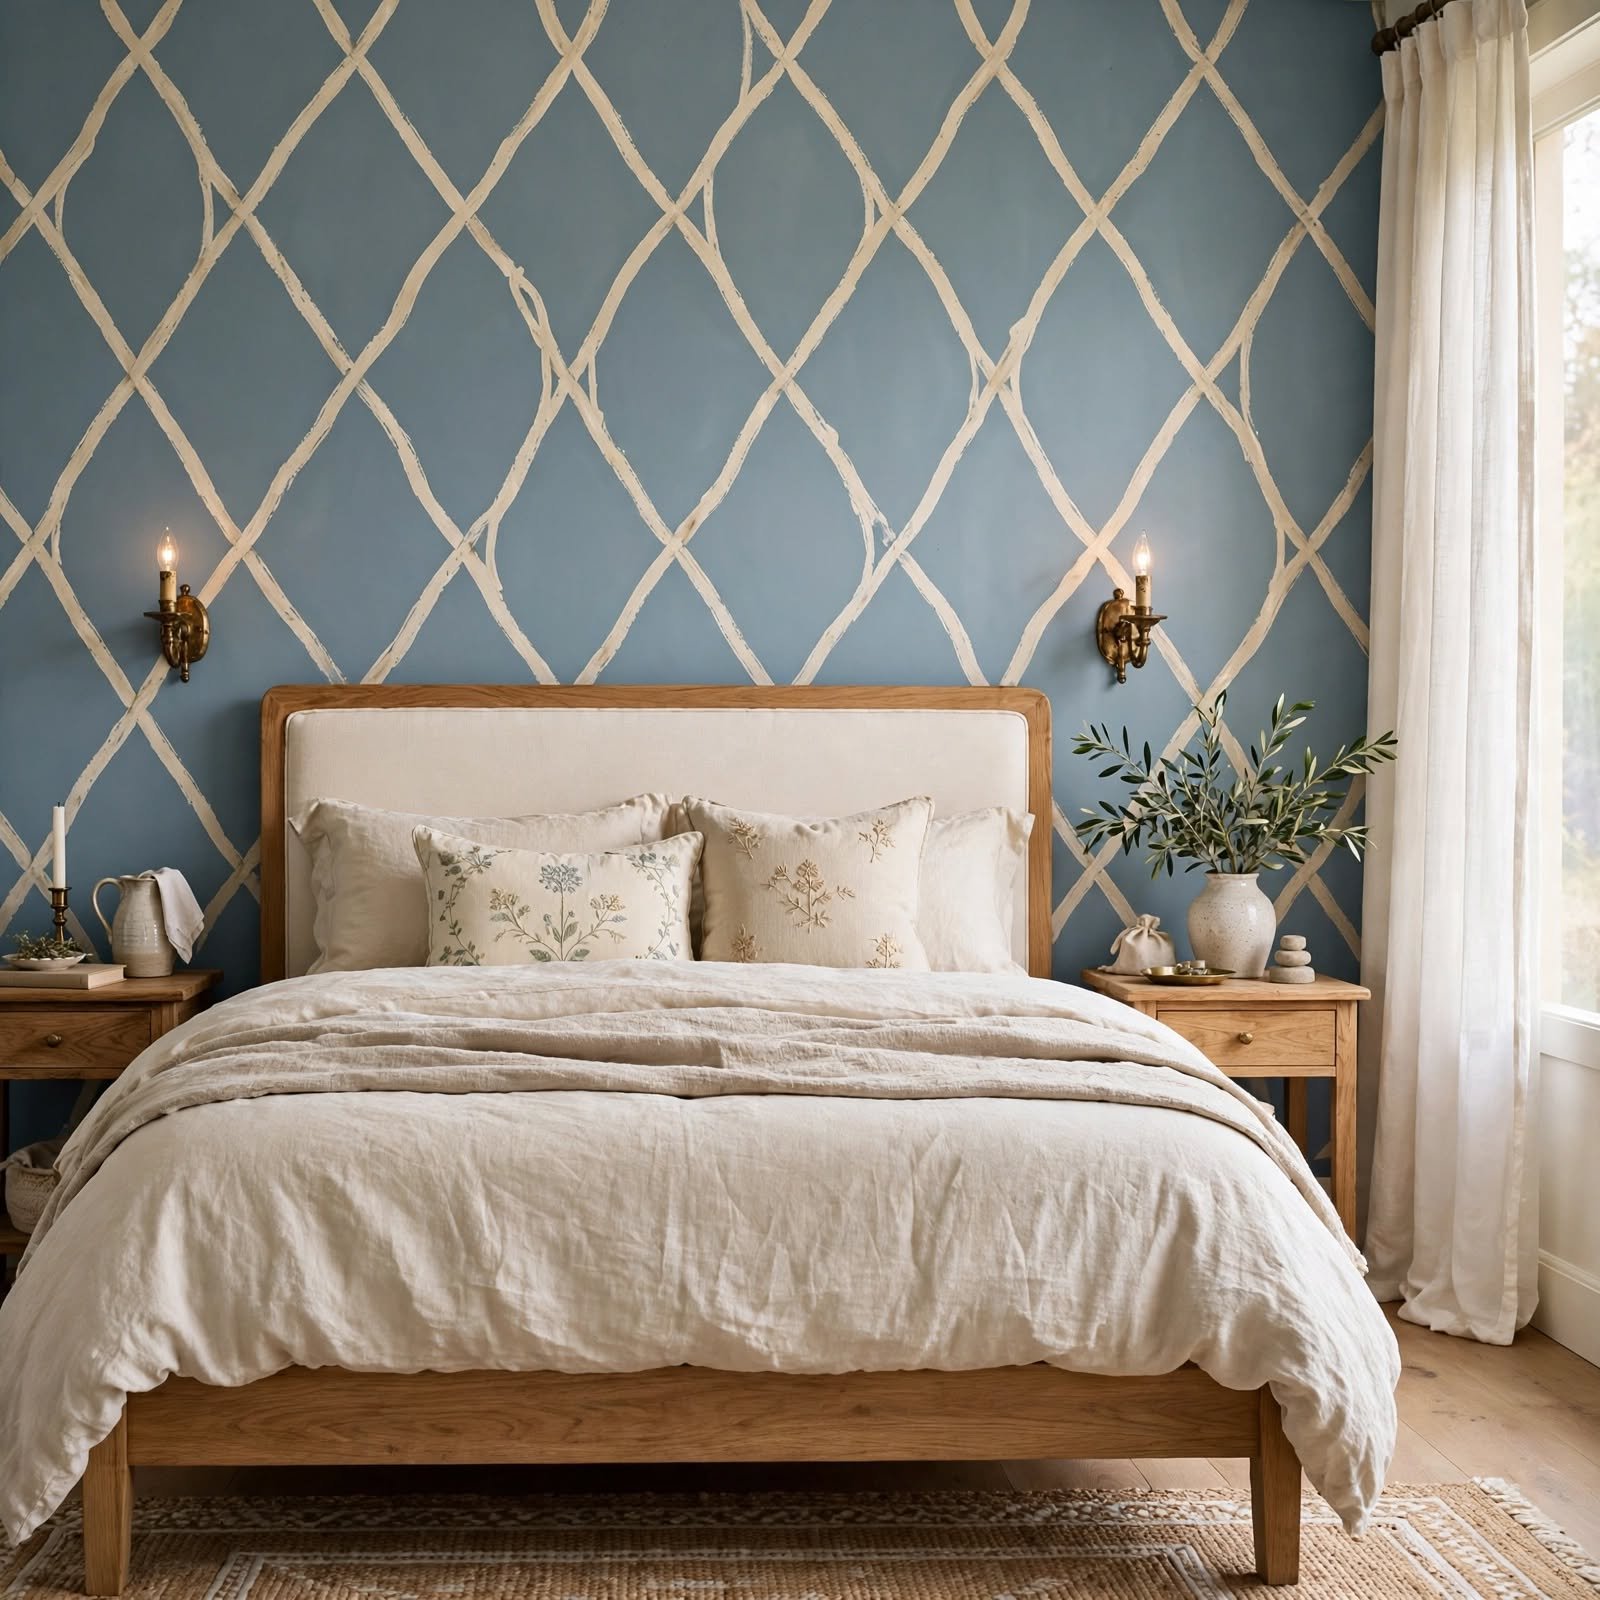
Using painter’s tape to mask a repeating diamond or lattice trellis shape, then filling in the exposed sections with a contrasting paint color, recreates a classic wallpaper motif entirely by hand. Measuring and marking the wall with a level and pencil before taping ensures the diamond grid stays consistent across the full surface. This technique requires more patience for the taping step than for the actual painting, but produces a crisp, professional-looking geometric result.
5. Contact Paper Pattern Wall for DIY Wallpaper
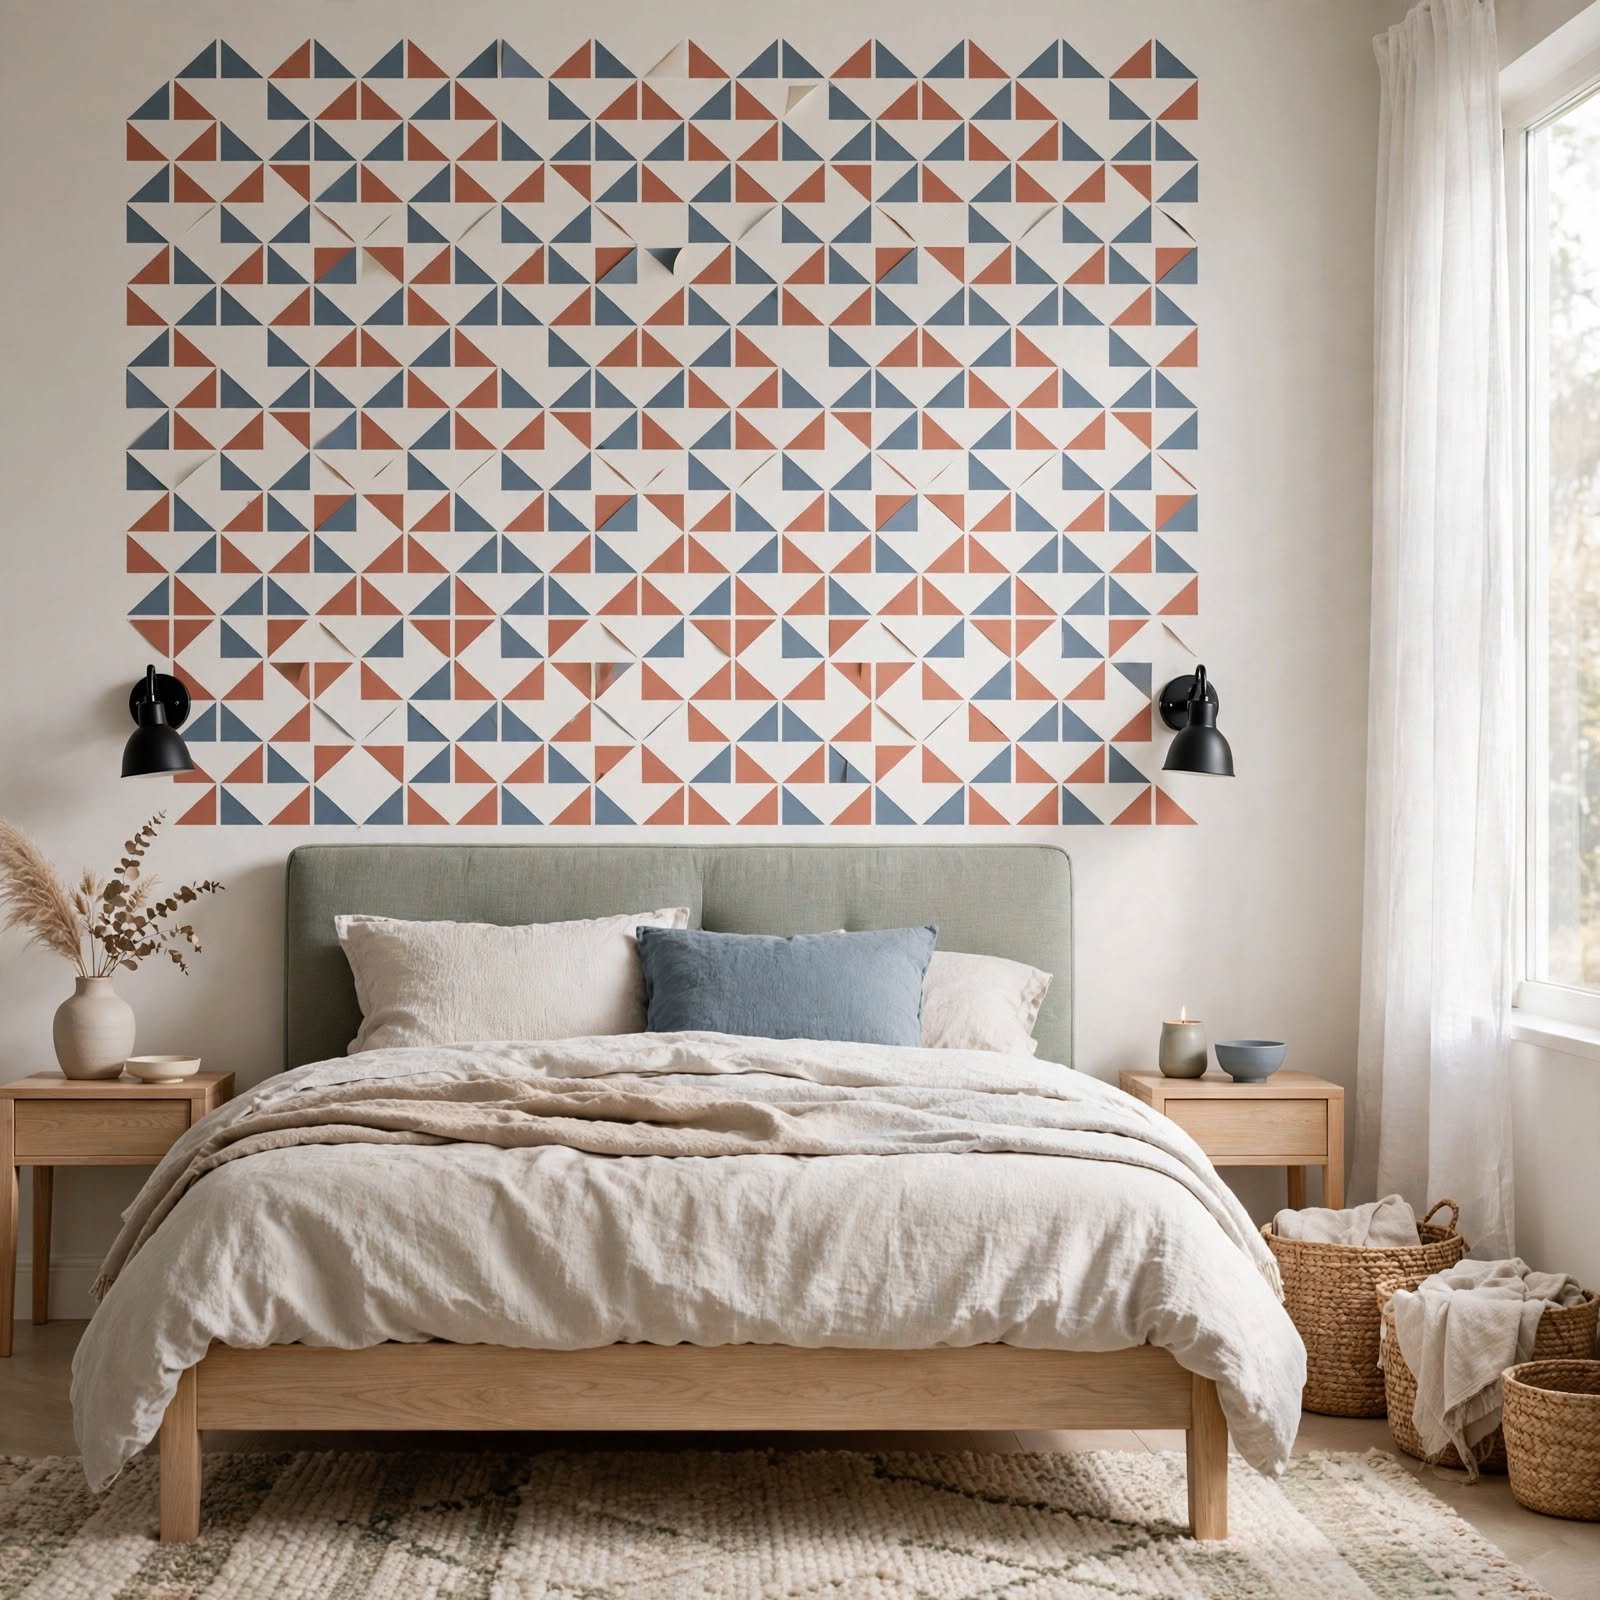
Adhesive contact paper, available in a wide range of printed patterns, applies directly to the wall similarly to peel-and-stick wallpaper but at a generally lower cost per square foot. Smoothing the contact paper with a plastic scraper as it’s applied helps prevent air bubbles from forming beneath the surface. This technique works particularly well for smaller accent areas, like a closet interior or a single narrow wall, given contact paper’s typically narrower roll width compared to dedicated wallpaper.
6. DIY Ombre Paint Wash Wallpaper Look for DIY Wallpaper
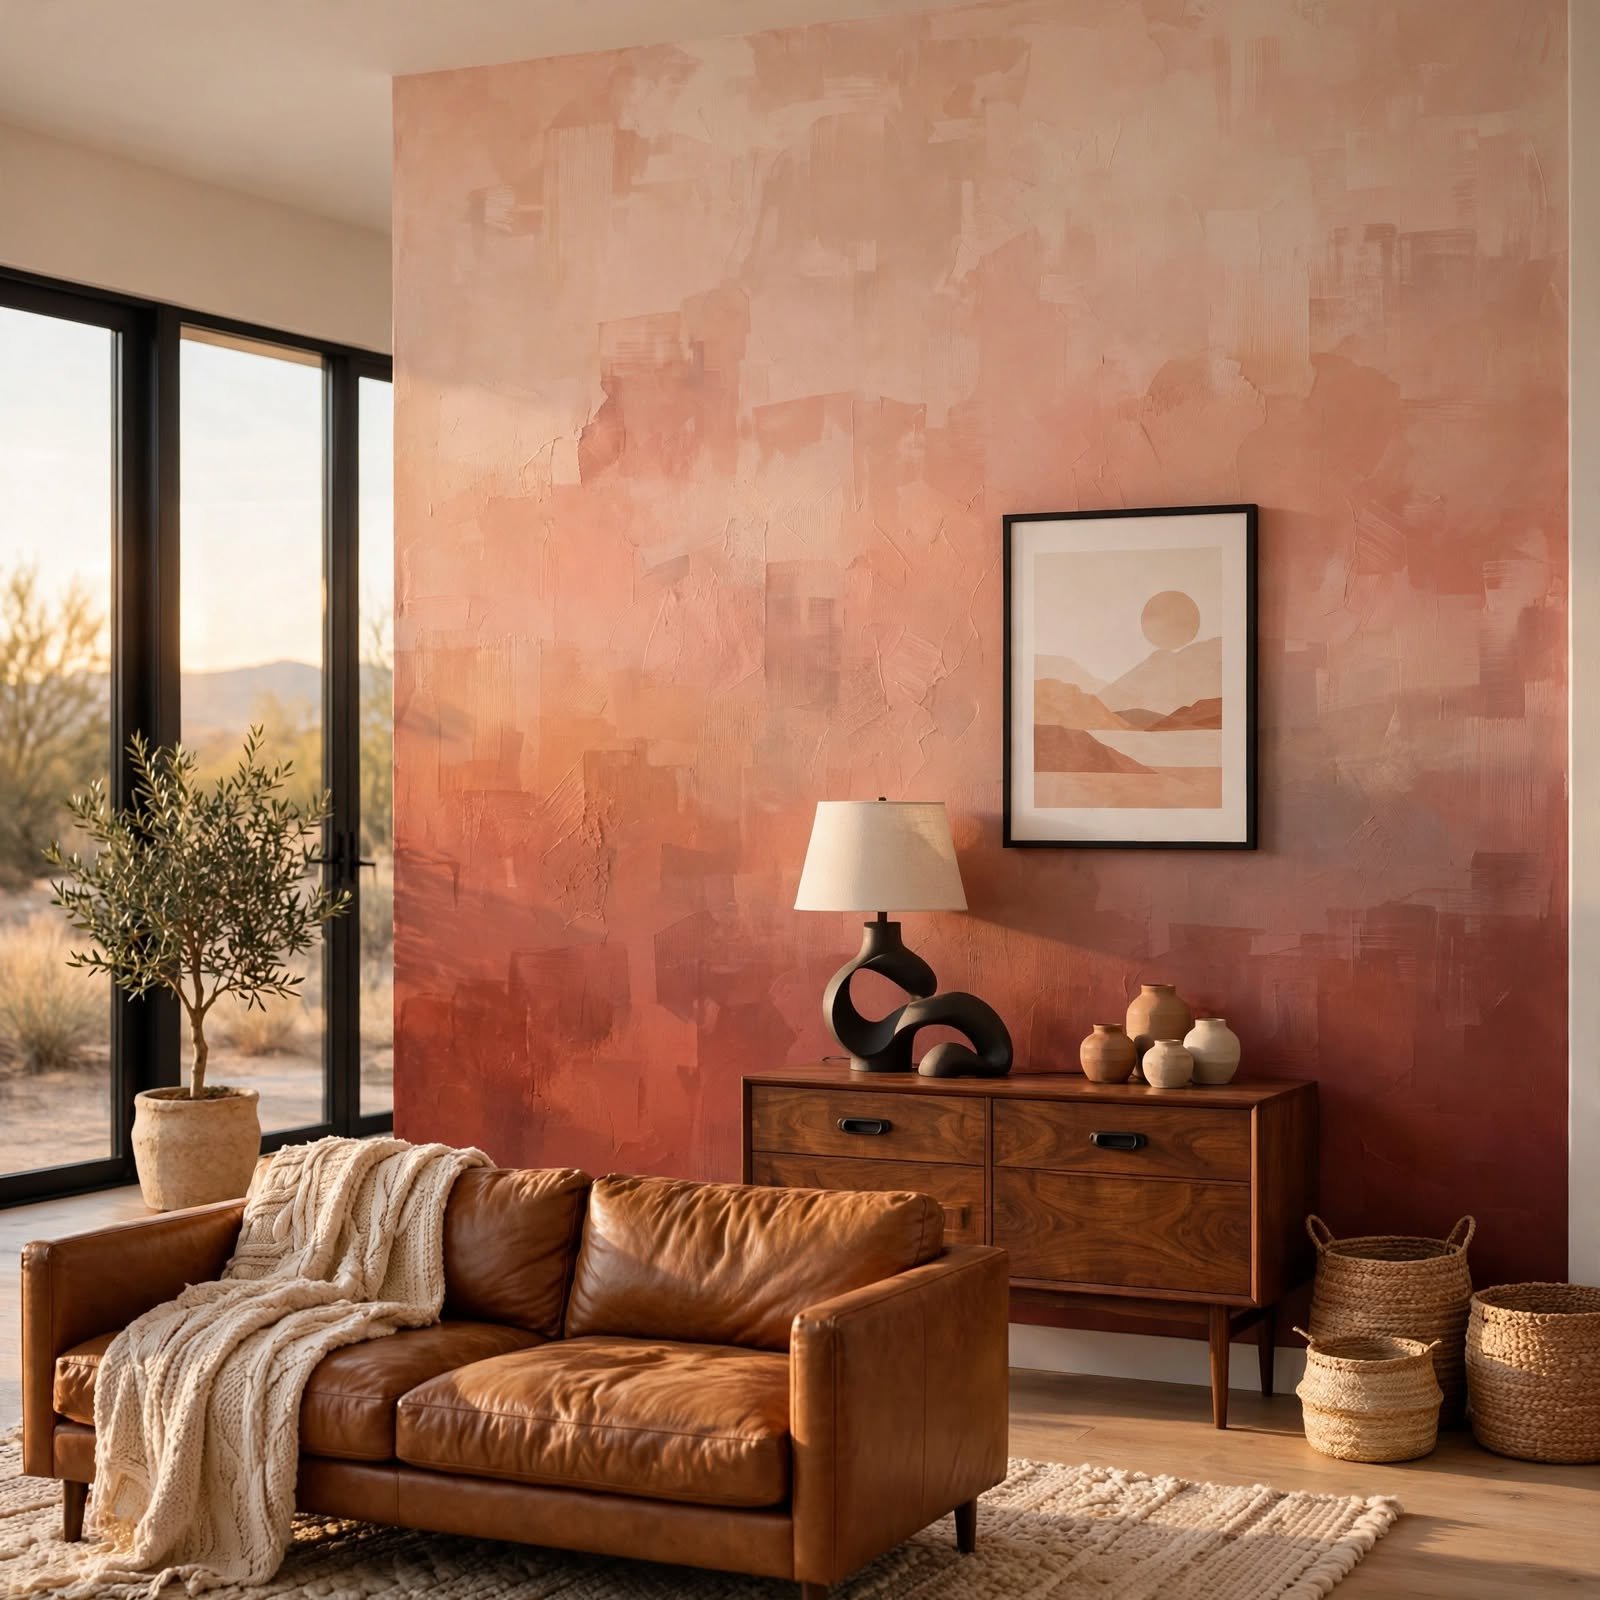
Blending two or three paint colors together directly on the wall, working wet-on-wet with a large brush or sponge, creates a soft gradient effect similar to a purchased ombre wallpaper at a fraction of the material cost. Working in smaller sections and blending the transition zones before the paint dries is key to achieving a smooth, seamless gradient. This technique works particularly well for a bedroom accent wall wanting a soft, atmospheric backdrop.
7. Freezer Paper Stencil Technique for DIY Wallpaper
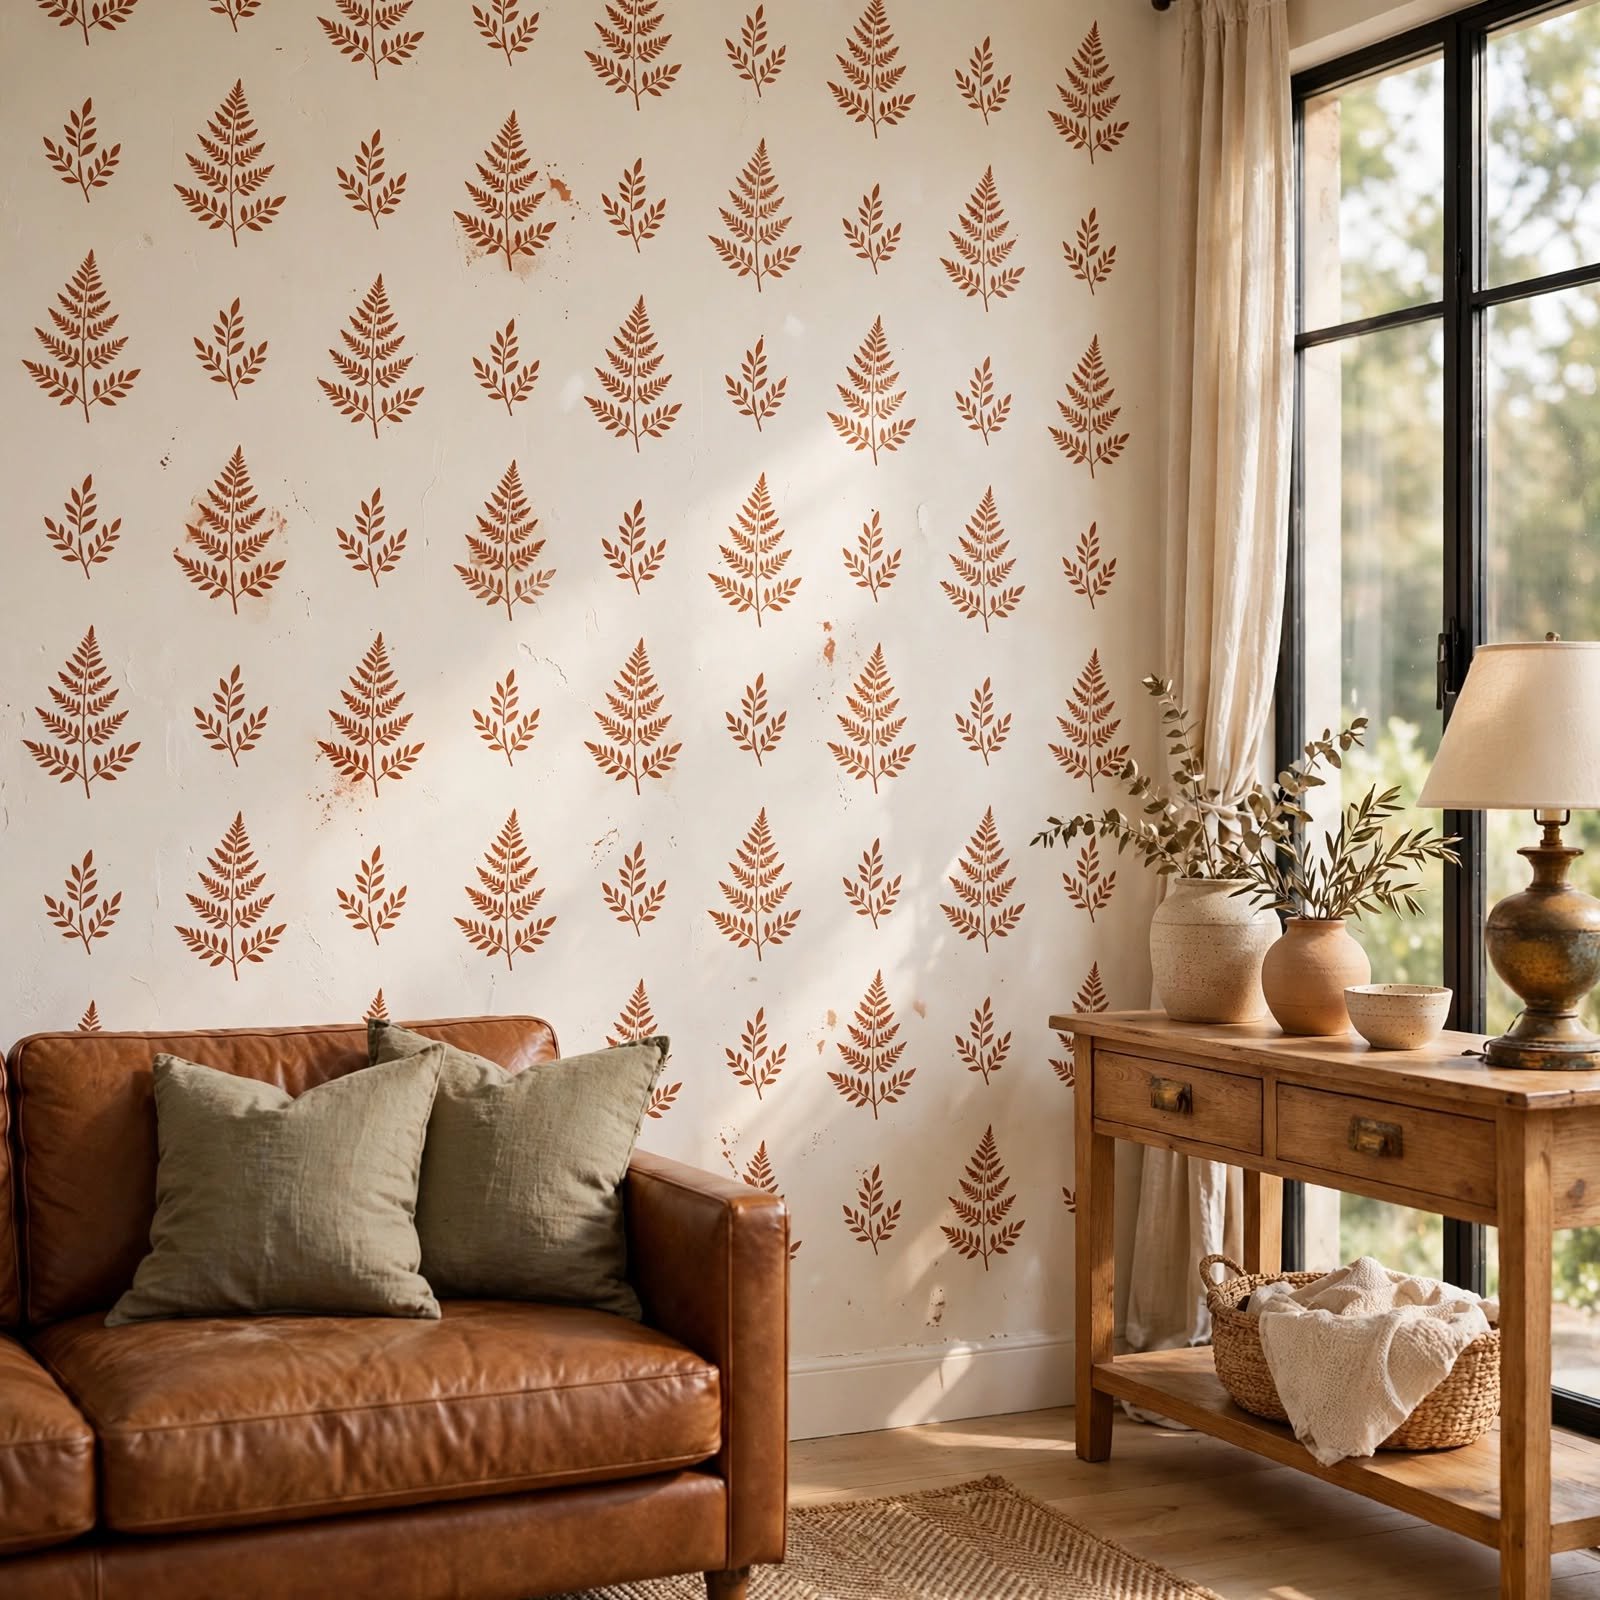
Cutting a custom stencil design from freezer paper, then ironing it directly onto the wall to create a temporary adhesive bond before painting, allows for genuinely custom pattern designs without purchasing a pre-made stencil. The wax coating on one side of freezer paper adheres temporarily when heated, then peels away cleanly after the paint dries. This technique works particularly well for anyone wanting a specific, personalized pattern not available in standard stencil options.
8. Painters Tape Ombre Stripe Wall for DIY Wallpaper
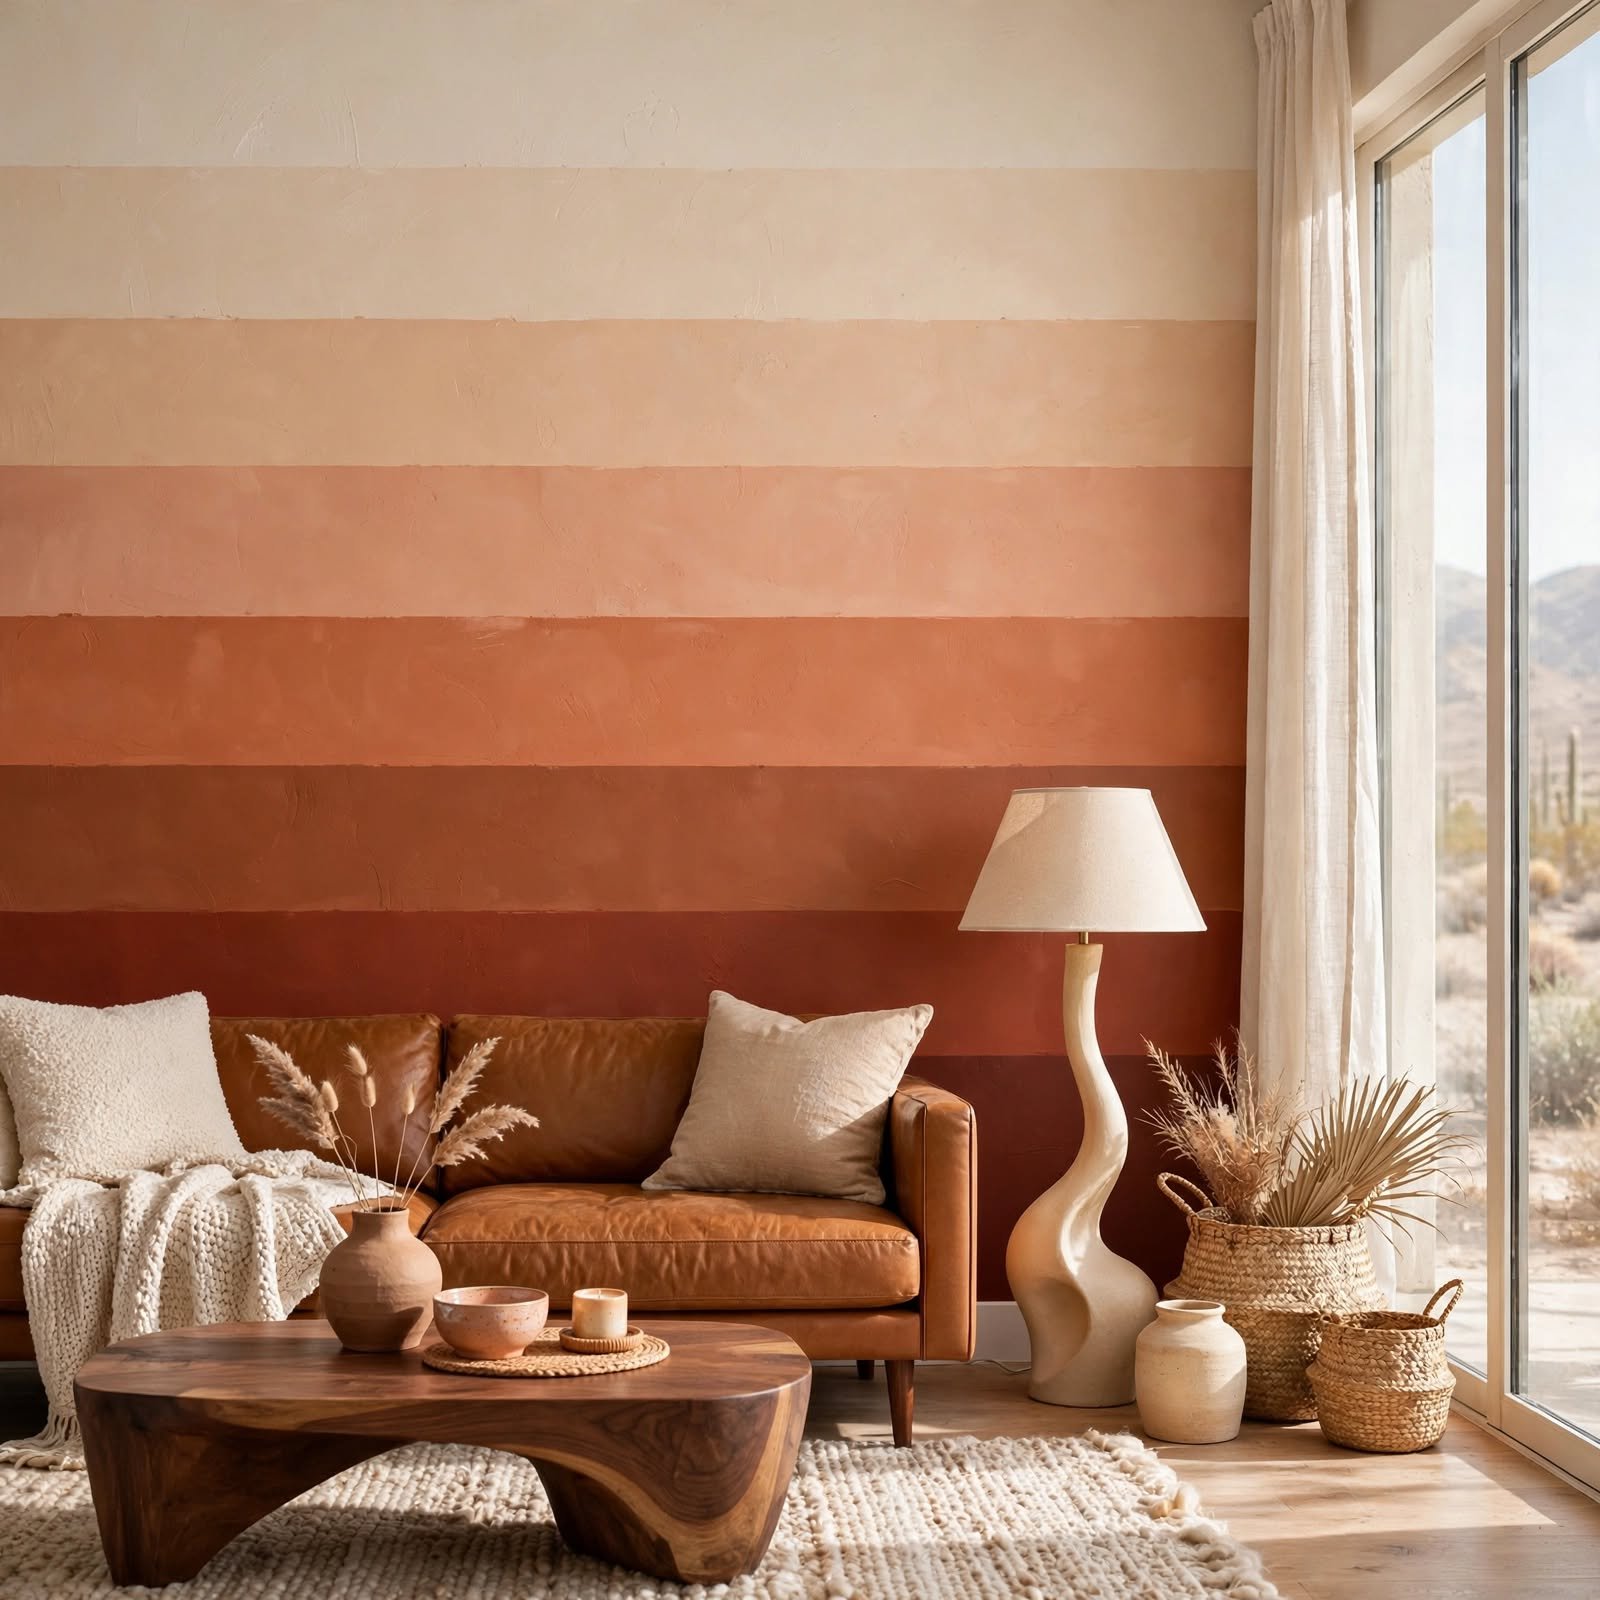
Applying painter’s tape in a series of vertical or horizontal stripes, then painting each section a slightly different shade moving from dark to light, creates a graphic ombre stripe pattern using only tape and paint. Removing the tape while the paint is still slightly tacky, rather than fully dry, helps achieve the cleanest possible line edges. This technique works particularly well in a nursery or kids’ room wanting a playful, colorful geometric pattern.
9. Sponge-Stamped Damask Pattern for DIY Wallpaper
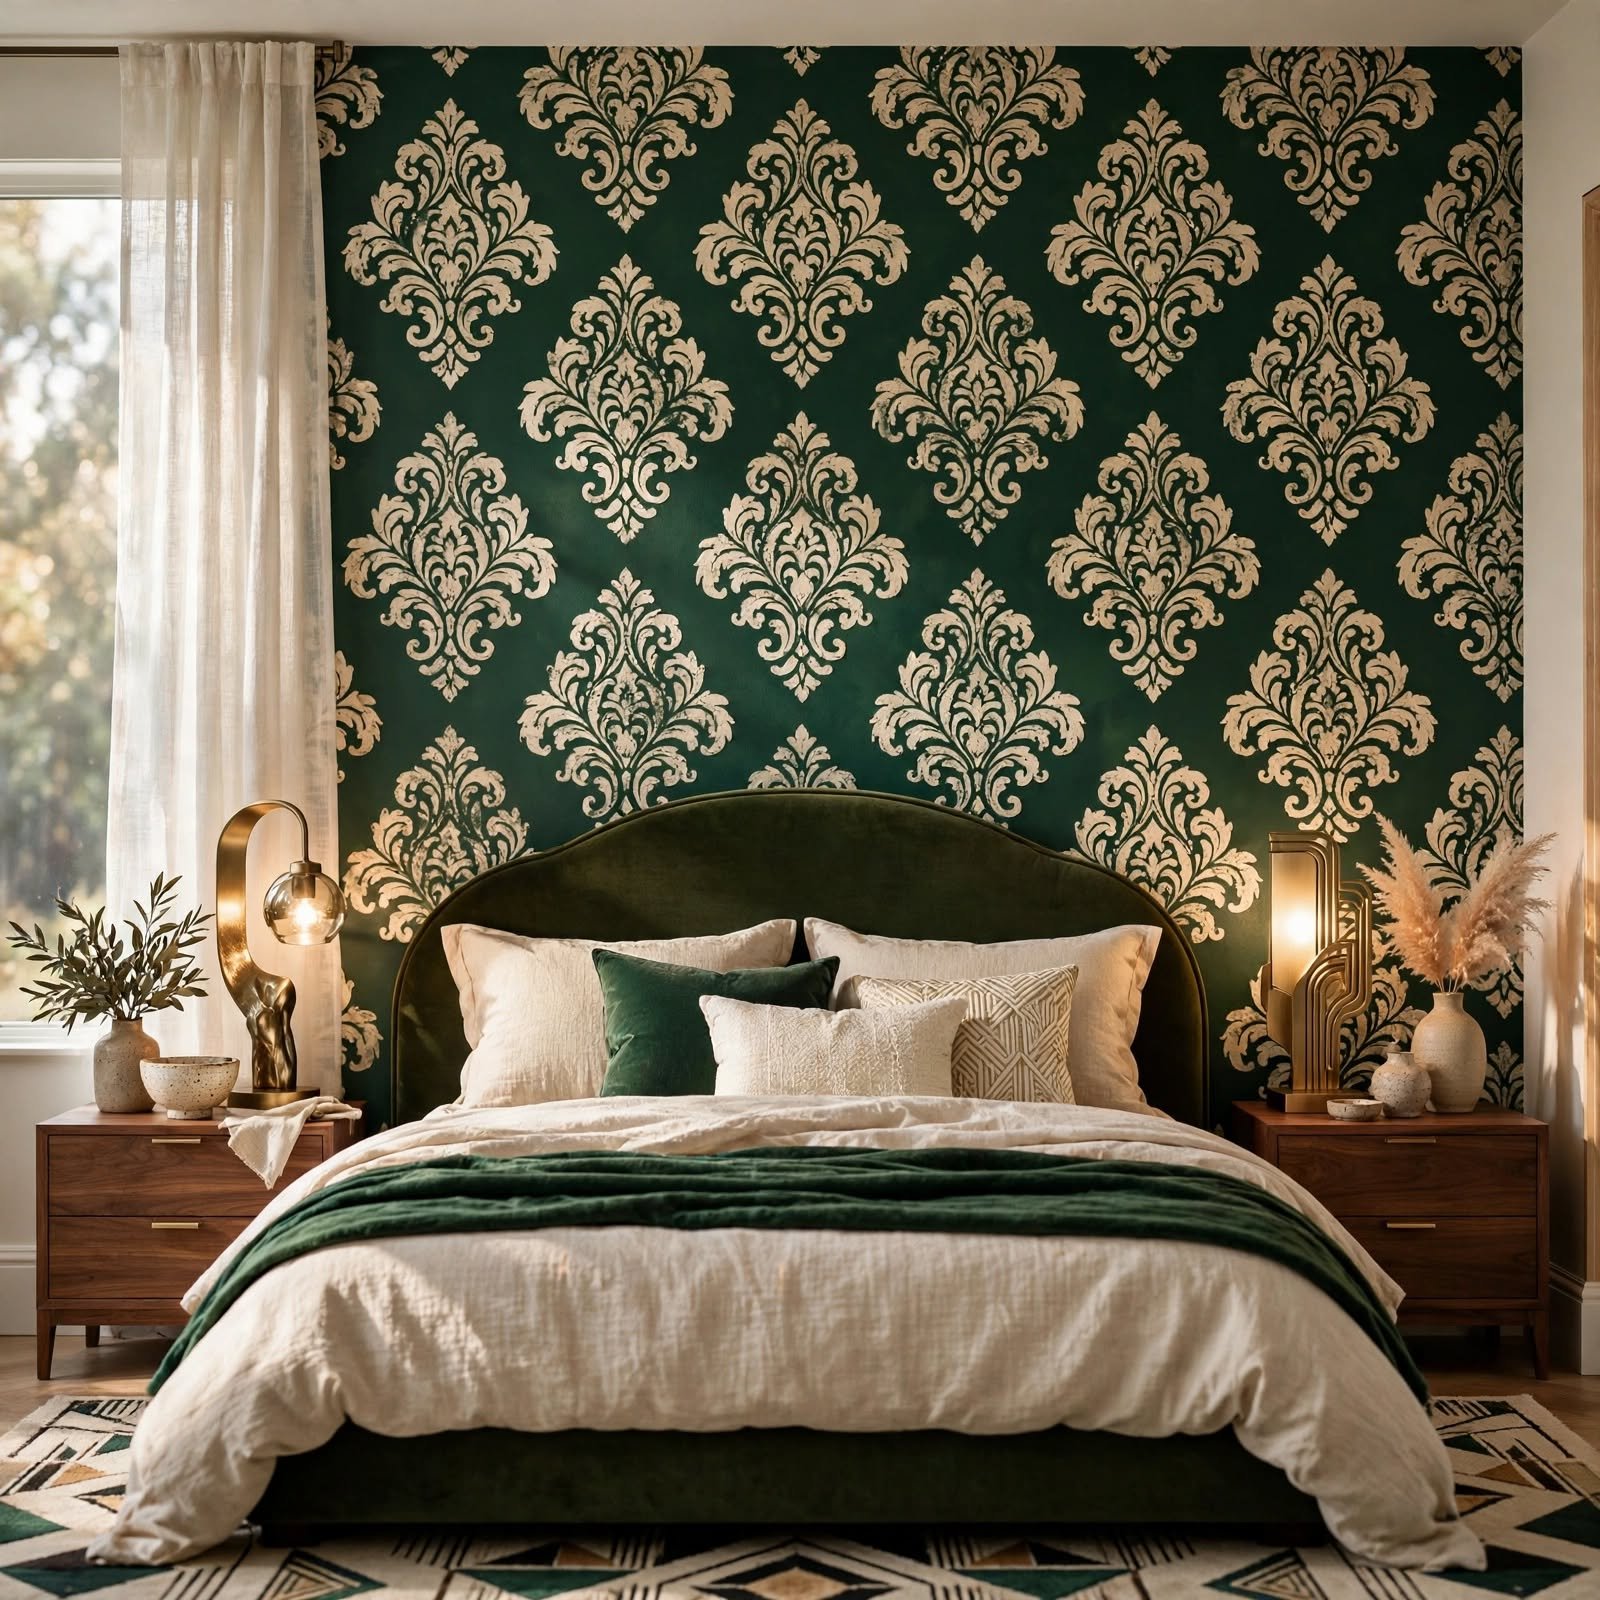
A pre-cut foam damask motif, dipped in paint and pressed repeatedly across the wall in a measured grid, recreates the ornate, symmetrical look of traditional damask wallpaper using an accessible stamping technique. Marking light guide dots across the wall beforehand helps maintain consistent spacing between each stamped repeat. This technique works particularly well for anyone wanting a traditional, formal pattern without the cost of purchased damask wallpaper.
10. DIY Photo Wallpaper Mural Print for DIY Wallpaper
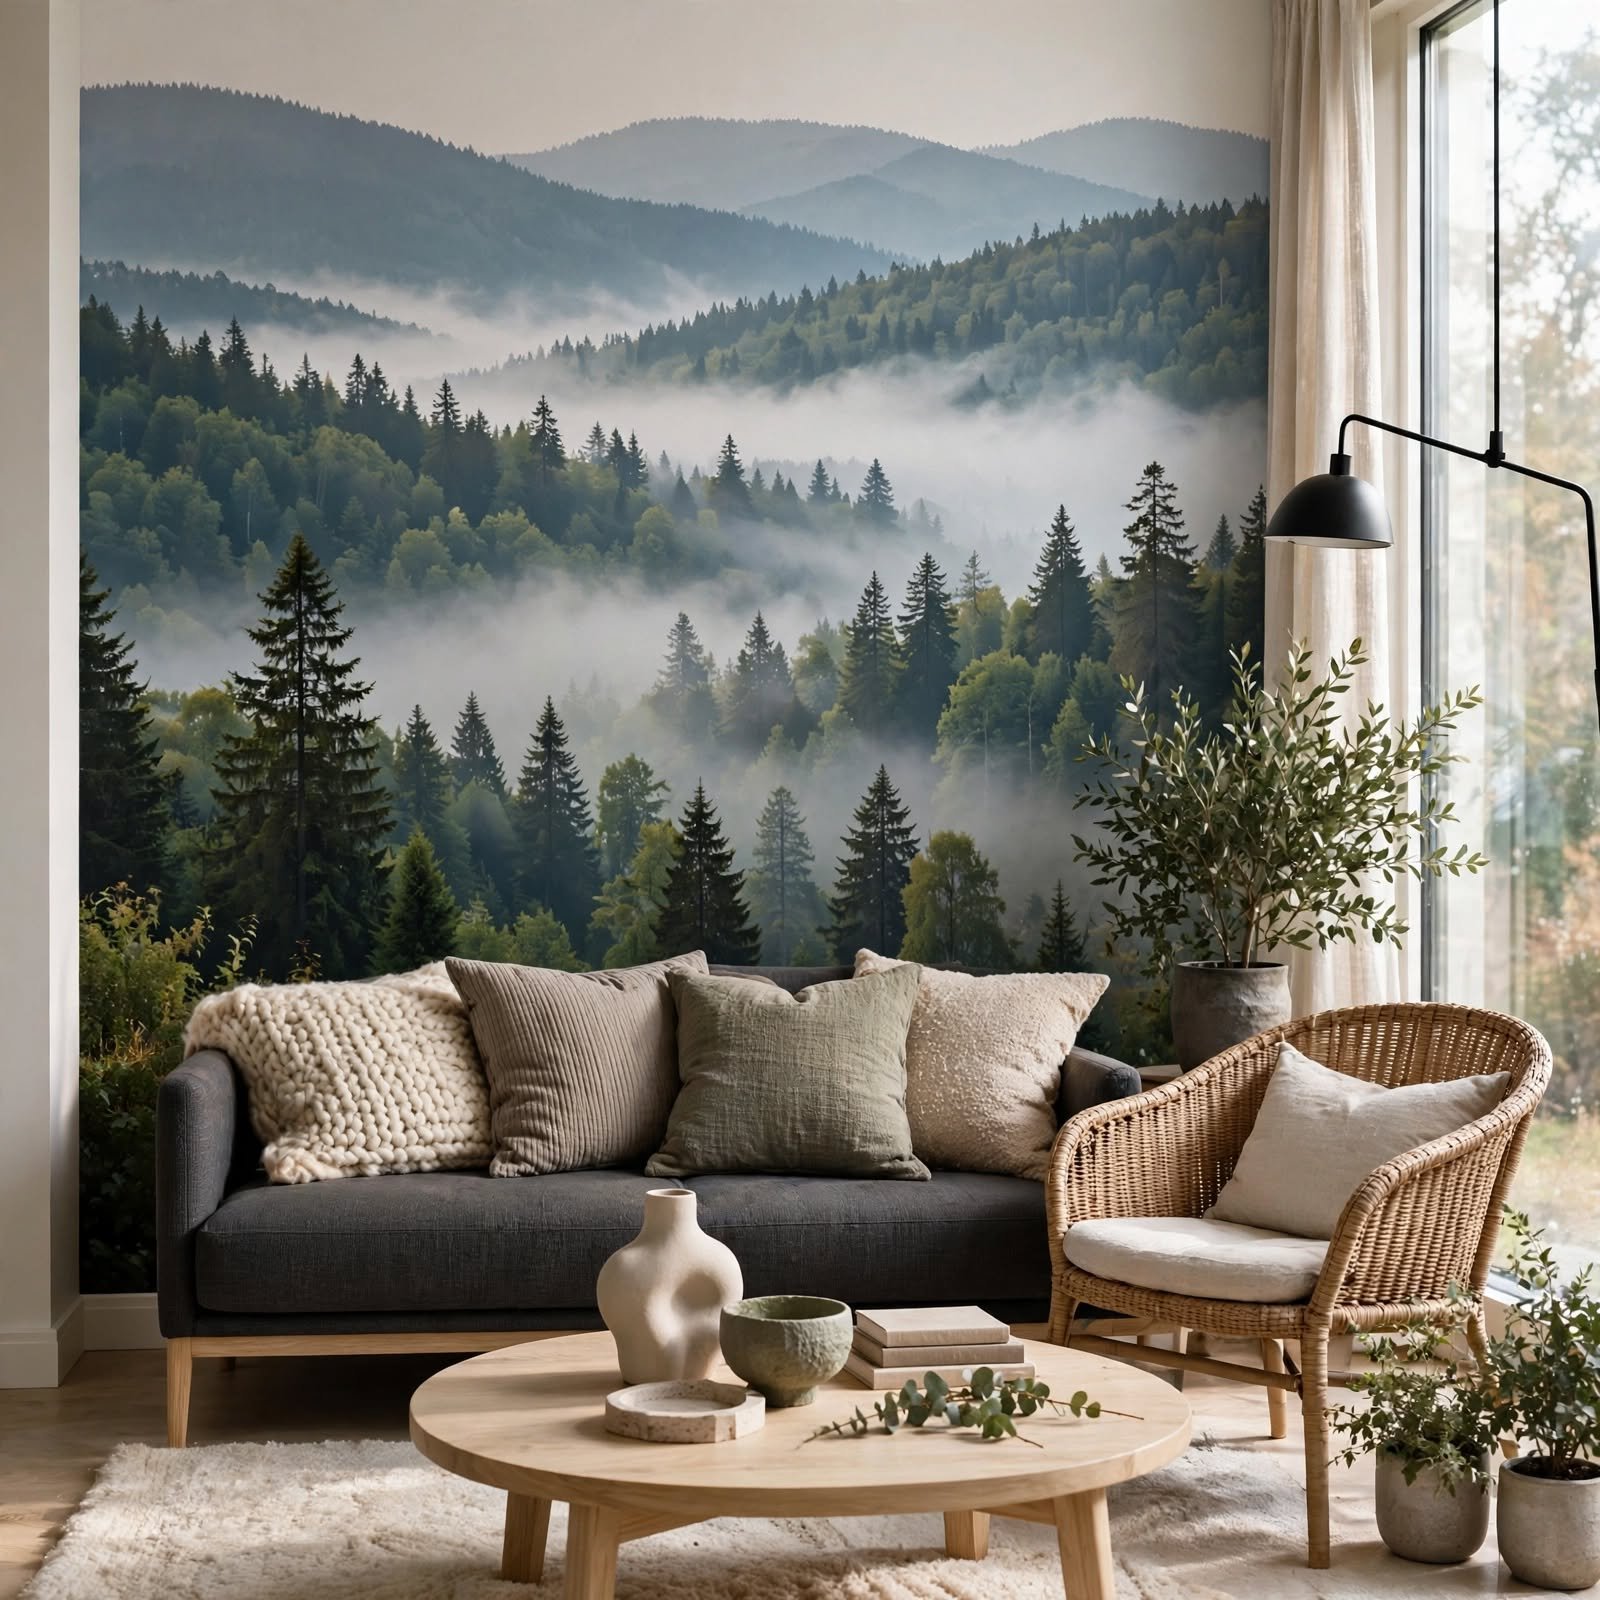
Printing a personal photograph or a public domain image at a large scale through a local print shop, then tiling the printed sections across the wall like a puzzle, creates a custom photo mural at a lower cost than a professionally produced wallpaper mural. Numbering each printed section on the back before starting installation helps keep the assembly organized and accurate. This technique works particularly well for a meaningful landscape photo or a piece of personally created artwork scaled up to mural size.
11. Rag-Rolled Faux Texture Wall for DIY Wallpaper
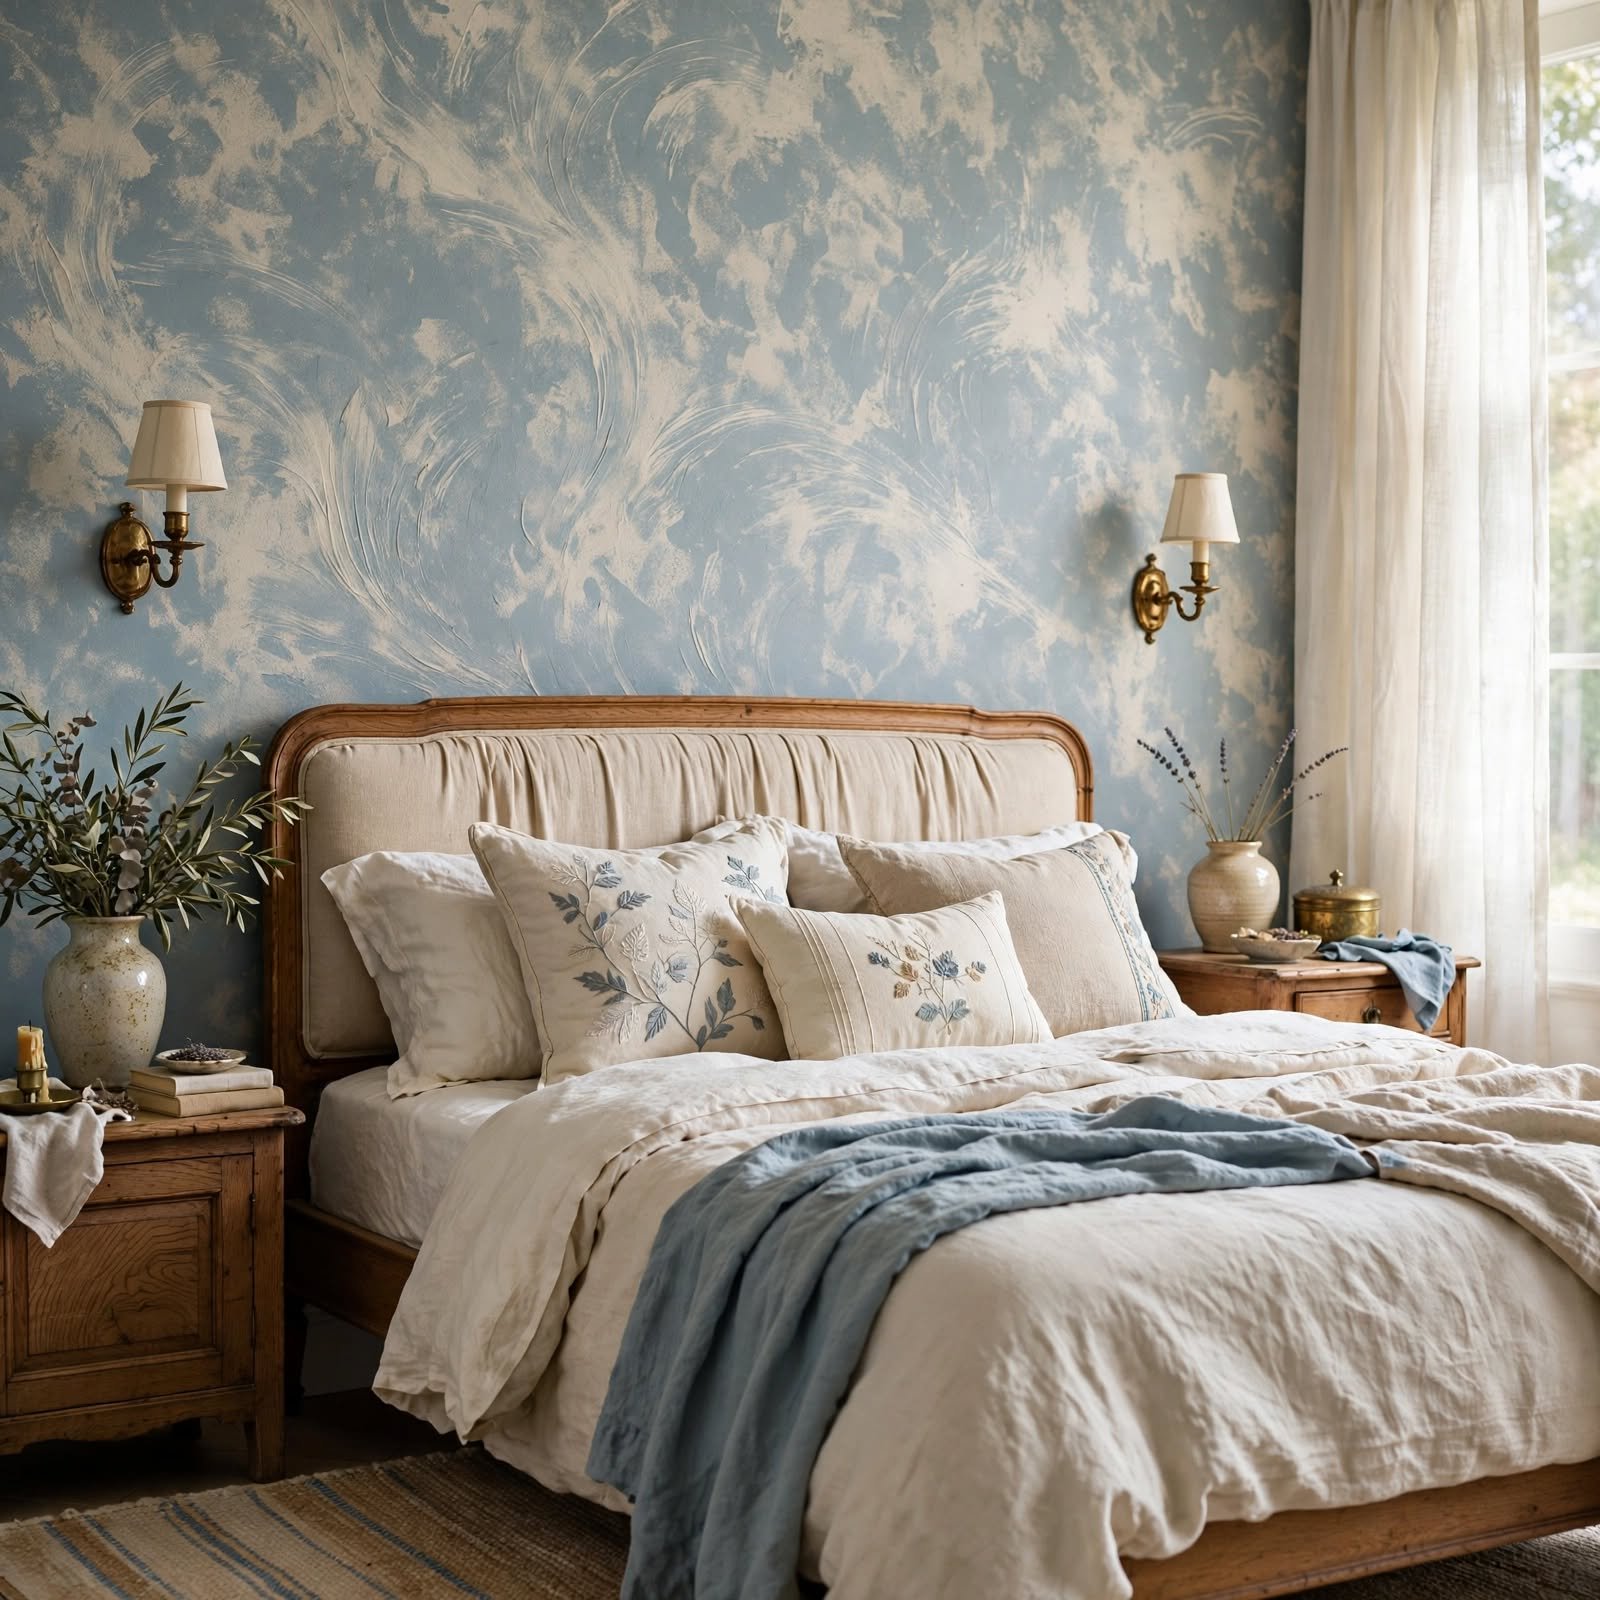
Rolling a bunched-up rag through wet glaze or paint across the wall creates a soft, mottled texture reminiscent of certain textured wallpaper finishes, achieved entirely through a hand paint technique. Working in small sections and maintaining a consistent rolling motion throughout helps avoid visible seams between sections. This technique works particularly well for anyone wanting subtle texture and depth without any distinct repeating pattern.
To get wallpaper decor ideas for bedroom, CLICK HERE.
12. Comb-Textured Paint Pattern Wall for DIY Wallpaper
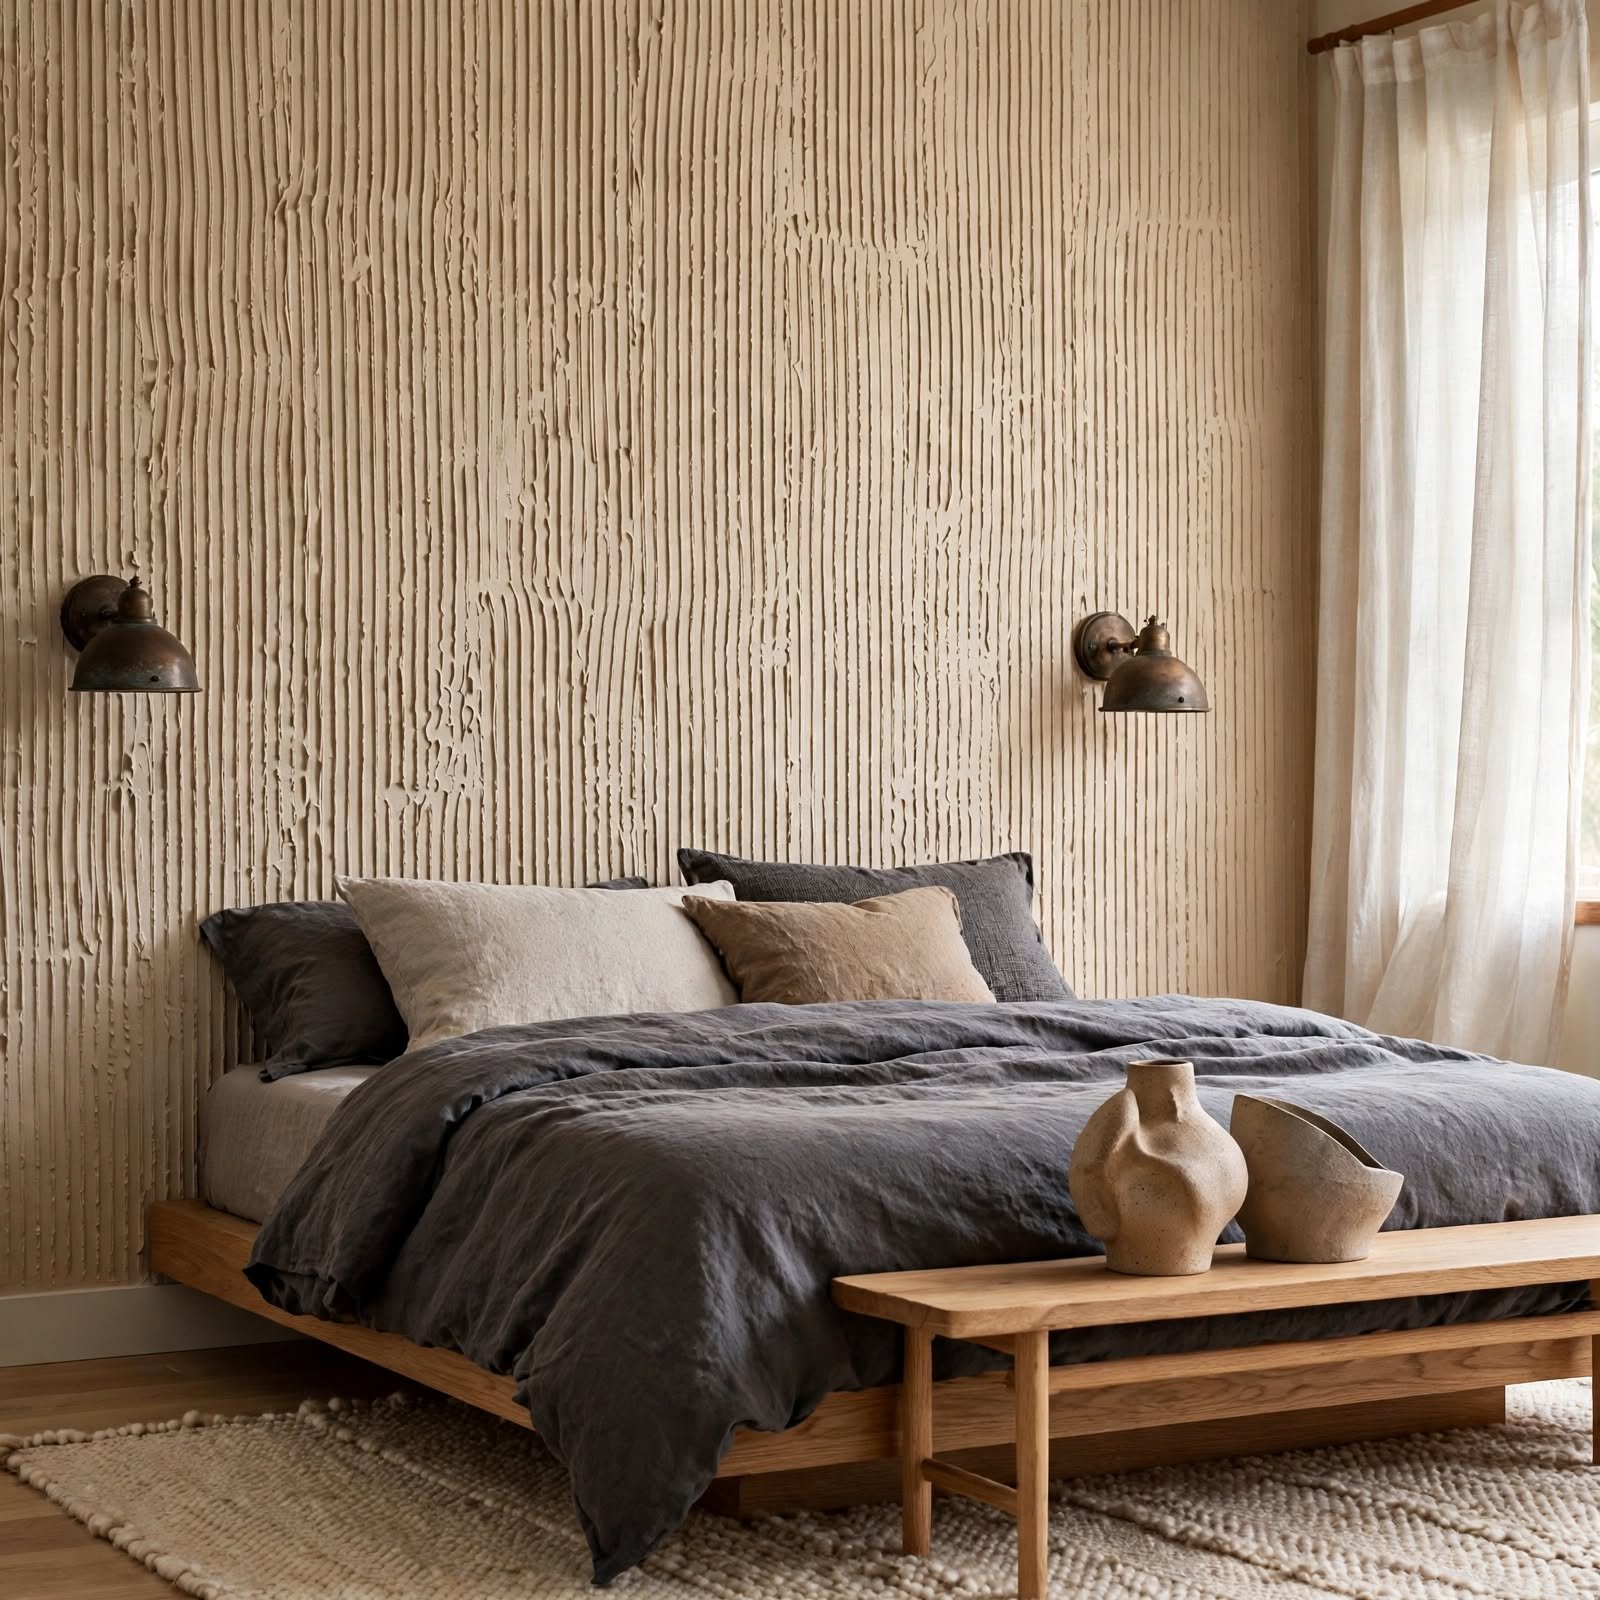
Dragging a notched paint comb through a layer of wet glaze creates a series of parallel or wave-like lines, mimicking certain textured or embossed wallpaper finishes. Working in manageable sections and maintaining a consistent hand pressure throughout produces the most even, professional-looking result. This technique works particularly well in a smaller accent area, like a powder room or a closet interior, given the more involved and slower application process.
13. DIY Grasscloth Texture with Rope for DIY Wallpaper
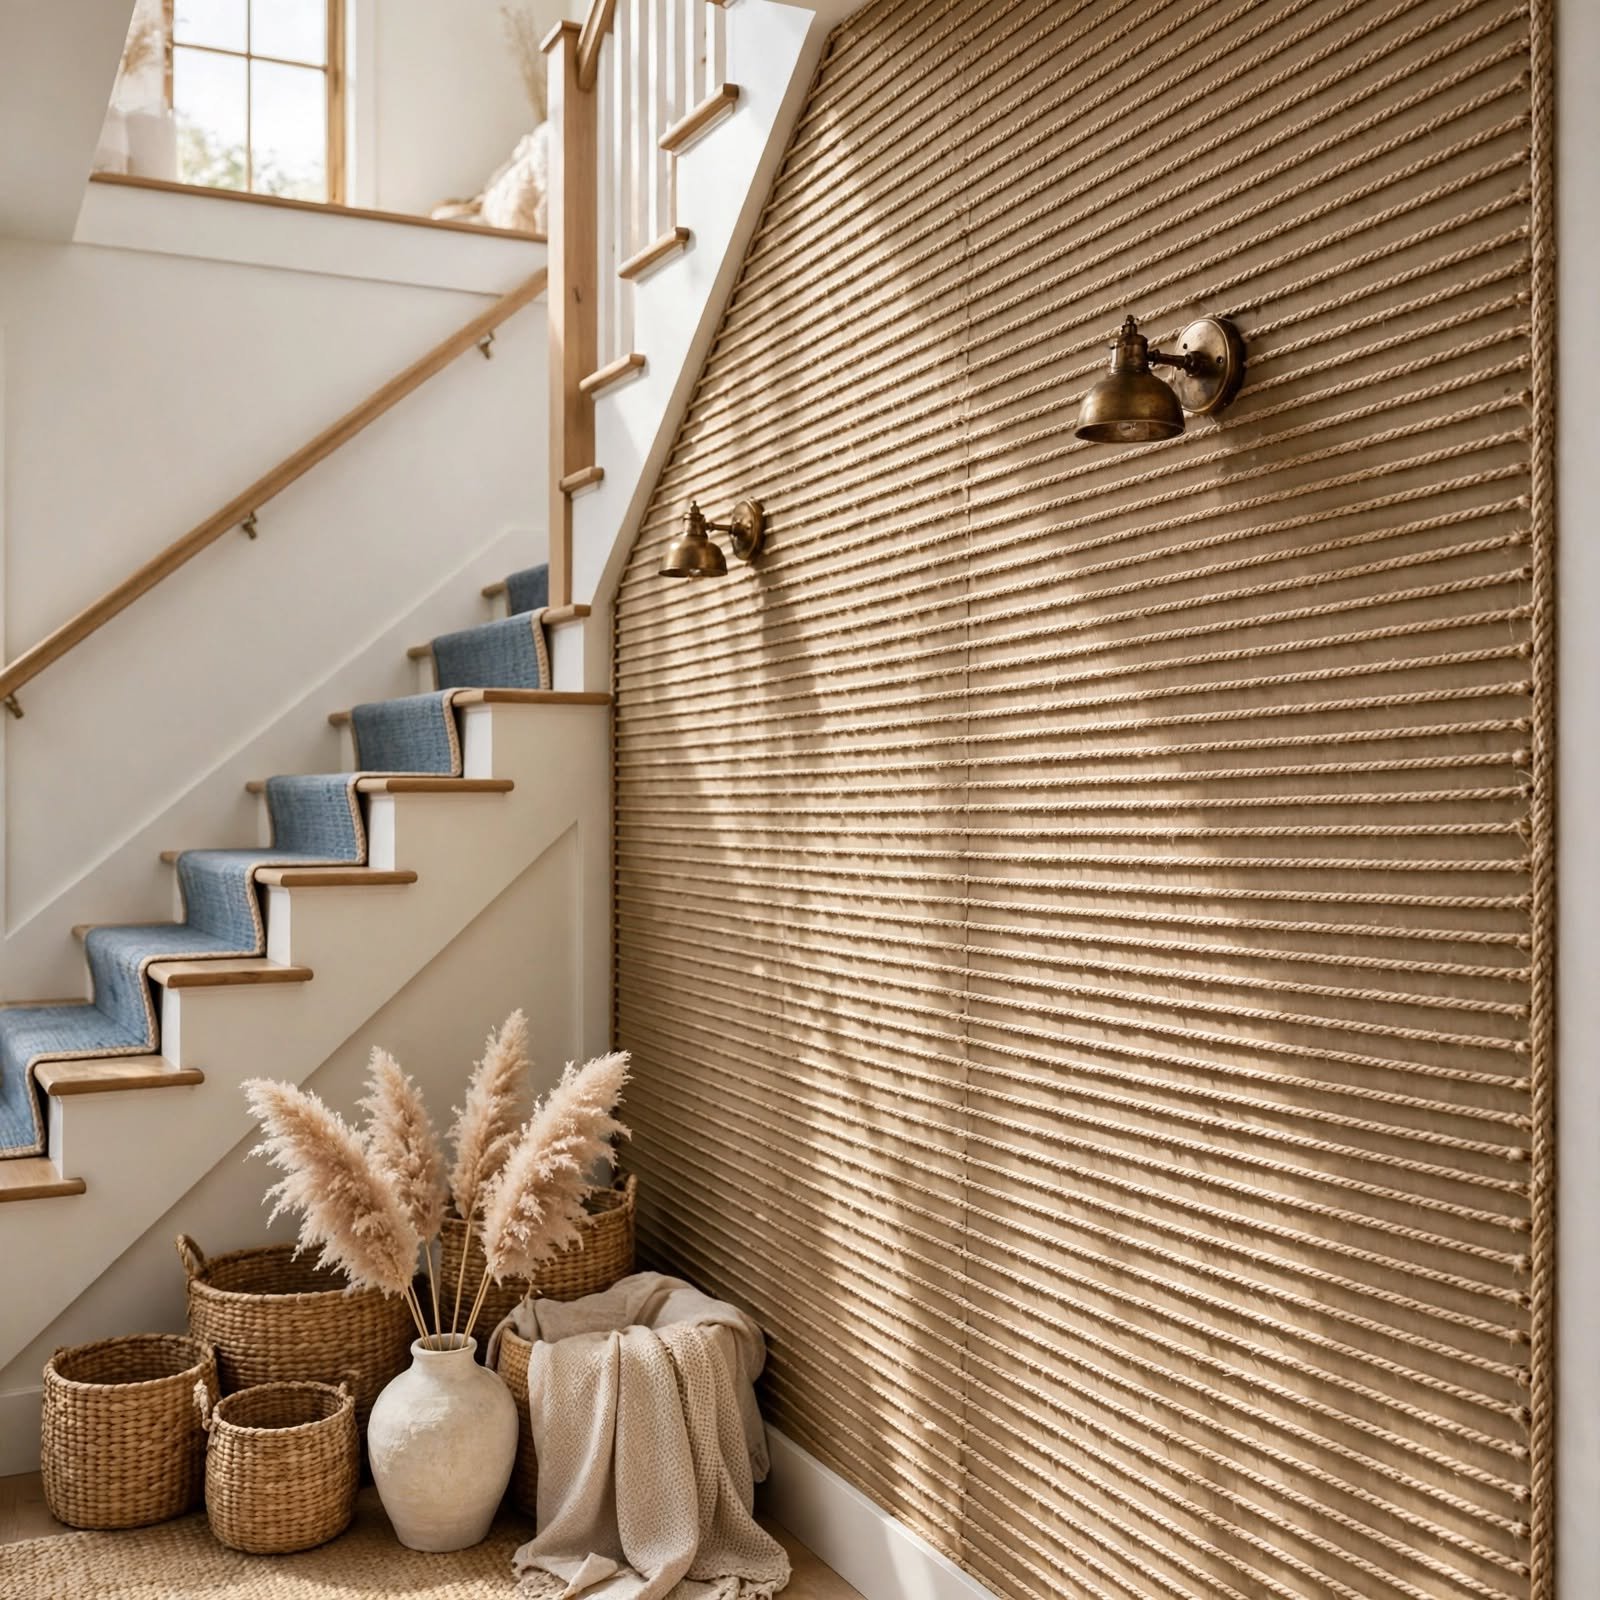
Gluing thin lengths of natural jute rope or twine in vertical rows across the wall recreates the woven texture of genuine grasscloth wallpaper using an entirely different, more affordable base material. Working in small sections and using a level to keep the rope rows straight throughout the application ensures a cohesive final texture. This technique works particularly well in a room already leaning toward a natural, organic material palette.
14. Potato Stamp Pattern Wall for DIY Wallpaper
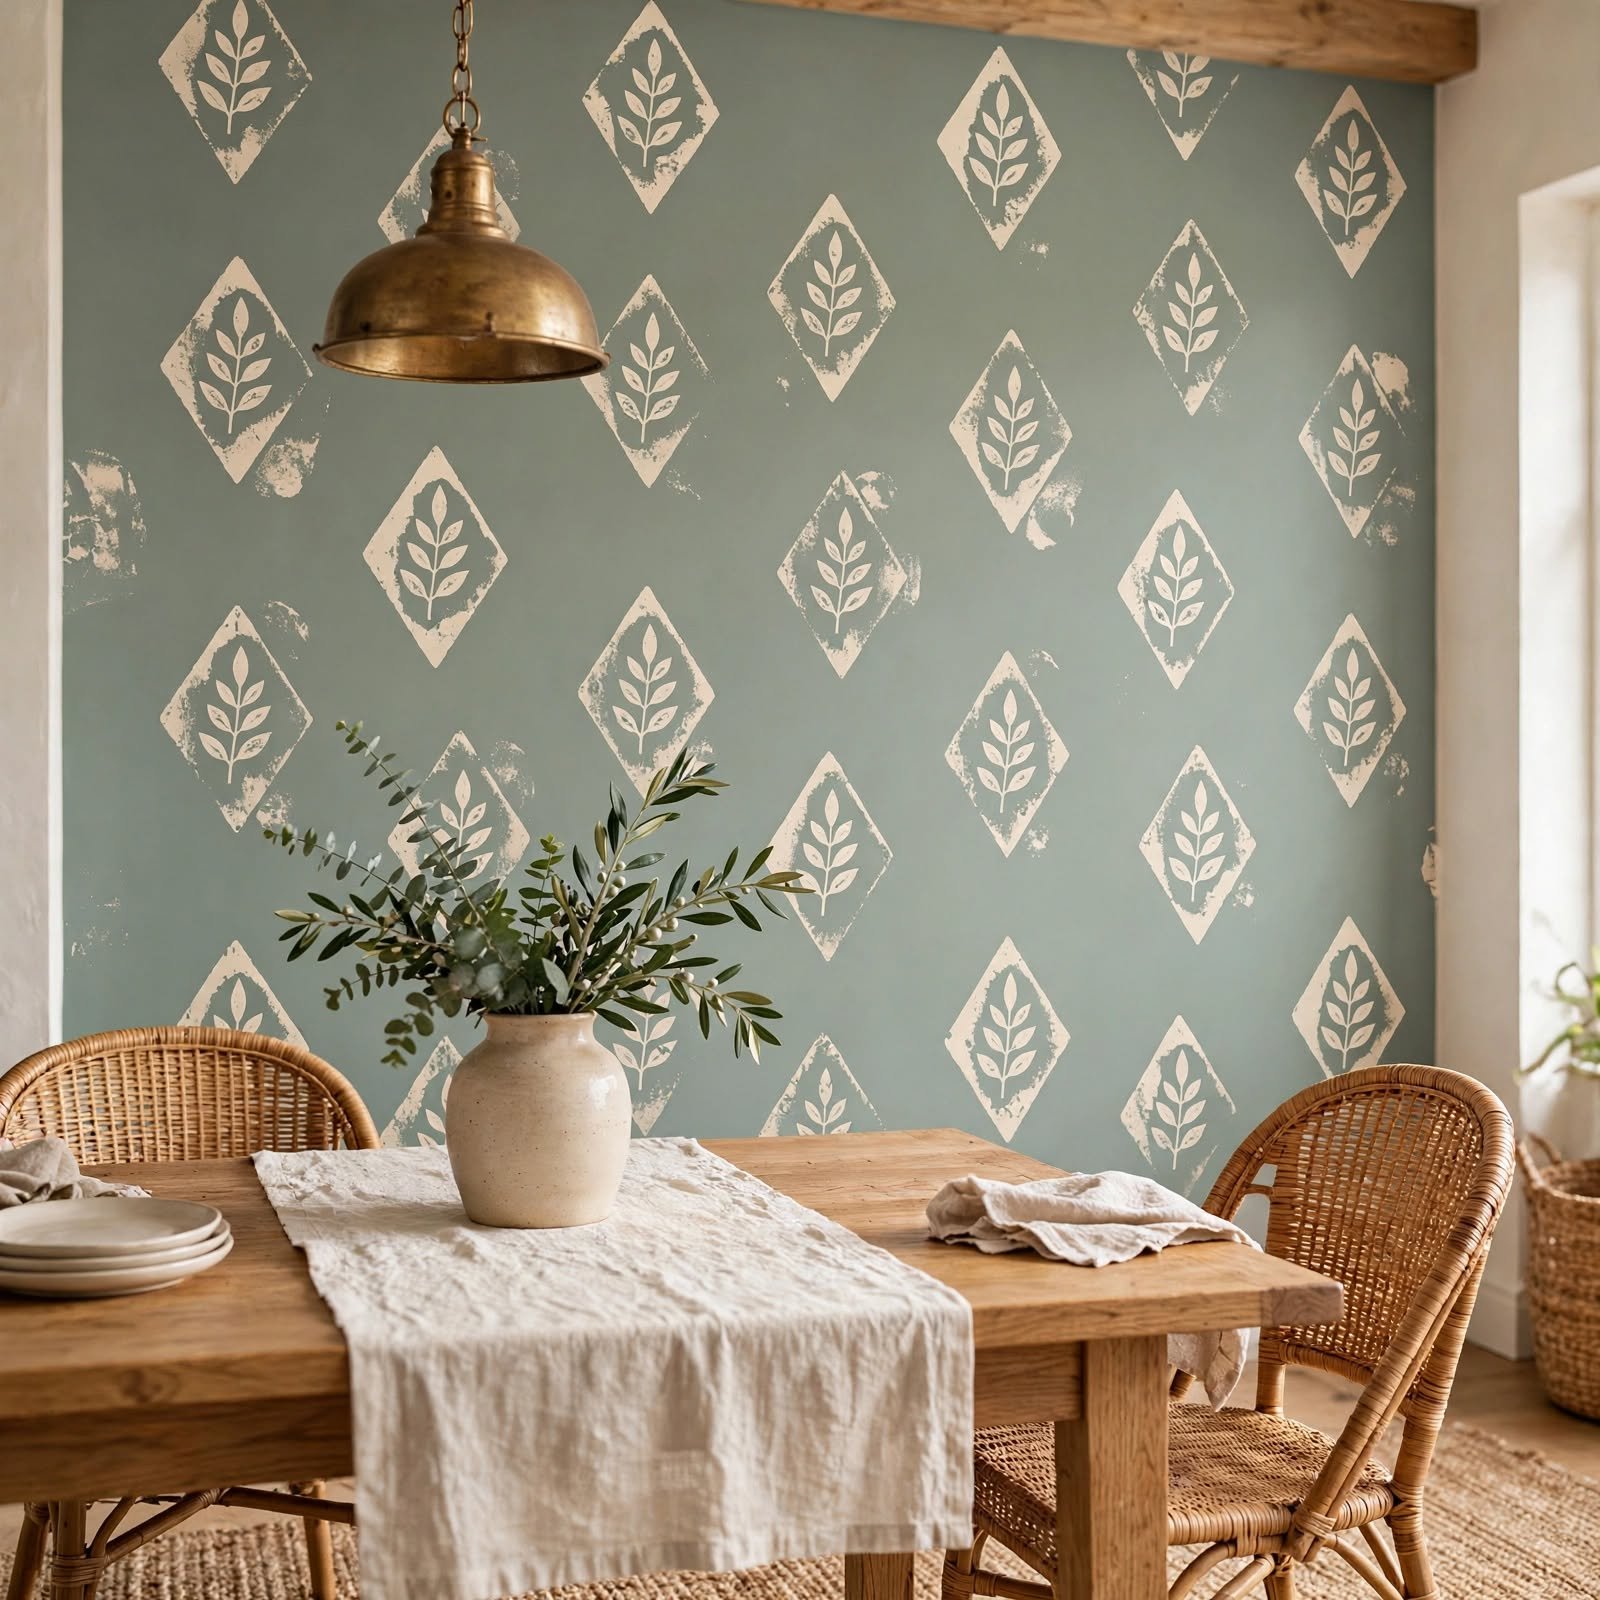
Carving a simple repeating shape into a cut potato, then dipping it in paint and stamping it across the wall, offers one of the most accessible and low-cost diy wallpaper techniques available, using a household item most people already have. This technique works particularly well as a family activity, since children can help with both carving simple shapes and the stamping process itself. Choosing a simple geometric shape, rather than something overly detailed, produces a cleaner result given the potato stamp’s naturally soft, imprecise edges.
15. Vinyl Cutting Machine Custom Wallpaper for DIY Wallpaper
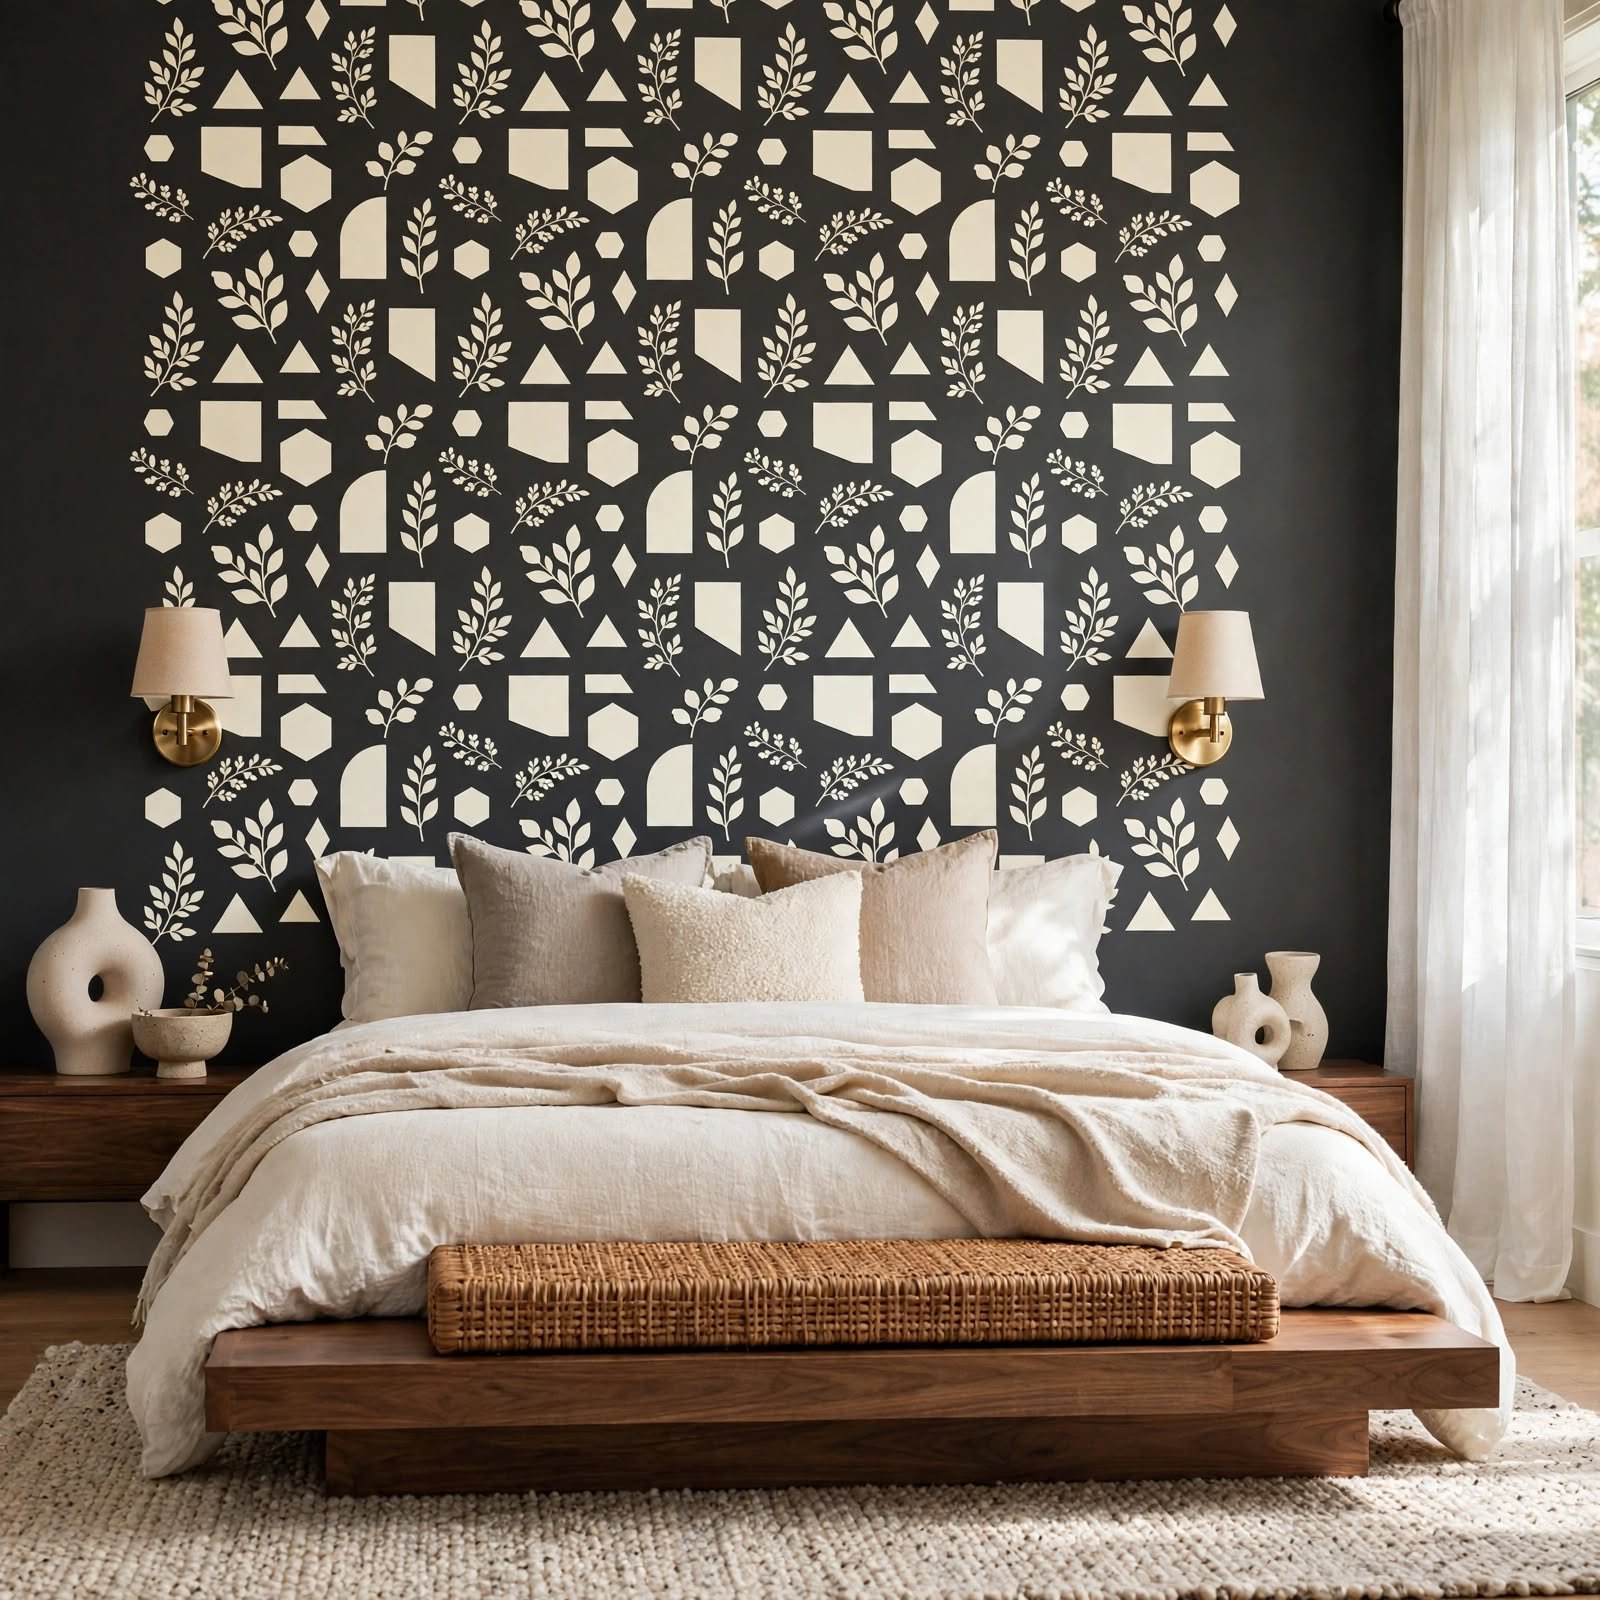
Using a cutting machine to produce a large quantity of custom vinyl decal shapes, then applying them in a repeating pattern across the wall, creates a precise, professional-looking custom wallpaper effect entirely removable at a later date. This technique requires access to a cutting machine, either owned or available through a local library or craft store rental program. This idea works particularly well for anyone wanting sharp, exact geometric repeats that hand-painted techniques struggle to replicate consistently.
16. Doily Lace Stencil Pattern for DIY Wallpaper
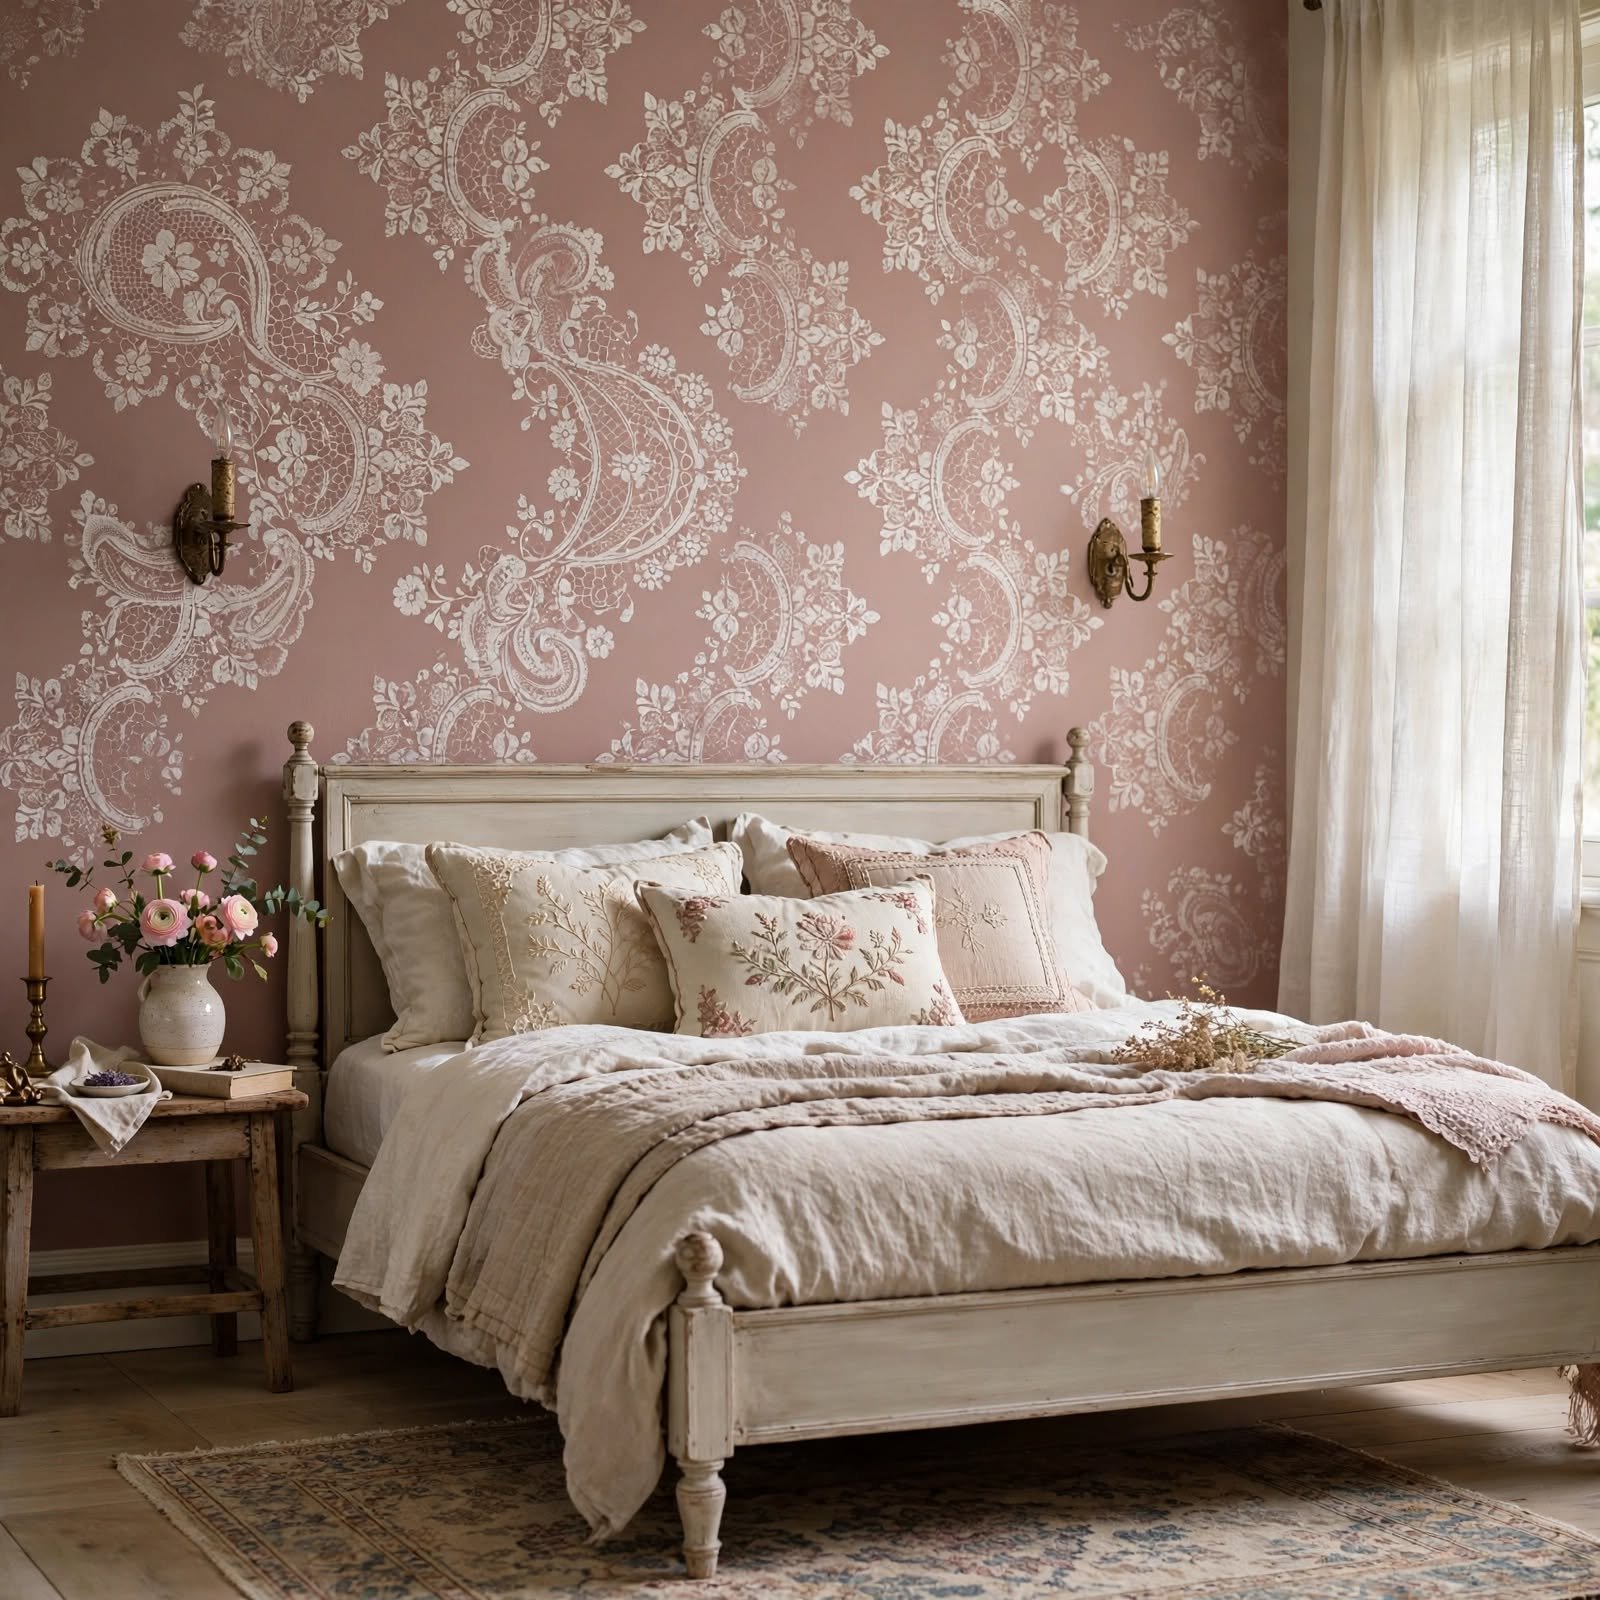
Using paper doilies as a makeshift stencil, spray painting over them in a repeating grid across the wall, creates a delicate, lace-inspired pattern reminiscent of certain vintage wallpaper designs. Securing each doily temporarily with a small piece of removable tape before spraying helps prevent it from shifting during application. This technique works particularly well in a bedroom or nursery wanting a soft, romantic pattern achieved through an unconventional and inexpensive stencil material.
17. Chalk Paint Stencil Border for DIY Wallpaper
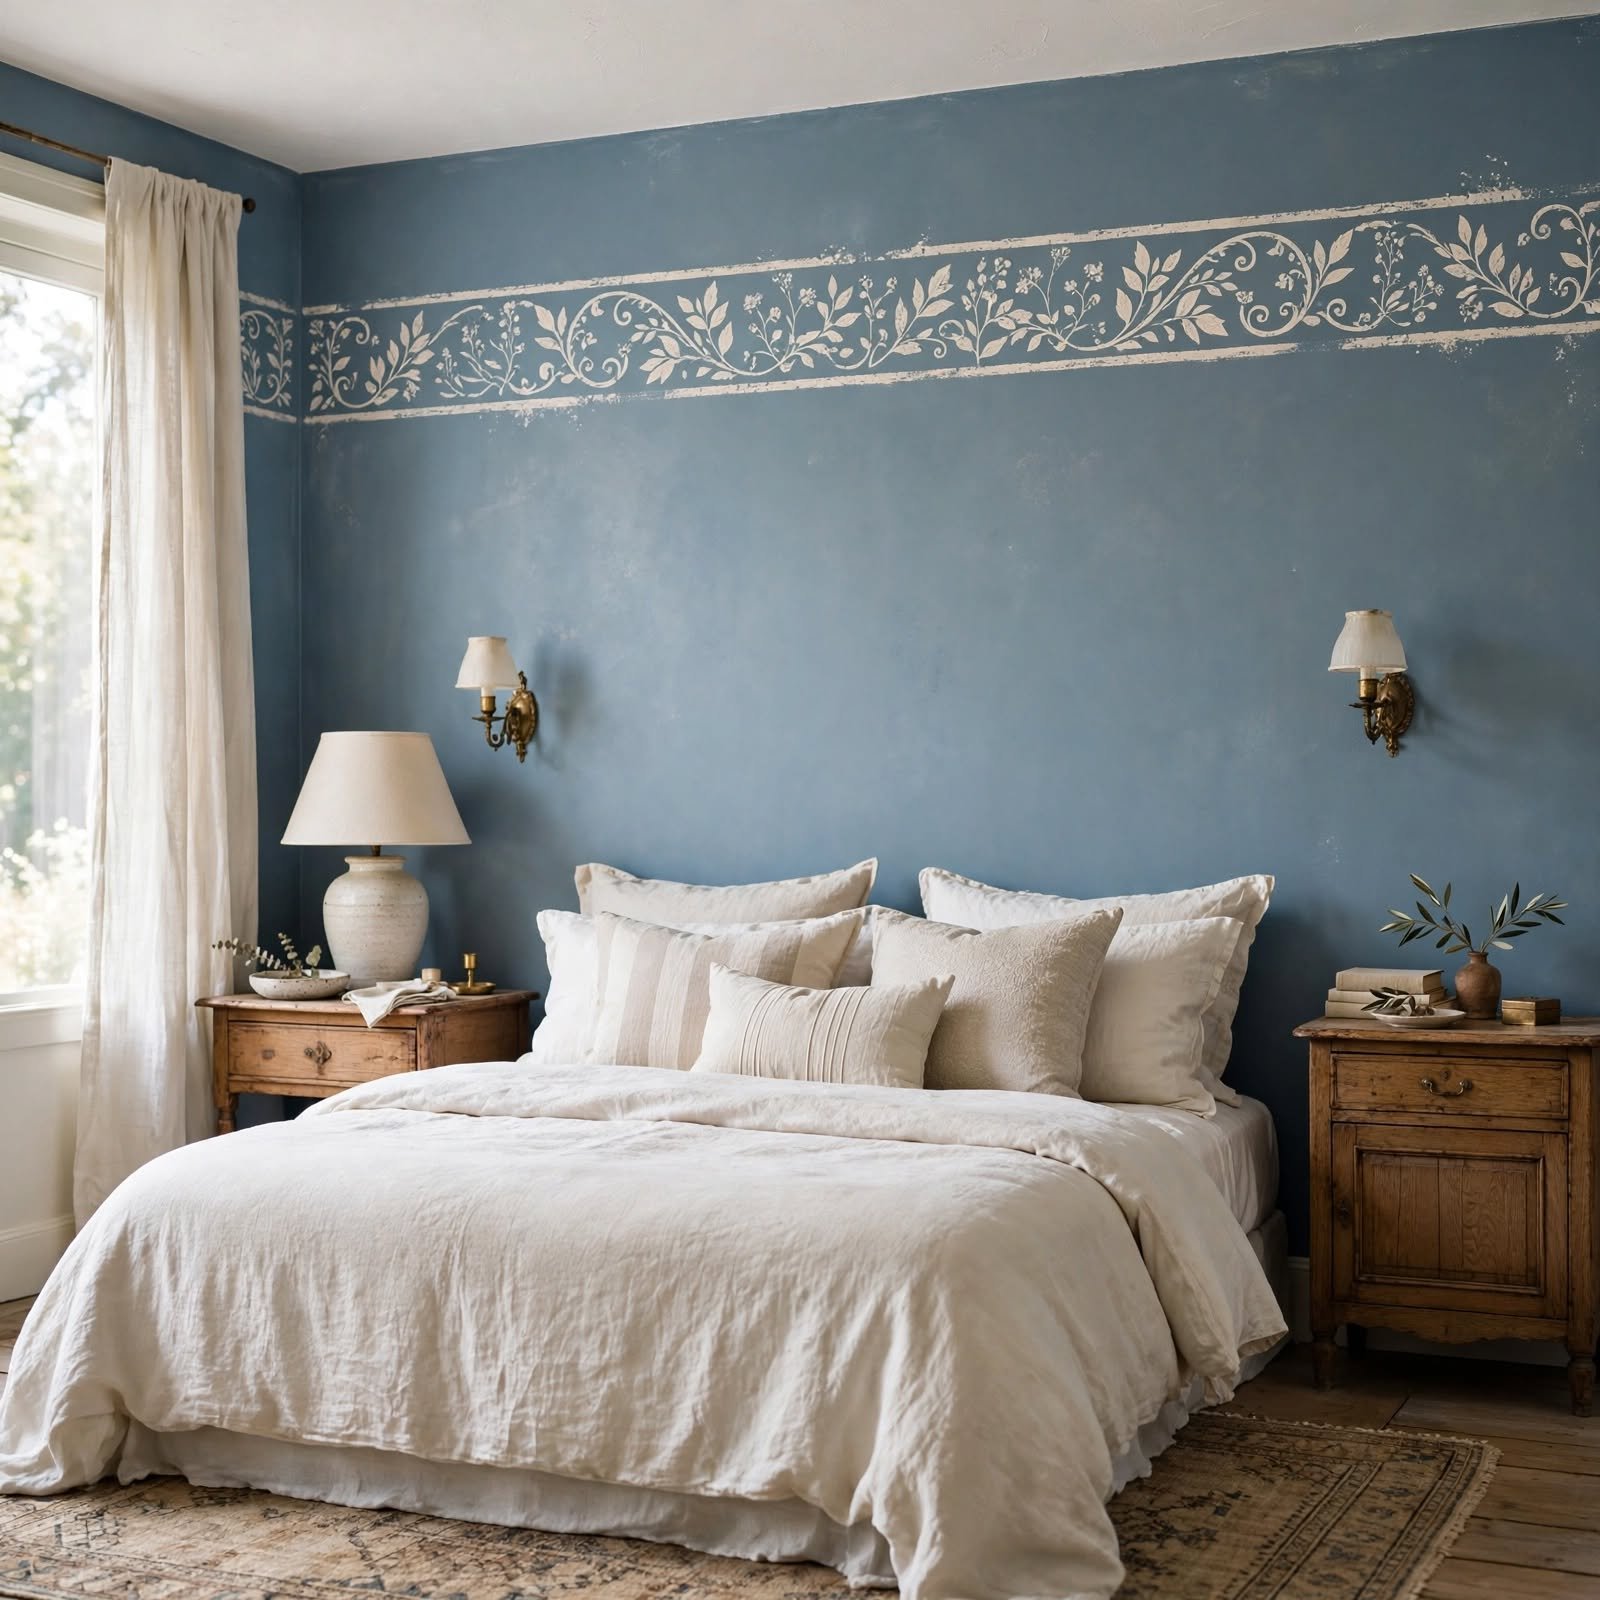
Rather than covering a full wall, applying a stenciled pattern using chalk paint in a narrower border strip near the ceiling or at chair rail height recreates the look of a traditional wallpaper border using paint alone. Chalk paint’s matte, slightly chalky finish also gives the stenciled border a soft, aged quality distinct from a glossier standard paint stencil. This technique works particularly well for anyone wanting a smaller-scale pattern commitment rather than covering an entire wall.
Shop the Look
A handful of supplies recur across these diy wallpaper techniques and are worth having on hand for several projects at once. A quality painter’s tape supports the trellis pattern, ombre stripes, and chalk paint border techniques. A set of foam stamps or a carved rubber block covers both the damask and general block print methods, while a notched paint comb and rag are useful for the various faux texture techniques. Basic craft paint and a level round out the list as essentials for nearly every technique on this guide.
Common Mistake to Avoid
A common mistake in diy wallpaper projects is skipping a test run on cardboard or a scrap board before starting directly on the actual wall, which often leads to inconsistent results discovered only after a significant portion of the wall is already complete. Practicing the chosen technique, whether stamping, rolling, or texturing, on a disposable surface first helps identify the right paint consistency, pressure, and pacing before committing to the real wall. This simple extra step saves considerable time and touch-up work compared to troubleshooting mistakes after they’ve already been applied across a large area.
Frequently Asked questions
What’s the easiest diy wallpaper technique for a complete beginner?
A patterned paint roller or a potato stamp pattern are generally the easiest diy wallpaper techniques for a complete beginner, since both require minimal precision and can be practiced quickly on scrap material before starting the actual wall. These techniques also tend to be more forgiving of minor inconsistencies, since a slightly imperfect repeat often still reads as an intentional, handmade pattern rather than a mistake. Starting with one of these simpler techniques before attempting more involved methods, like comb texturing or custom stenciling, helps build confidence and skill.
How much does a typical diy wallpaper project cost compared to purchased wallpaper?
Most diy wallpaper techniques cost between fifteen and forty-five dollars in materials for a standard accent wall, considerably less than purchased wallpaper, which often runs fifty dollars or more per roll before installation costs. Techniques using household items already on hand, like the potato stamp method, cost even less, sometimes only the price of the paint itself. This cost difference makes diy techniques particularly appealing for larger rooms or for anyone wanting to test a bold pattern before committing to a more expensive purchased option.
Can diy wallpaper techniques be removed or painted over later?
Yes, most diy wallpaper techniques, since they use standard paint rather than actual wallpaper adhesive, can be painted over with a primer and a fresh coat of paint whenever a change is wanted. Techniques like the fabric starch method are specifically designed for easy removal, since the starch dissolves with water. This flexibility is one of the significant advantages diy techniques offer over purchased wallpaper, which often requires steaming or specialized removal solutions to take down cleanly.
How do I keep a hand-painted pattern looking consistent across a whole wall?
Creating a simple spacing guide, whether through light pencil marks, a measured grid, or consistent tape placement, before starting the actual pattern application is the most reliable way to keep a hand-painted diy wallpaper pattern consistent across a full wall. Working in manageable sections and periodically stepping back to assess the overall pattern, rather than focusing too closely on one small area for too long, also helps catch inconsistencies early. Practicing the specific technique on a test board beforehand remains the best preparation for achieving a consistent, professional-looking result.
Which diy wallpaper technique works best for a rental?
The fabric starch method and the vinyl cutting machine decal technique are generally the best diy wallpaper options for a rental, since both are specifically designed for full removability without any lasting wall damage. Contact paper also offers a reasonably renter-friendly option, provided it’s tested on an inconspicuous area first to confirm it removes cleanly from the specific wall’s paint finish. Techniques involving direct paint application, like stenciling or rolling, generally require repainting the wall back to its original color before moving out, making them better suited to owned homes.
Conclusion
These seventeen diy wallpaper techniques recreate the visual impact of purchased wallpaper using paint, basic tools, and household materials, offering a budget-friendly and often fully reversible alternative. Testing a chosen technique on scrap material before starting the actual wall remains the most reliable way to achieve a consistent, satisfying final result. Save this guide to Pinterest for later reference, and check out the related accent wall and budget decorating posts for more ideas.